
Simple & Elegant Floral Frame Card with Blackfoot Daisies
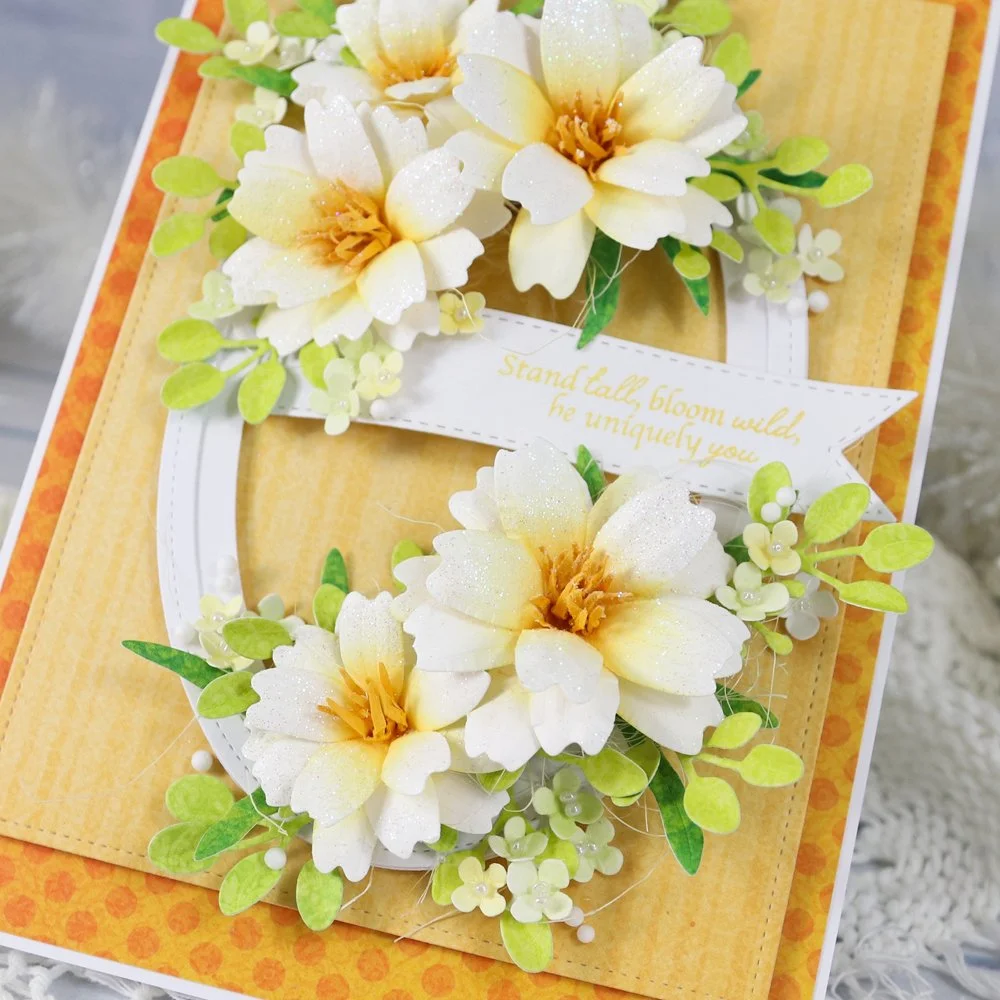
Brighten someone’s day with a stunning, sun-kissed floral card featuring vibrant yellow and orange tones and beautiful florals framed around an elegant oval centerpiece. In this tutorial, you’ll learn how to shape realistic blossoms and build elegant floral clusters using the Blackfoot Daisy die set from the Paper Flowers Collection by Elizabeth Craft Designs. Grab your shaping tools, ink pads, and favorite cardstock to follow the complete step-by-step guide and supply list below!
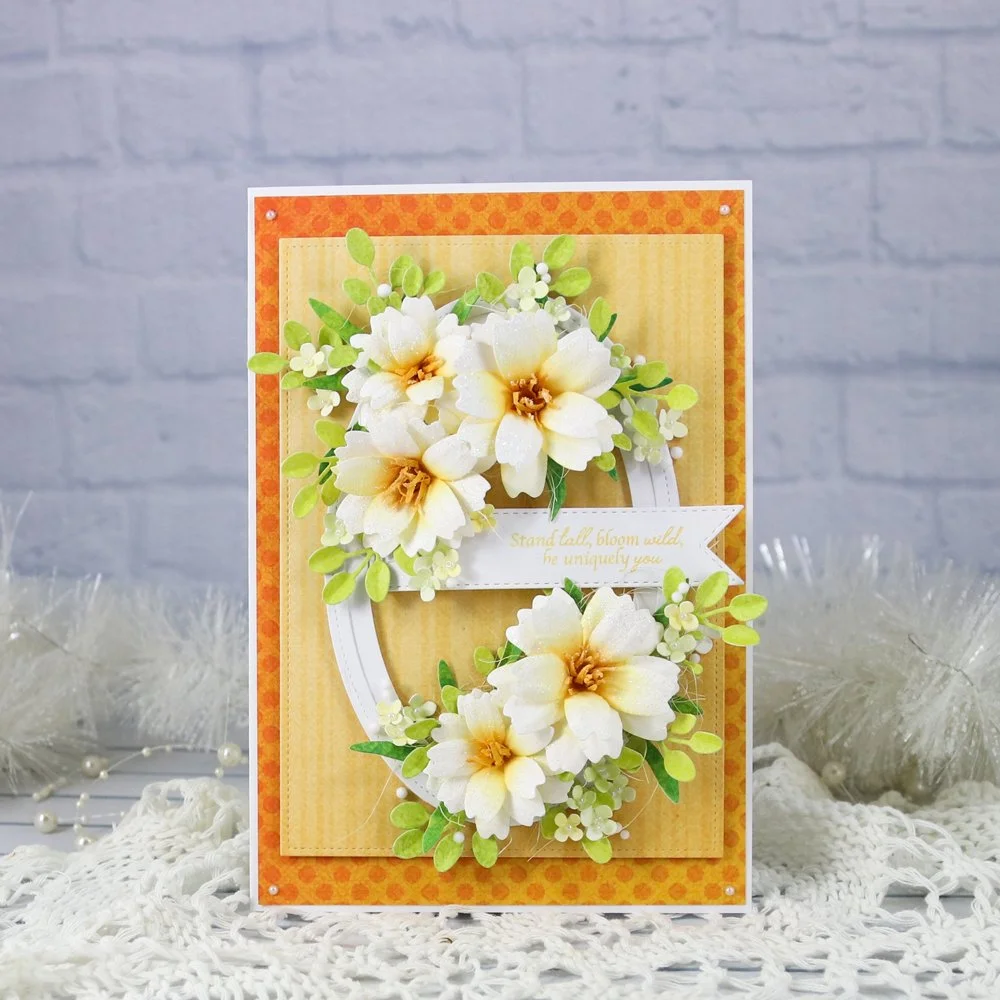
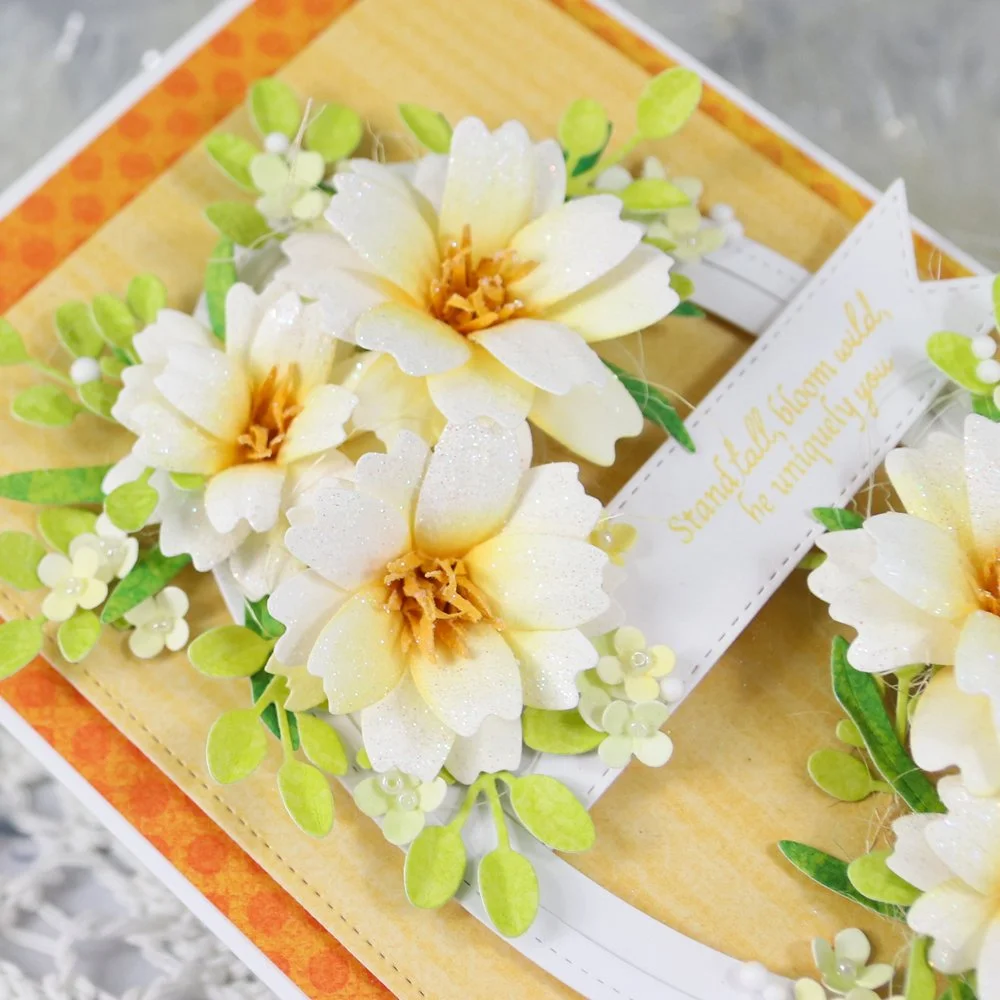
Hello everyone, Monika here with a simple flowery card. I used the latest Paper Flower release - Bloom Wildly collection. This bright, vibrant card, with the beautiful stamped sentiment and dimensional floral clusters, is perfect for any occasion, and these sweet flowers will last forever.
Step 1:
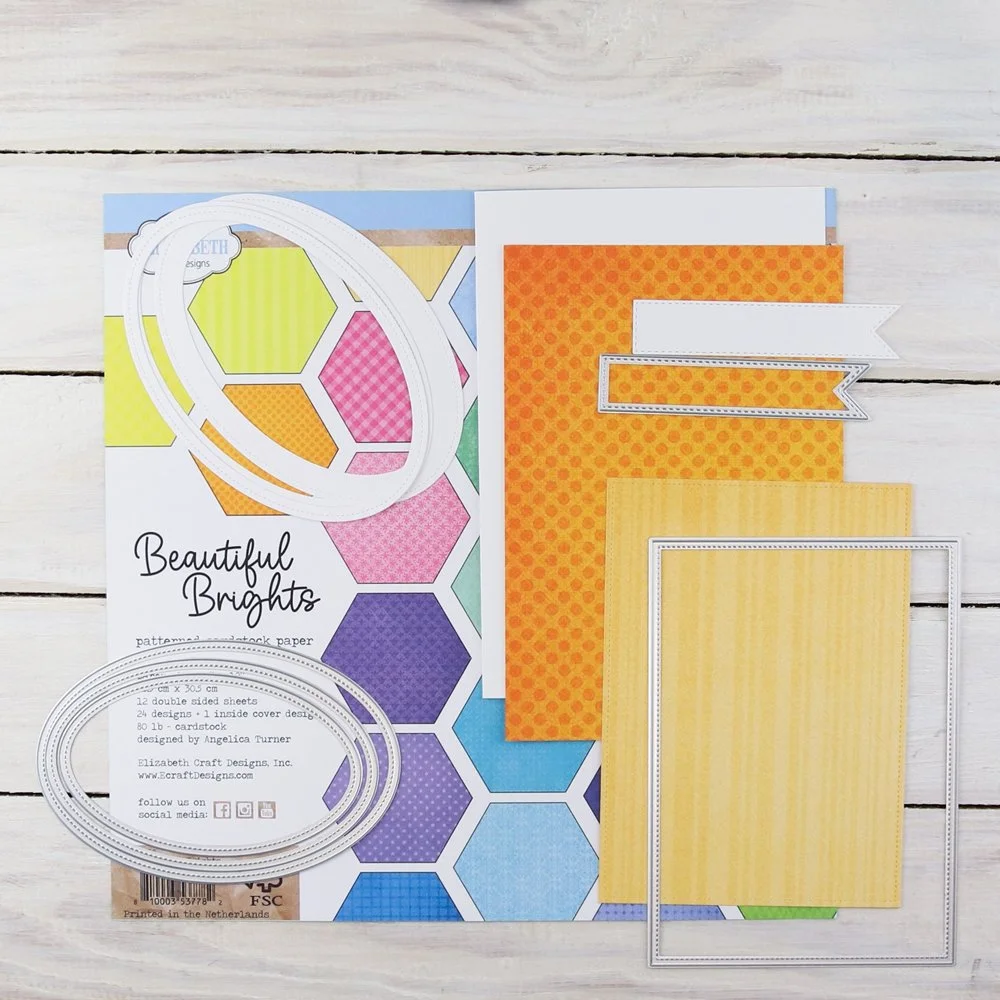
For the base, cut a piece of white cardstock to 21 x 29 cm and fold it to 21 x 14.5 cm. Cut a piece of paper from the Beautiful Brights Patterned Cardstock Paper to 20,5 x 14 cm. Using die No. 1 from the Stitched Rectangles and Labels and the Beautiful Brights Patterned Cardstock Paper, cut out a rectangle. With die No. 3, 4, and 5 from the Stitched Ovals, cut out 3 white ovals. With the tag from the Rectangle gift box, cut out a white tag.
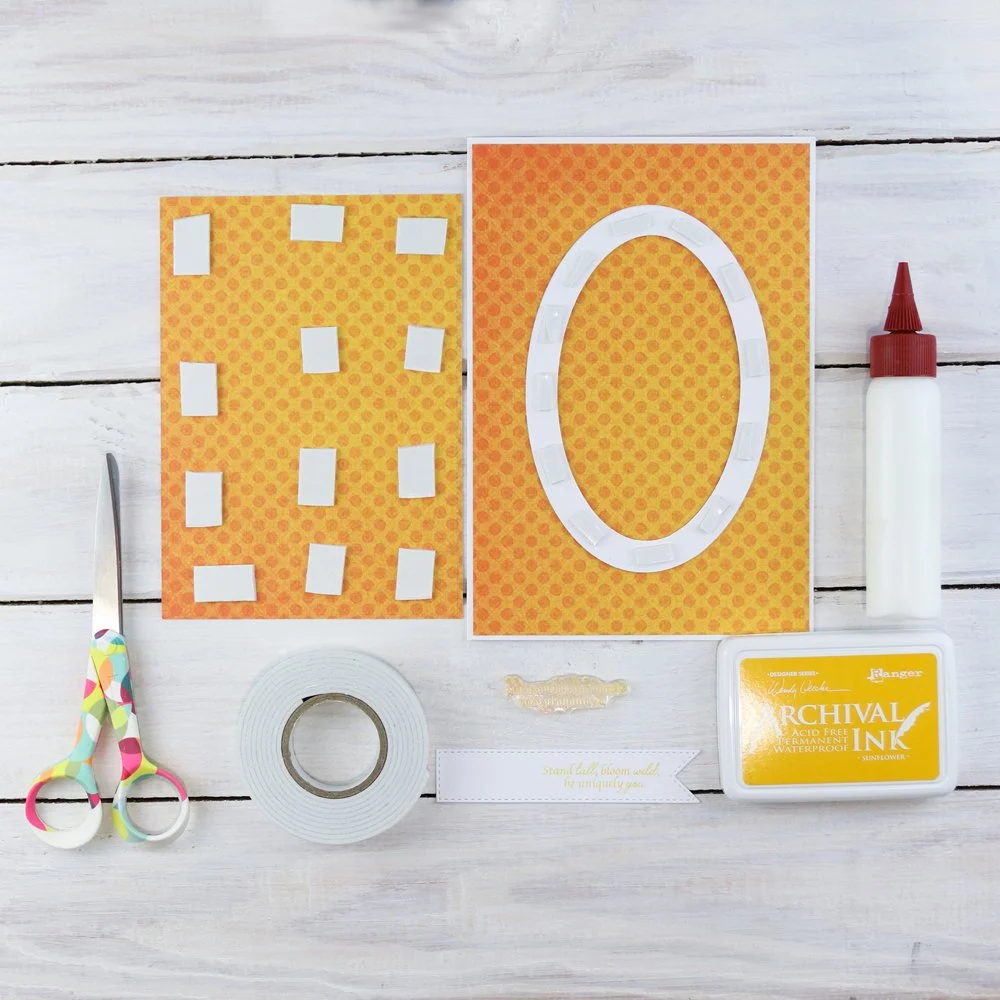
Step 2: Glue the biggest orange rectangle to the base. Use 3D foam adhesive to attach the smaller rectangle to the base. Adhere all 3 ovals together, then use 3D foam adhesive to attach them to the base. Using yellow ink, stamp the sentiment from the Bloom Wildly Sentiments on the tag.
Step 3: Using the Blackfoot Daisy die set, cut out 6 biggest, 3 smaller, and 6 smallest flowers from the Soft Finish Cardstock. Using the Blackfoot Daisy die set, cut out 4 branches from the green sheet of the Beautiful Brights Patterned Cardstock Paper. Using the Floral Greenery 4, cut out 4 branches from the same paper set. Cut out 8 flower centers using the die from the Blackfoot Daisy die set and yellow cardstock. Ink a small piece of the Soft Finish Cardstock green and yellow, then cut out 3 sets of tiny flowers with the die from the Panicle Hydrangea.
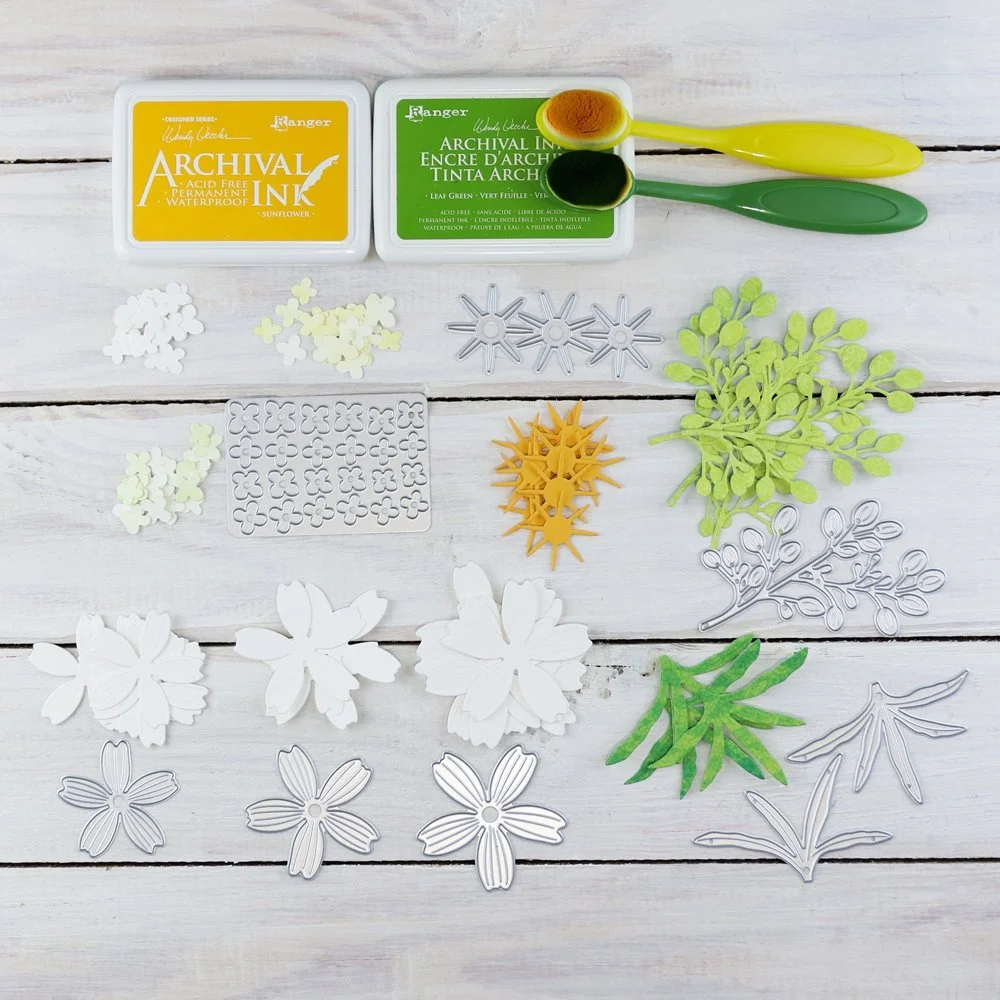
Step 4: Color the centers of daisy flowers with yellow ink. Place daisy flowers on the mat face down, spray them with a little water, and use a shaping tool to shape every petal. Shape them from the end of the petal to the center, then turn upside down and push in the center. For small flowers, use a shaping tool to bend them in the middle. Then shape the yellow cut-out centers - spray them with a little water, fold, and roll them with your fingers. Let all elements dry.
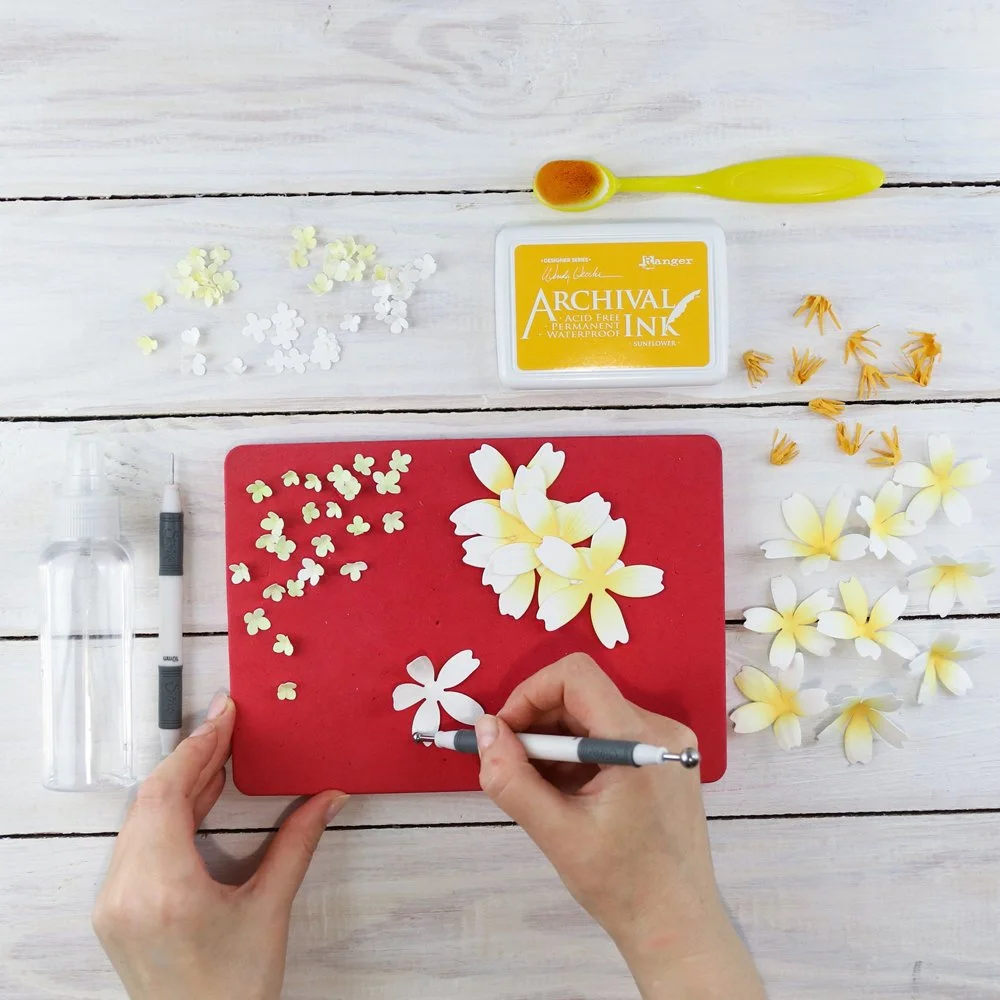
Step 5: Using glue, adhere all 3 layers of the big flowers. In the middle of each of them, adhere the yellow center – one to the small flowers and two to the big one. Sponge the flowers with dry clear adhesive, then sprinkle with glitter.
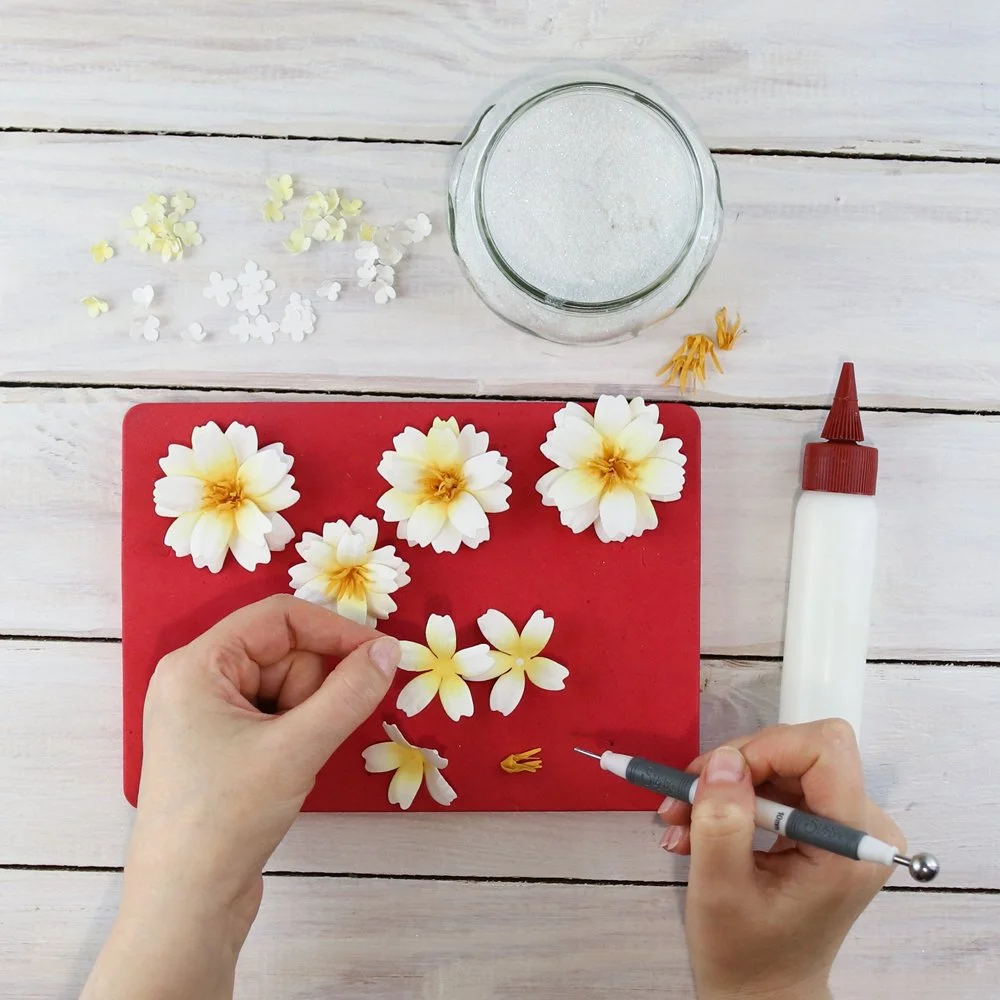
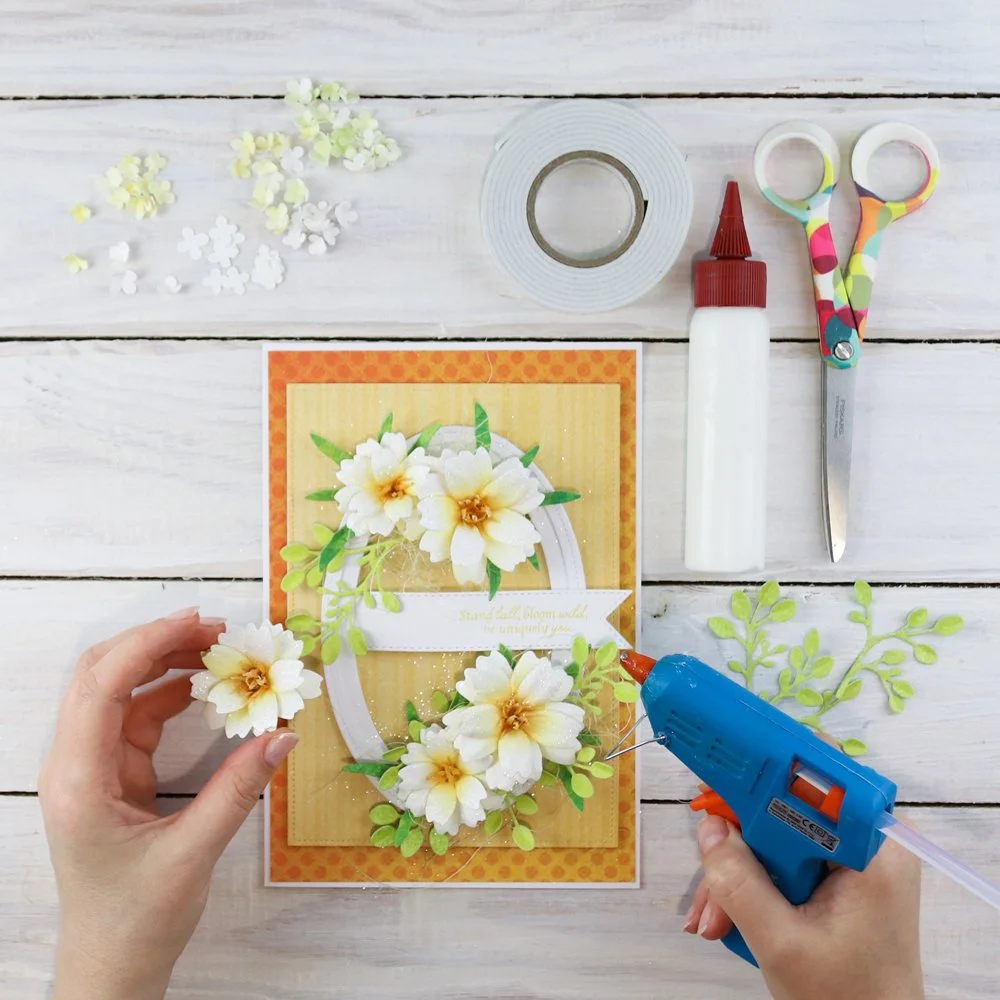
Step 6: Adhere all elements. In the center of the card, adhere the tag with the sentiment as pictured; use 3D foam adhesive. Cut the big branches into smaller pieces. Then layer the elements on the card; start with sisal, then adhere the branches, flowers, and leaves with a hot glue gun.
Step 7: Next, adhere the small flowers. Apply glue to the centers of all small flowers, then add beads there. Add some styrofoam balls and some pearls as extra decorations.
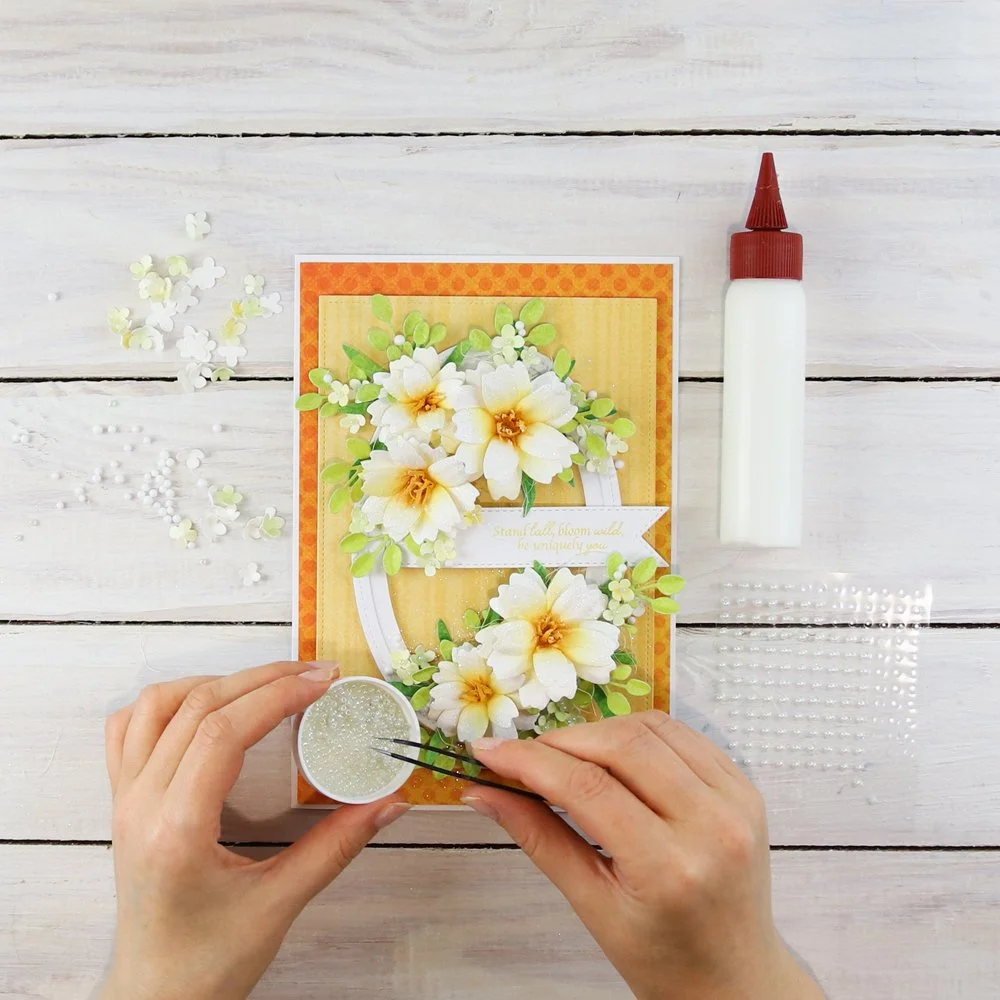
I hope you have been inspired to play with the flowers from the latest Paper Flower release. These daisy flowers look so realistic and are so easy to make, so let’s create something beautiful together.
Hugs!
Monika Jakubowska
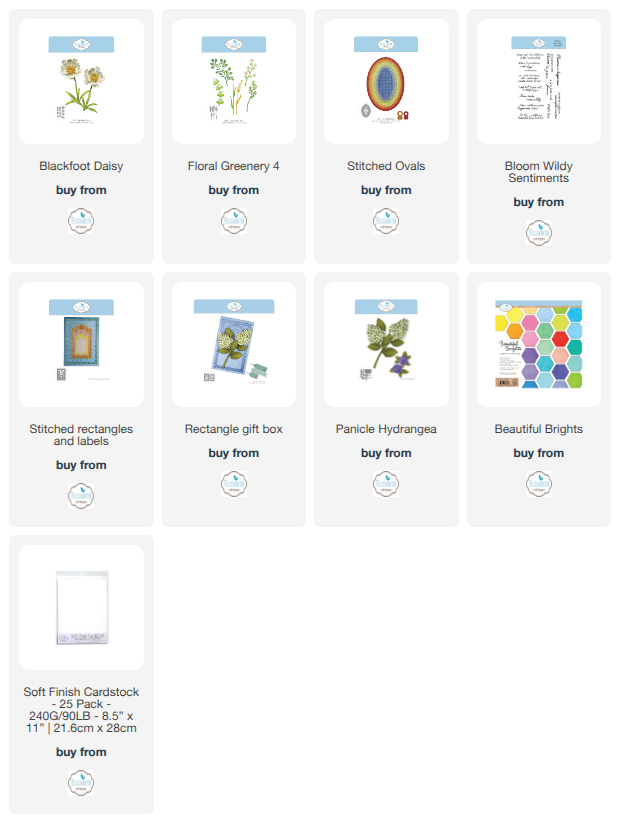
Elizabeth Craft Designs Products Used:
Blackfoot Daisy (2378)
Floral Greenery 4 (2379)
Stitched Ovals (2381)
Bloom Wildly Sentiments (CS460)
Stitched rectangles and labels (2348)
Rectangle gift box (2351)
Panicle Hydrangea (2348)
Beautiful Brights Patterned Cardstock Paper (C015)
Soft Finish Cardstock
Other products used: Yellow ink, green ink, yellow cardstock, glue, adhesive foam, hot glue, hot glue gun, self-adhesive pearls, beads, styrofoam balls, and sisal