
Quick and Easy Puppy Card with an Inked Background
Do you love making cards with cute characters? Or maybe you’re looking for quick card ideas to try? In this tutorial, you'll learn how to make a handmade card with an easy inked background and a cute puppy as a focal image. These easy techniques are perfect for beginners or those needing a quick card that still makes a statement, and with a change of sentiment, this card is great for lots of occasions.
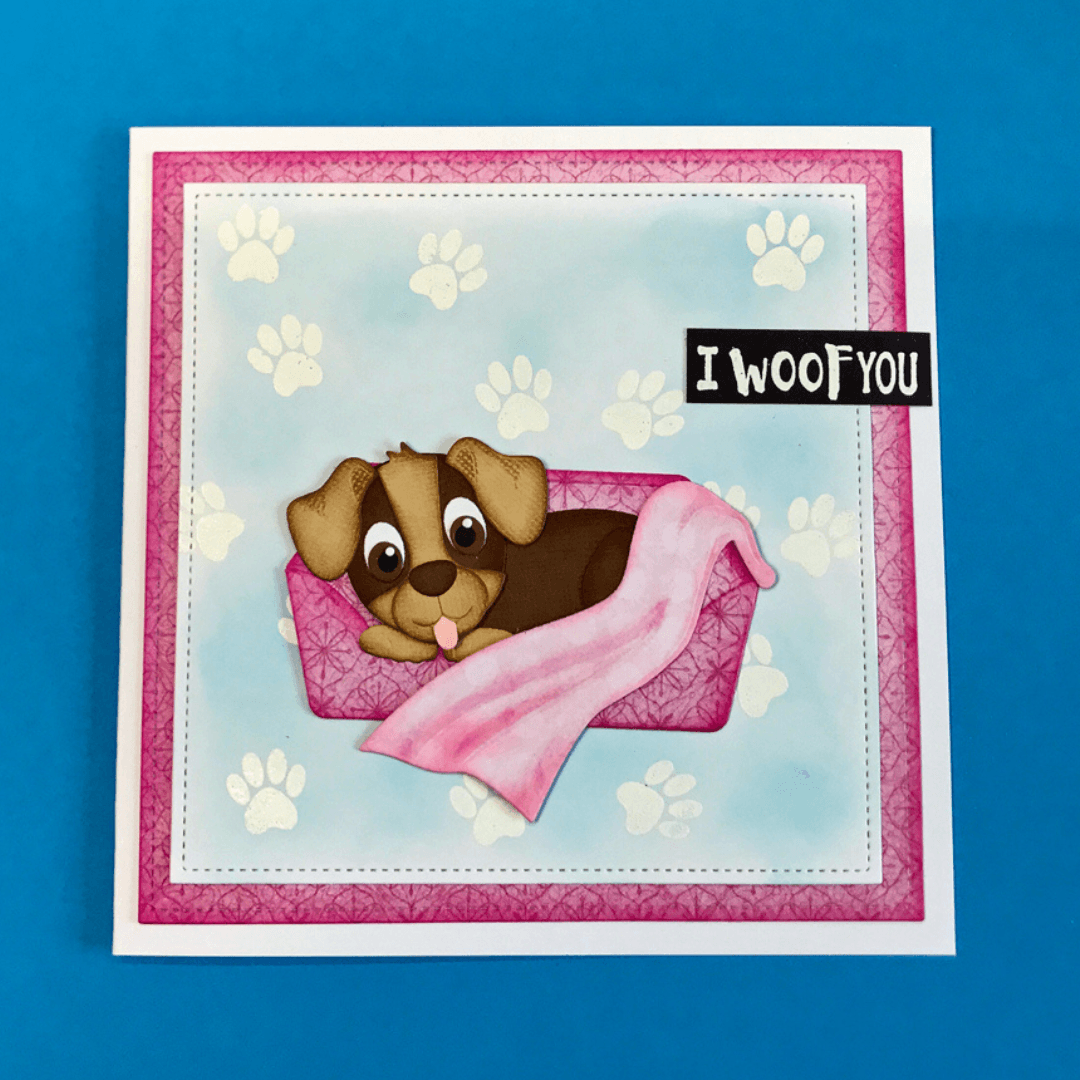
Hello, today I wanted to share this lovely card I made using the Dog Days collection by Joset. It’s quite a simple card, but not all cards need to be complicated!
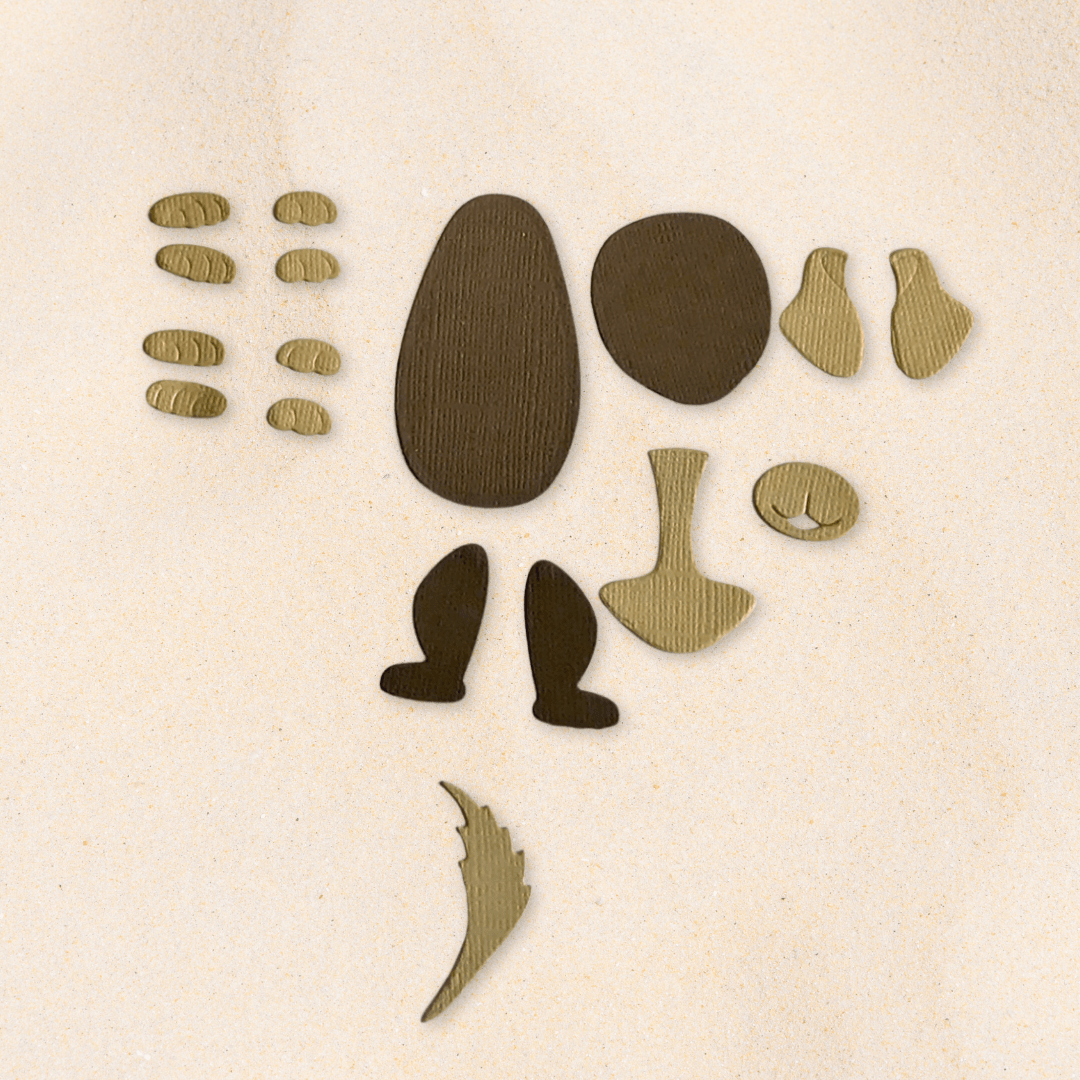
Step 1: I selected the dies from the Dog set and decided what color the dog is going to be ( I tend to use a textured card). I chose two shades of brown. I die-cut all the pieces required. I always lay mine out like this to check I’ve die-cut all the pieces and to see whether or not I like the combination.
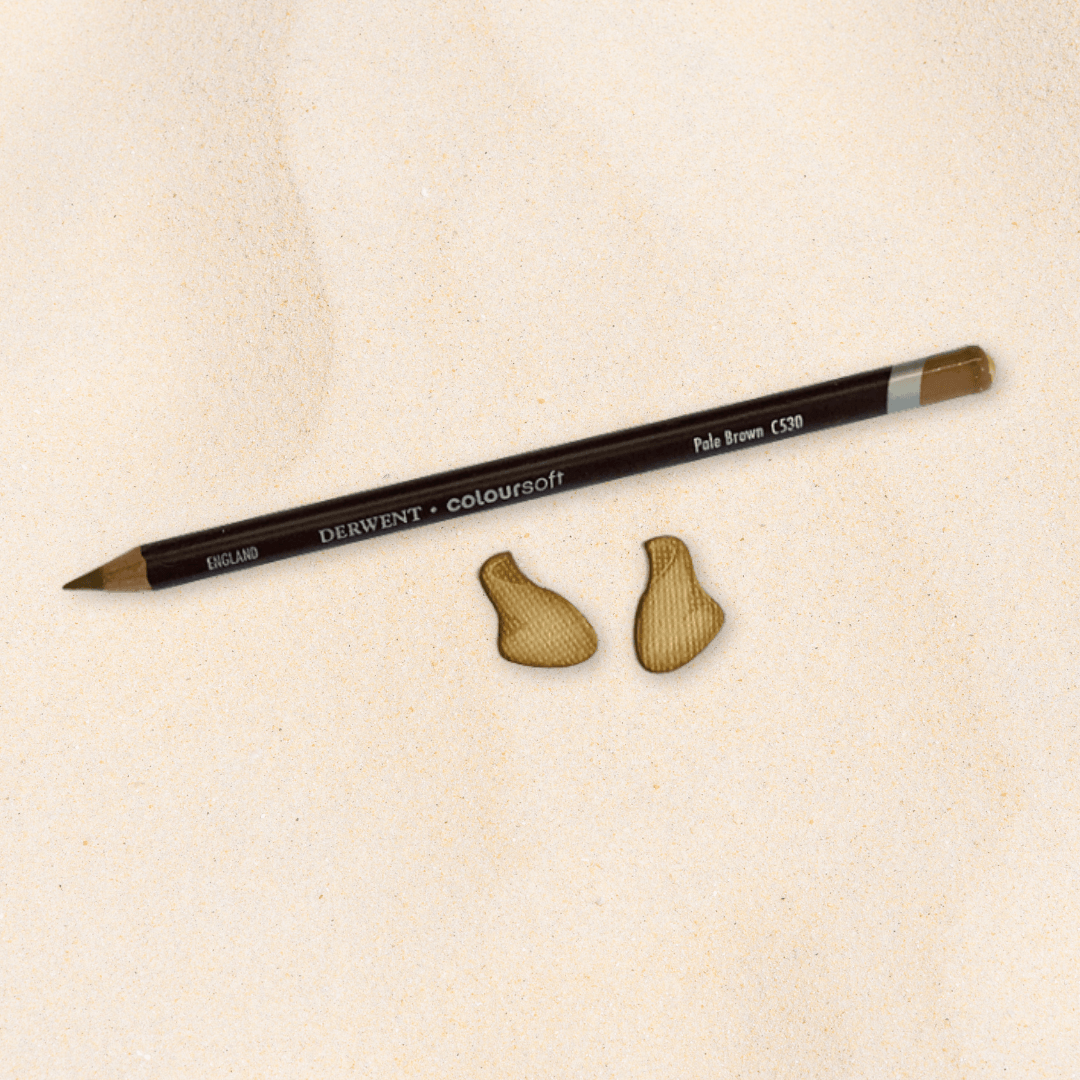
Next, I used Vintage Photo Distress Ink to go around all the edges. I also used a brown colored pencil to add extra shading.
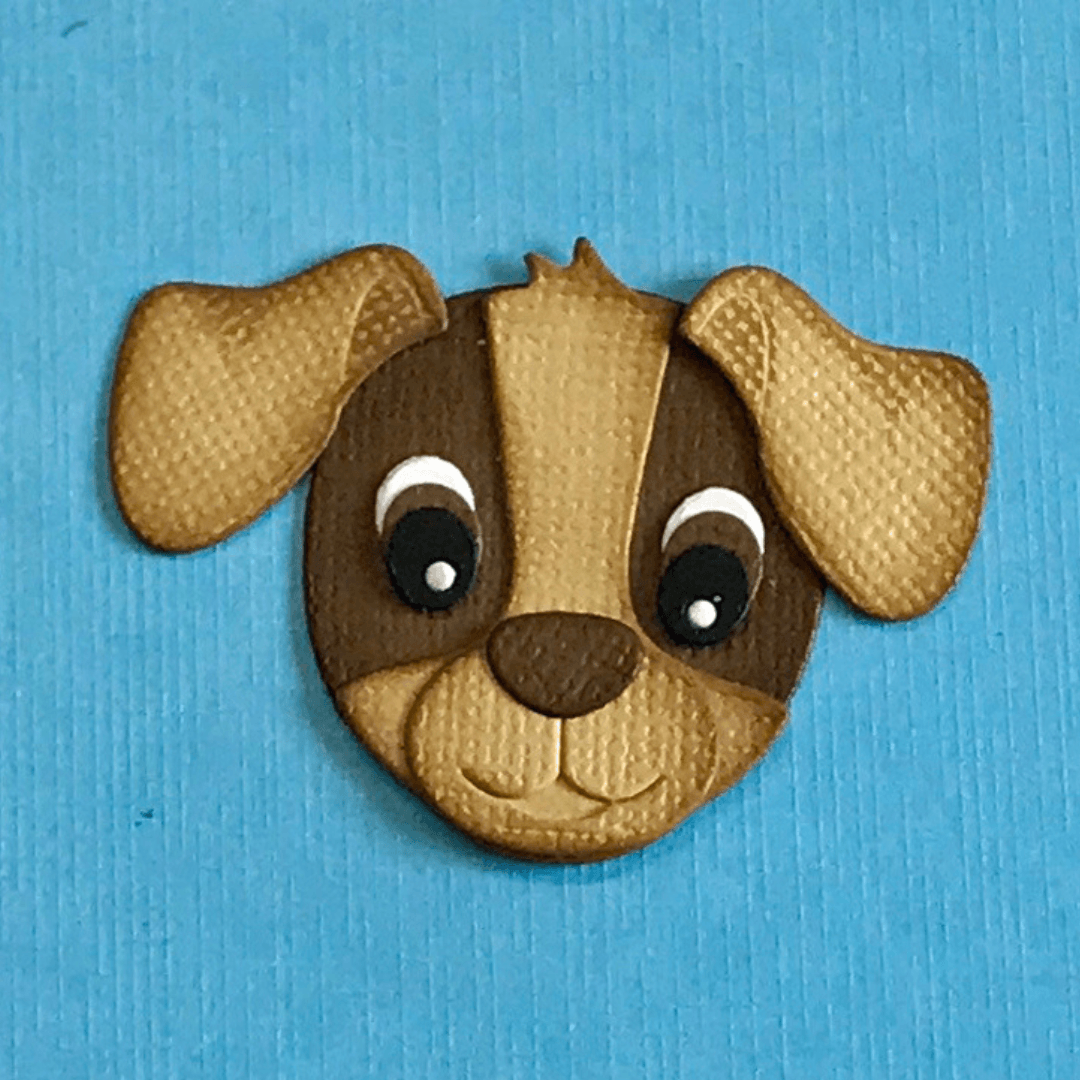
Step 2: I want this to look like a puppy, and we all know how big and gorgeous a puppy’s eyes are! So I experimented by cutting the eyes from the Dog collection and also used the one from the Big Mouse to see which I preferred. I cut the tongue and the nose from colored card and glued them in place.
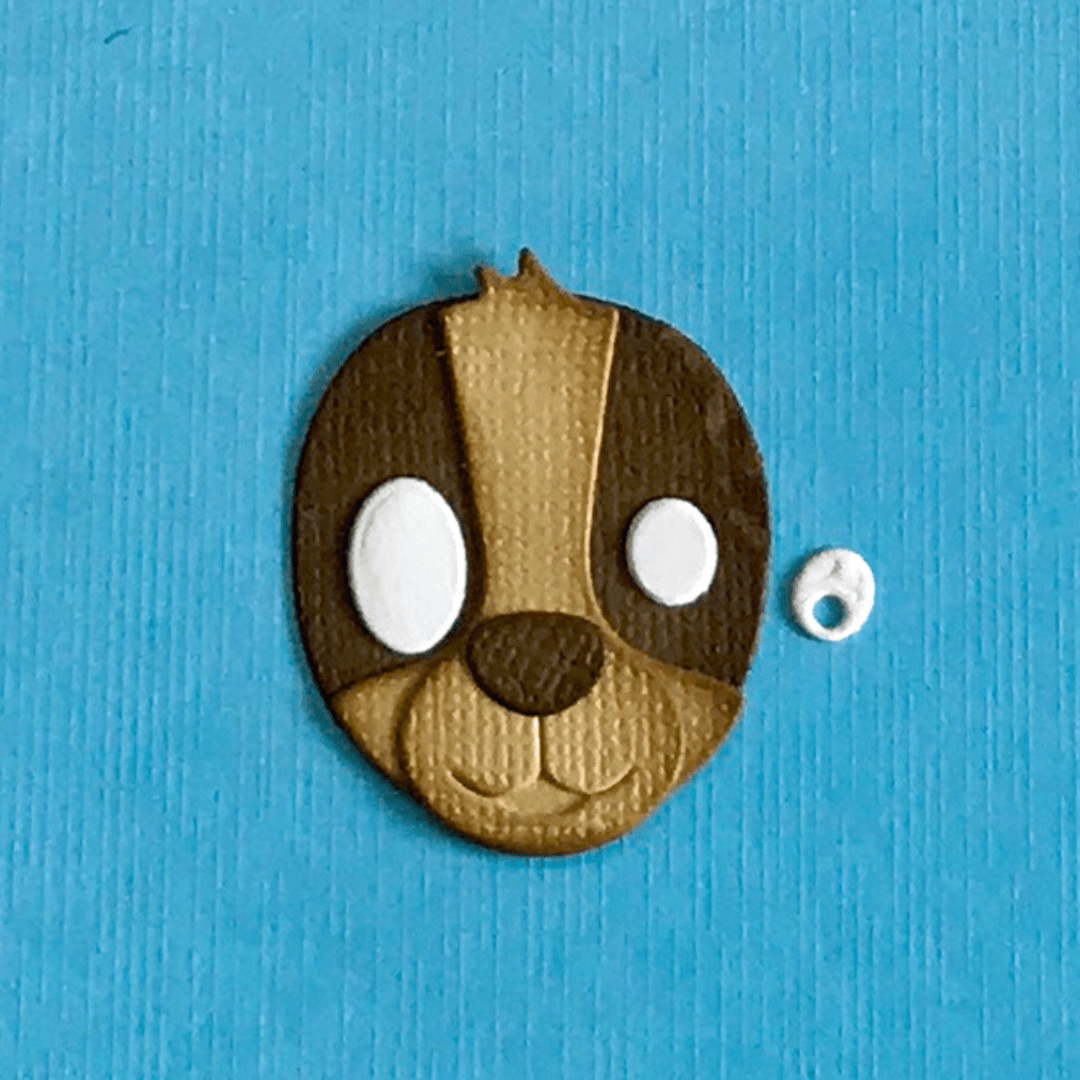
This is the face with the larger eyes.
This is the face with the small eyes.
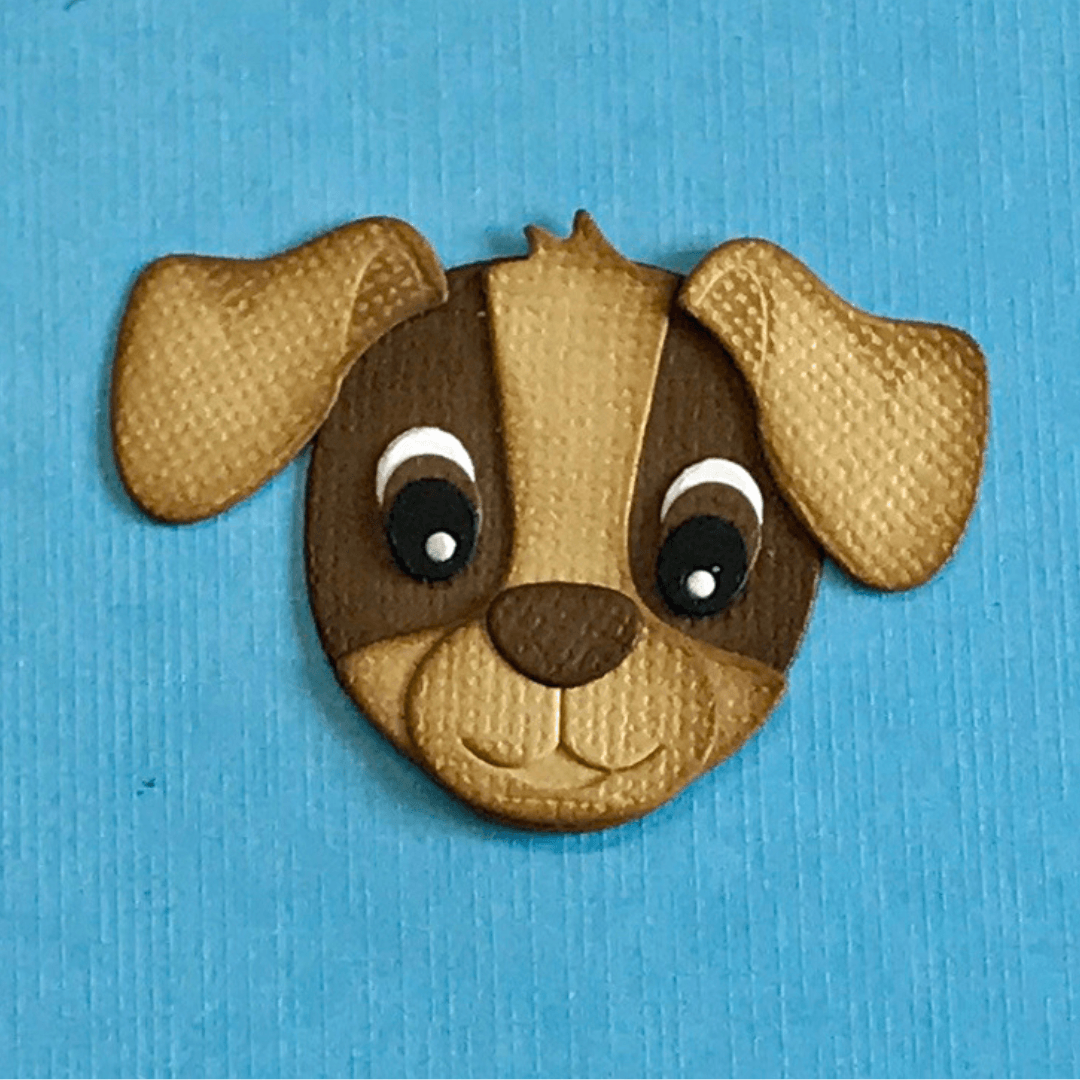
Both are adorable, but I decided to use the ‘mouse’ eyes.
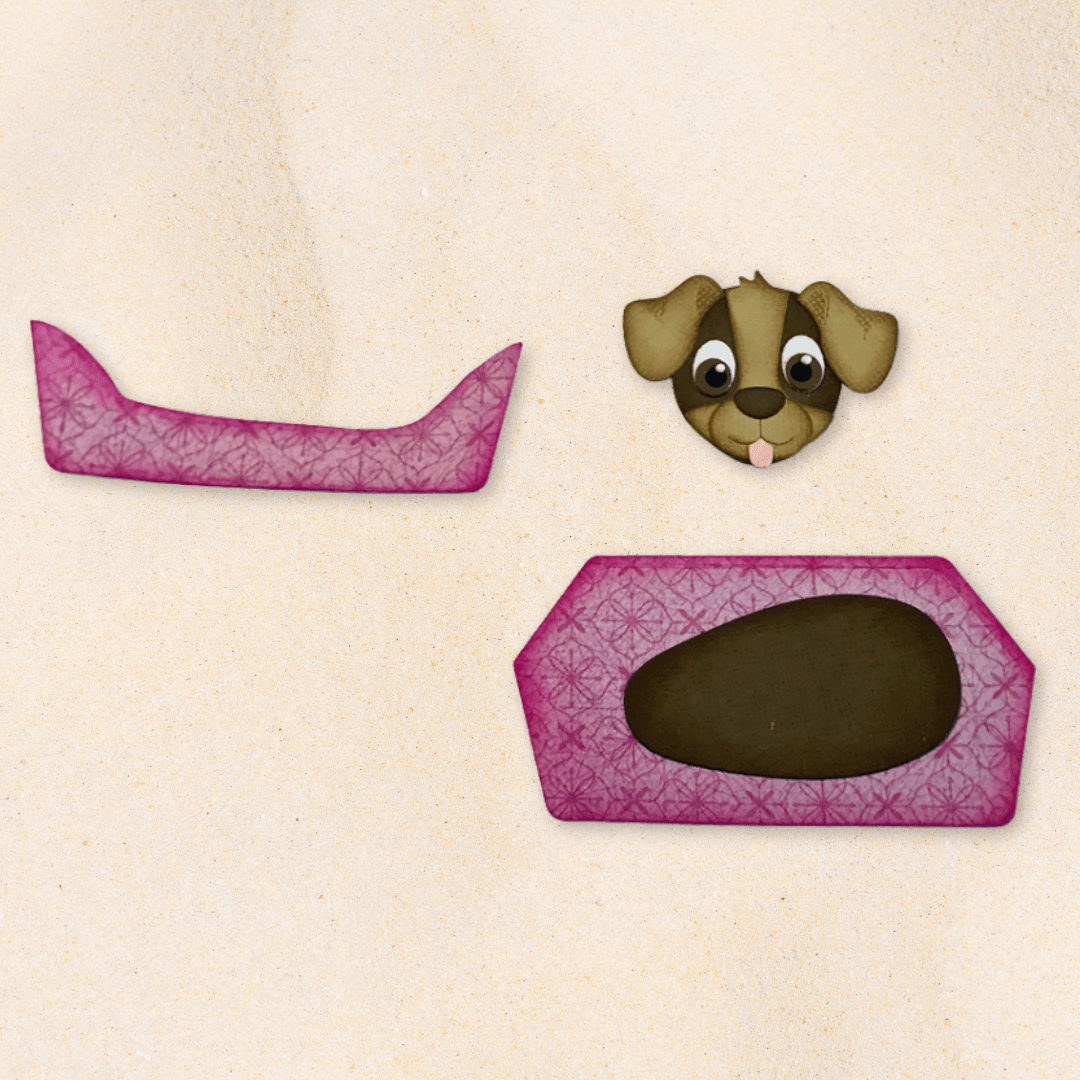
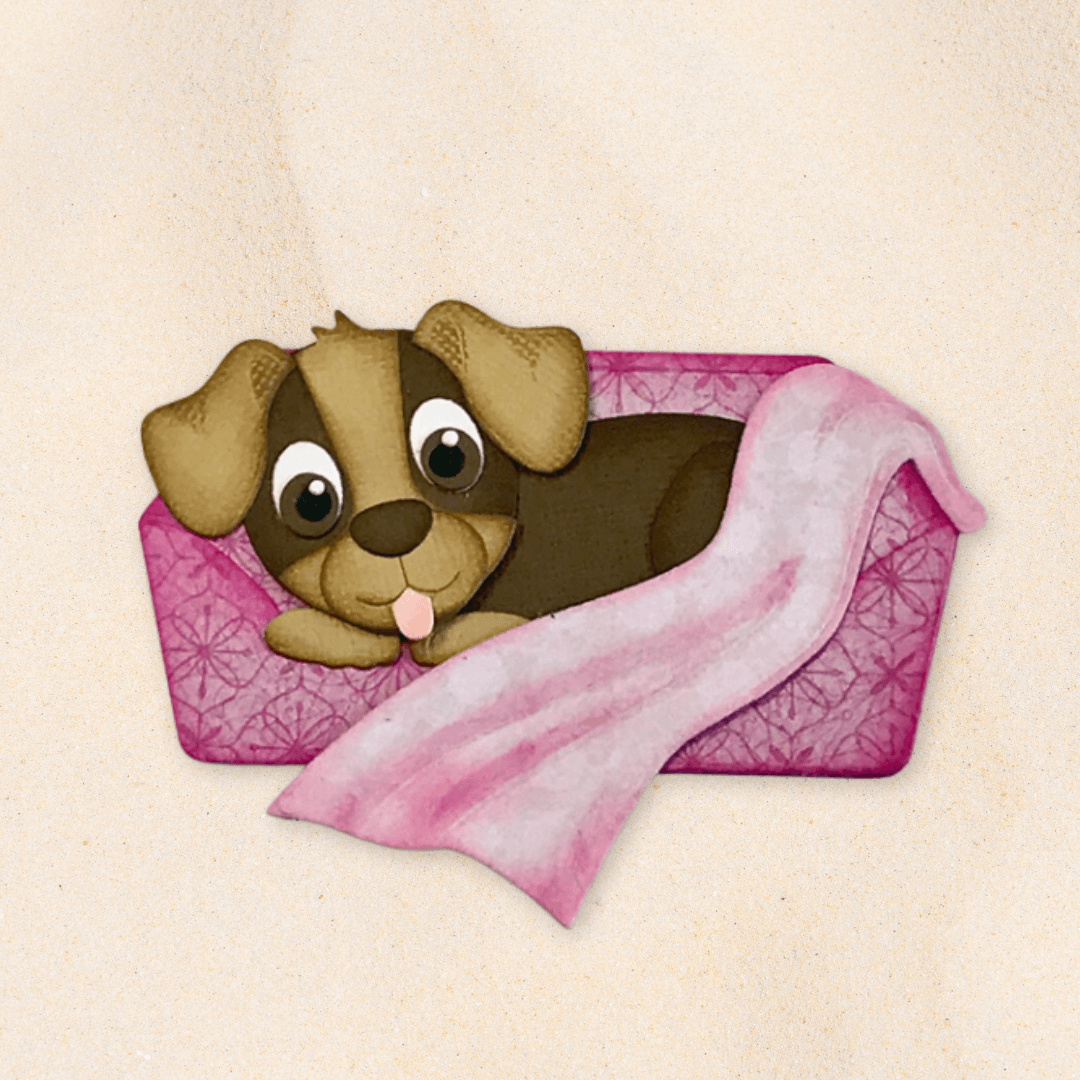
Step 3: I picked a lovely pink piece of card from the Beautiful Brights paper pad and die-cut two dog beds. I snipped away the front of one of the beds and inked all around with pink raspberry distress ink. I then put the dog's ‘body’ in the center of the bed and glued it in place. I added the back leg and glued it in position, too.
I glued the front of the bed in place.
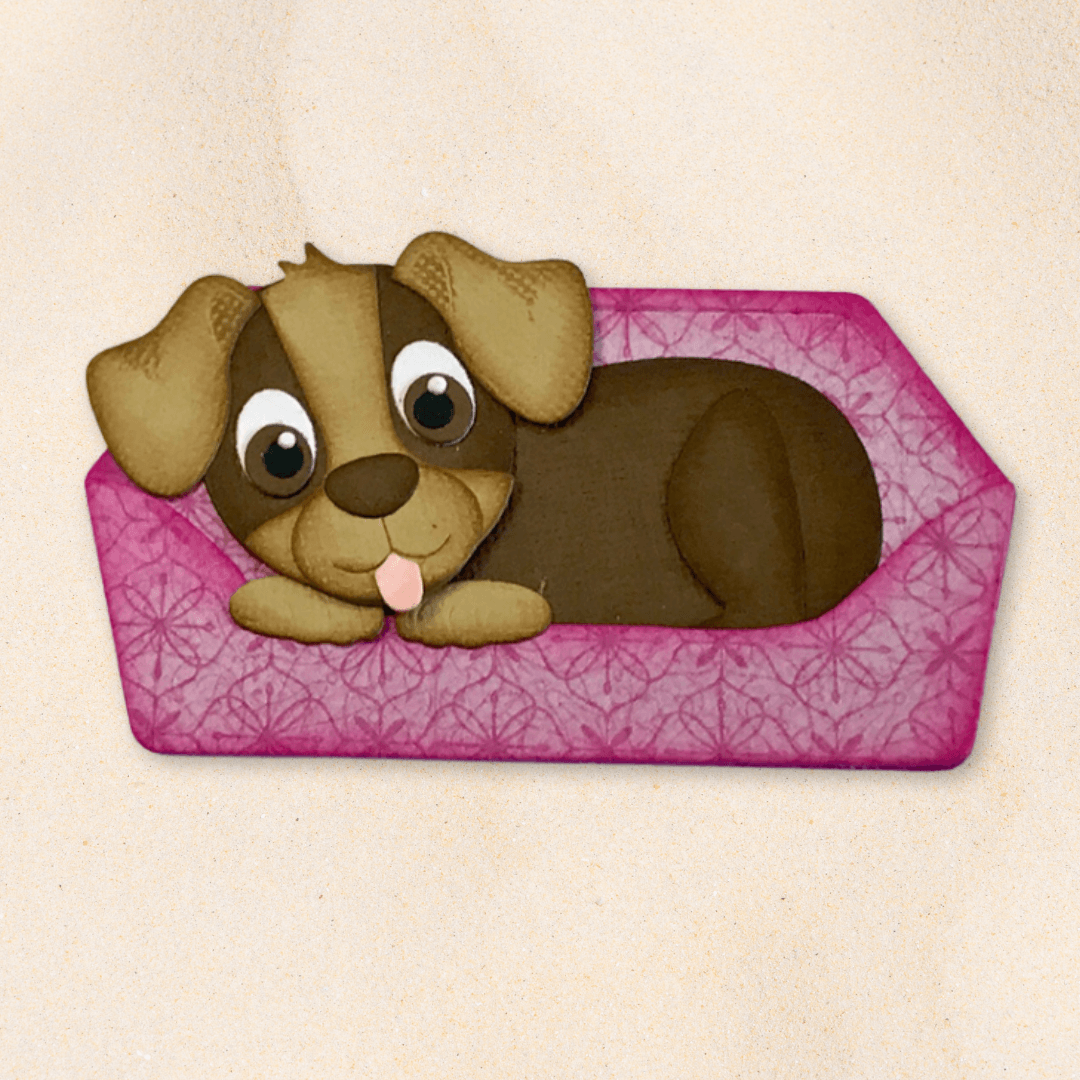
Step 4: Now, position the dog’s head. Sometimes slightly tilting the character’s head gives it a whimsical look, so play around until you’re happy with the position. I added two paws under the dog’s chin as he peers out of his bed. I die-cut the blanket from pale pink card and inked the edges. I used a pink colored pencil to add some extra shading in the folds. It was then glued in place, partially covering the dog.
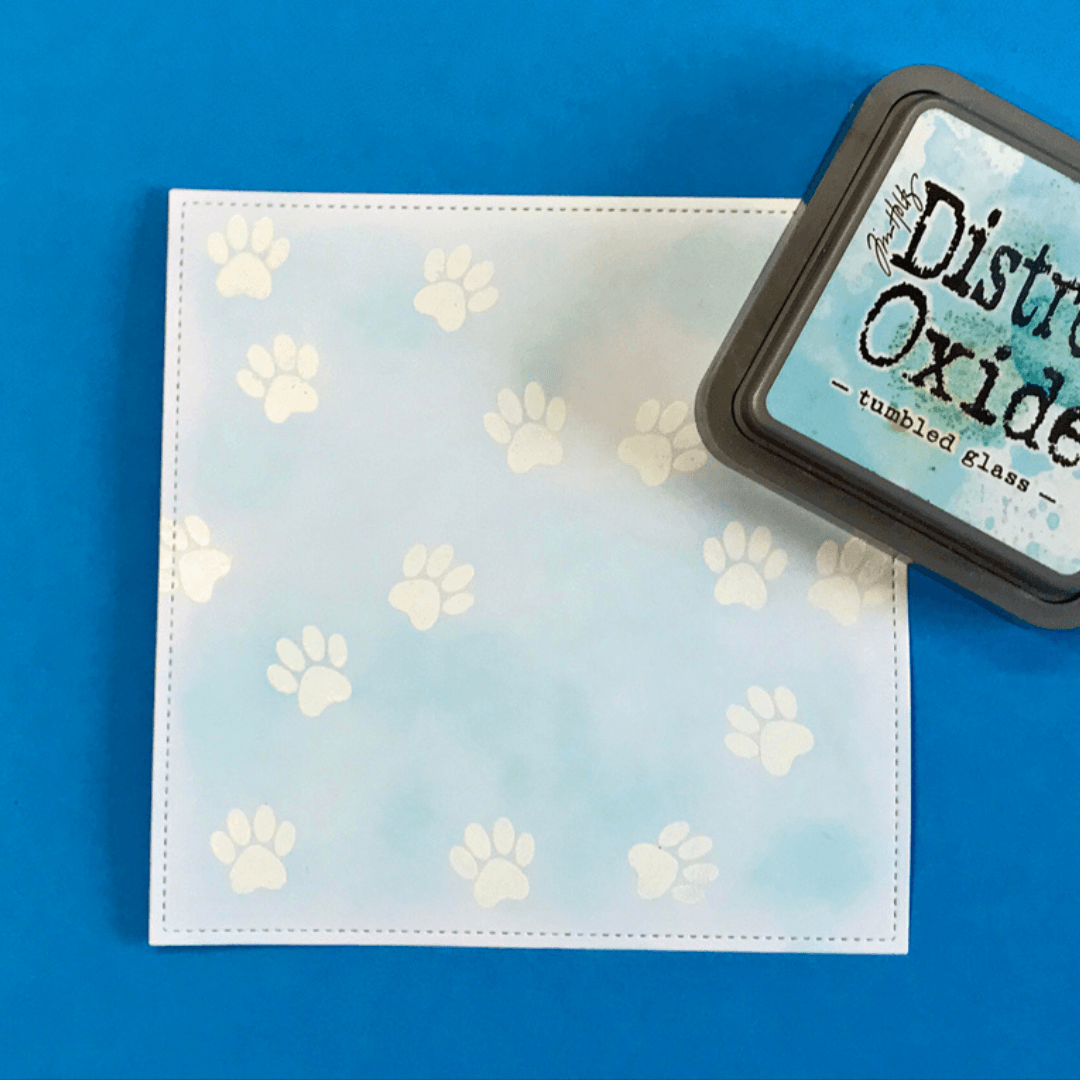
Step 5: I used a 15 x 15 cm white card base. Using the 13x13cm stitched square from the Stitched Square and Circles die set, I cut out a square of white card. I then stamped the paw print from the sentiment set randomly. I used a clear ink pad ( Versamark ), applied white embossing powder, and then set it with my heat tool. I let that cool, then blended over some Tumbled Glass Distress Oxide. The white embossed paw print stands out nicely and adds a bit of interest.
I then die-cut a 14x14cm square from the same pink as the dog bed. I then layered the mats up and placed the dog bed in the middle.
Step 6: I stamped the sentiment with Versamark ink onto black card and heat embossed with white embossing powder. I glued this in position.
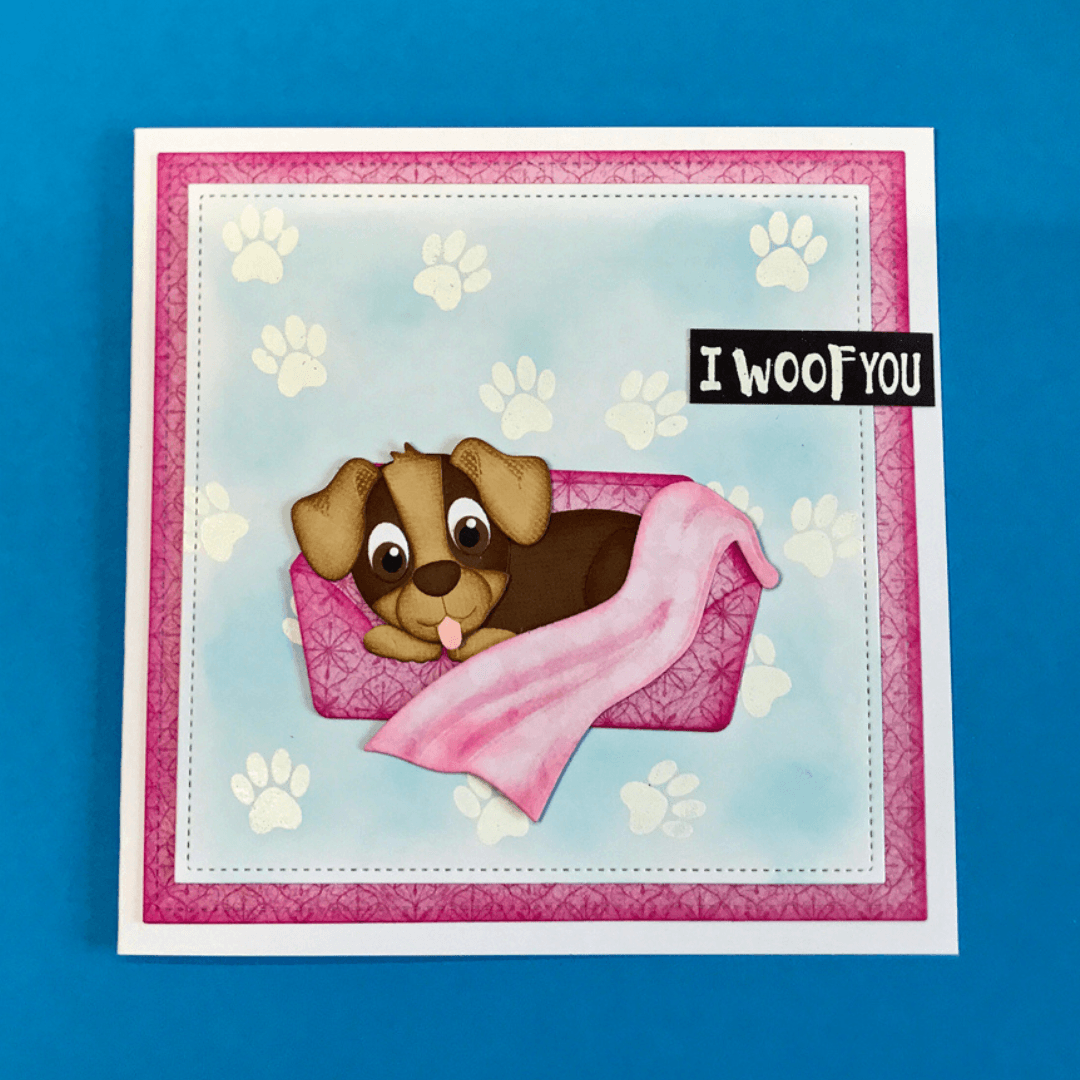
This is a great card to make, and depending on what sentiment is used, it will cover all occasions. I hope you’ve enjoyed this tutorial and I look forward to seeing your makes on the Elizabeth Craft Designs Family Facebook page.
Make sure you share your projects with us in our Facebook Group HERE. We love to see what you create!
Never miss a tutorial and sign up for our emails today HERE.
Elizabeth Craft Designs Products Used:
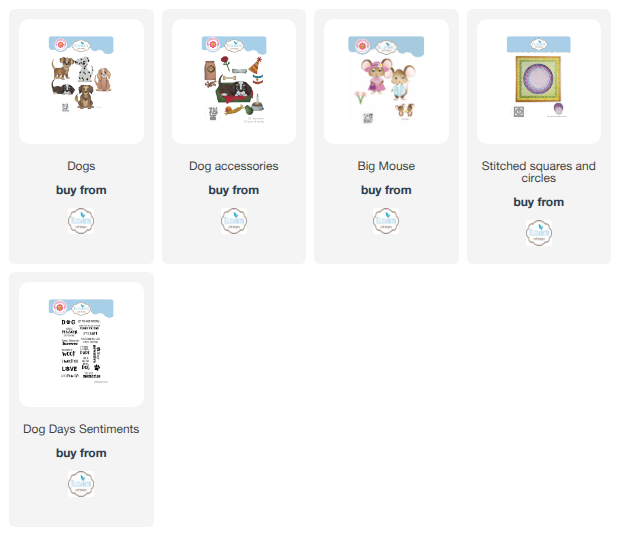
Other Products: Distress oxides, Versamark ink, White embossing powder, Heat gun.