Mini Tag Pockets
Do you want to add creative and functional elements to your art journals using pockets and tags but don’t know where to get started? Join us and learn the steps to creating your own stunning journal pages featuring pockets perfect for holding tags and photos. Discover how you can add texture and depth to your art journals using stenciling and heat embossing.
Whether you're documenting special moments or simply looking for a new way to decorate your pages, Janet’s tutorial will guide you through the process of bringing your Mini Tag Pockets to life!

Hello there, Janet here! I wanted to share how I made this page for the XL Journal using Devid’s Hinged To the Past collection. So, let’s get started!
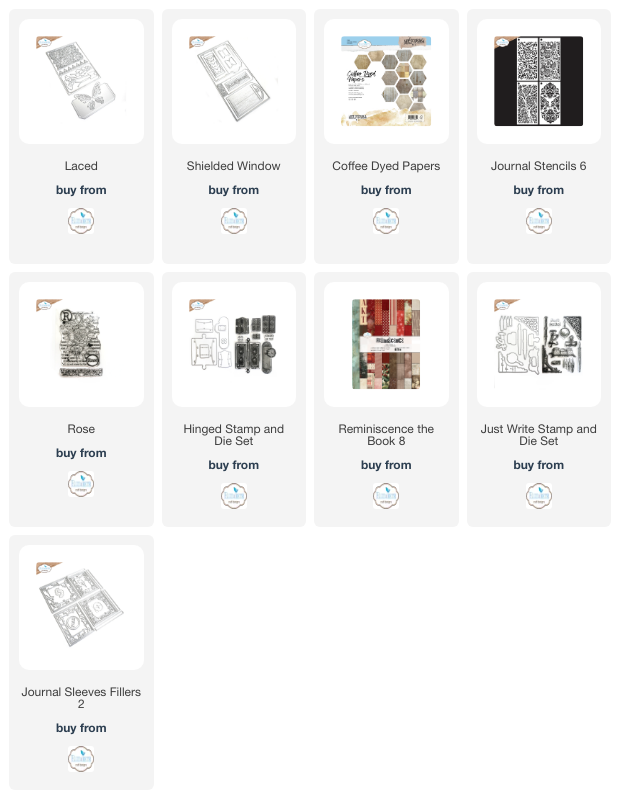
Step 1: The pockets are cut out from Book 8 papers, using the tag die from 2210 Laced. You will see in the photo below I die-cut three tags, but I only used two in the end. I also die-cut three of the larger tags from 2211 Shielded Windows. Again, I only used two, but I have some pieces ready for my next project!

Step 2: My base page fits the XL journal and is made using paper from the Coffee Dyed paper pack. On this base, I hand-tore a book page large enough to fill most of the space, as I wanted pieces of this to peek around the edges of my finished layout. Before adhering it to the page, I crumpled it and inked the edges to distress it.

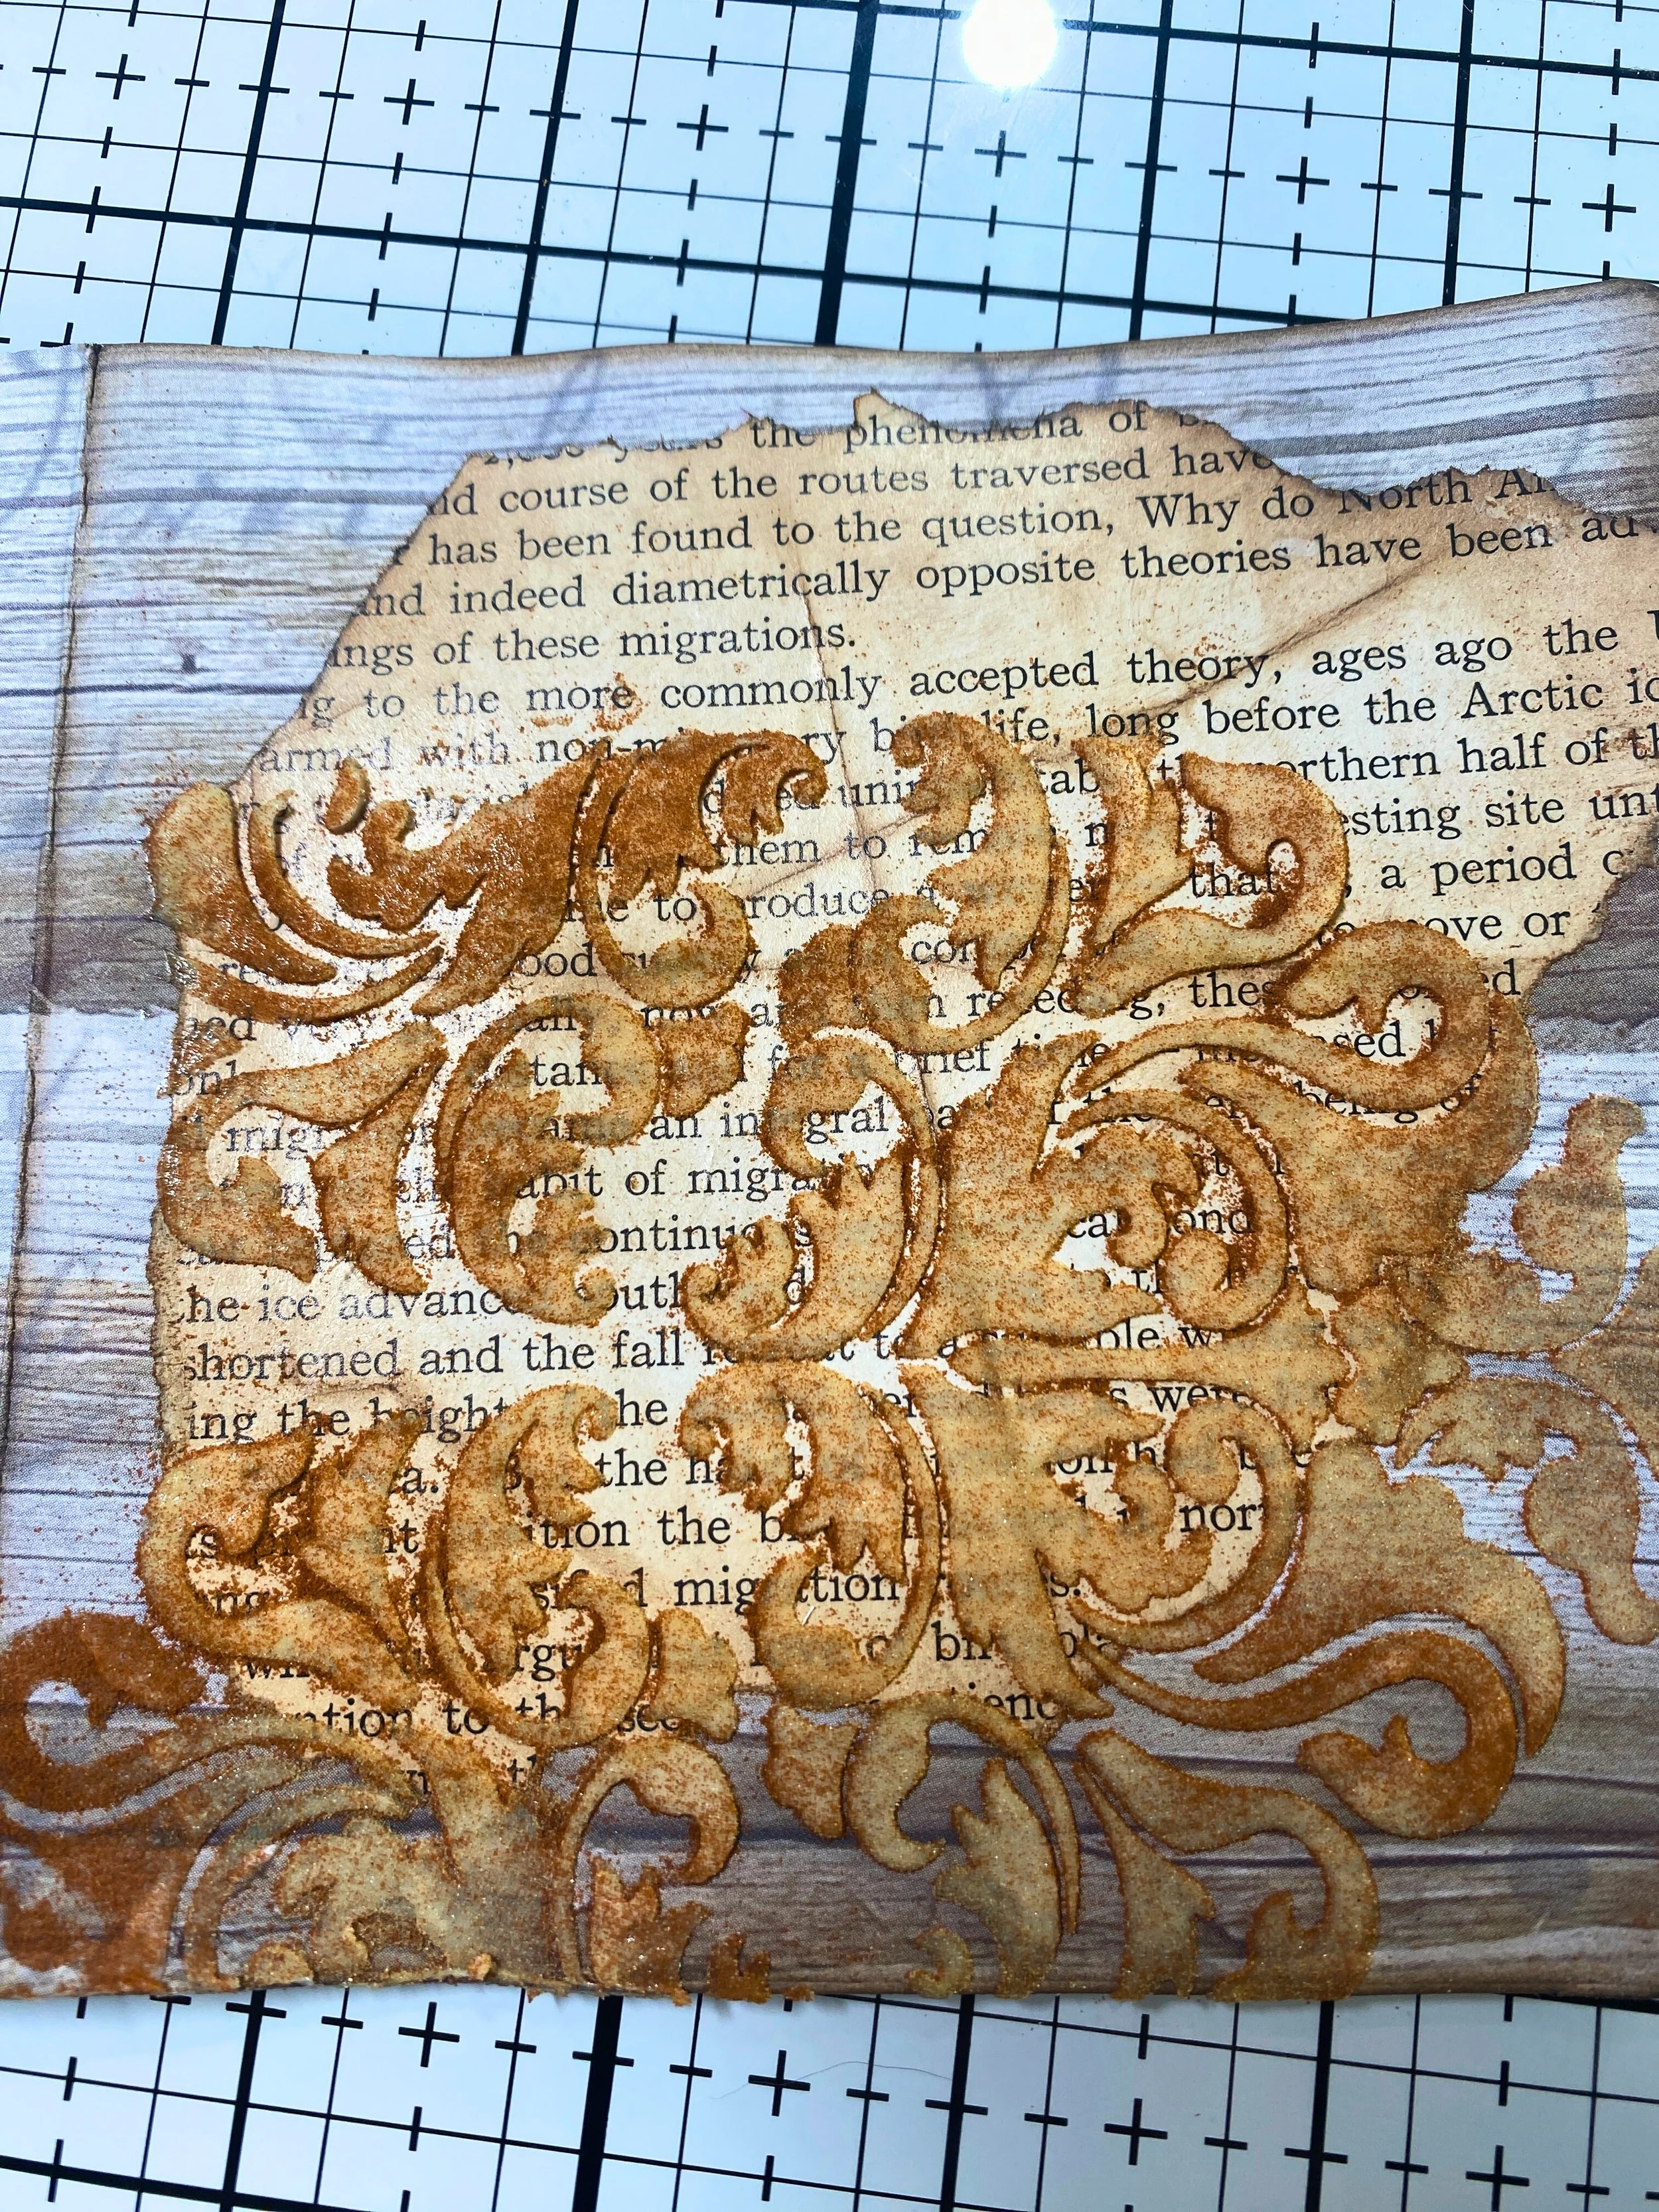
Step 3: Next, place a stencil from Journal Stencils 6 at the bottom of the page. Here, you can decide how much of the design peeks out from under the pockets.

Step 4: Apply Tim Holtz Distress Translucent Texture paste through the stencil, and before lifting it, sprinkle two colors of Distress Glaze over the top. Getting the coverage I wanted took several layers of ‘sprinkling.’ Next, pull up the stencil and cleaned it right away before the paste can dry, and then put the page aside so the texture paste can cure. The glaze will set on top of the paste until it’s fully dry. When it’s dry come back to heat emboss the glaze from underneath. Waiting and letting the paste dry naturally will prevent it from bubbling.

Step 5: This is what my design looked like when the stencil was removed. After a couple of hours, it should be firm to the touch; this shows the paste is cured and ready to be embossed from the bottom.
Step 6: Fold the large tags in half to form the pocket. At the top, I used a circle punch to cut a small section out; this indicates where the tags and pictures can be inserted. Then, using various parts of the Rose and Hinged Stamps create background texture on the pockets using brown ink, continuing to ink all the edges to grunge them up.

Step 7: At this point, you can add any pieces of ephemera from Book 8 to embellish as you wish. If one piece is too big, tear your favorite part off and combine it with others to make mini collages. Ultimately, I wanted to use the stamp ‘Hinged on You’ instead of friends, so I stamped it onto another scrap of Coffee Dyed paper and glued it right over the friends. But I wanted to have the zig-zag stitching peeking out. Play around with the placement of ephemera until you know what is right for you.

Step 8: At this point, the paste has dried, so using my heat tool from the underside, I slowly embossed the glaze to create that magical look. So cool, right?!

Step 9: Speaking of glazing, before assembling, stamp the clip stamp from the Just Write set with black permanent ink onto a scrap piece of Coffee-Dyed paper. Then, cover the image in Versa Mark Embossing Ink and sprinkle it with Antique Linen Distress Glaze to give it a vintage look. I cut out the clip once embossed, as Distress Glaze is very flexible, and then I shaped it to give it more dimension.

Step 10: As I said earlier, I decided to just use two pockets to really showcase the embossing of the stencil. I added a couple more small pieces of ephemera and then glued all the pieces to the page.

Step 11: The smaller tags were used to be the backgrounds of the pictures. I used the pictures from Book 8, but you can use your own pictures. Oh, one more thing: I die-cut one corner frame from 2209 Journal Sleeve Fillers 2 and attached it to the front lower right pocket. Cute right?!