How to use Photos as Backgrounds in your Memory Keeping Pages
Do you have lots of photos that help tell your story and celebrate your memories, but are not quite focal image worthy? Or maybe you're just looking for fun new ways to use your photos? In this tutorial, you’ll learn how to use them as backgrounds for your pages, creating a fun layout that tells a story with a pop of color and decorative elements from the Rest & Relaxation Collection.

Hi paper crafting friends – this is Denise with PaperKraftD. Do you have photos that don’t really make great focal point images, but are really cool and help tell your story? Today I’m sharing a quick and easy pocket page tutorial that will hopefully inspire you to use those photos in a unique and fun way — as background paper for your memory pages!!
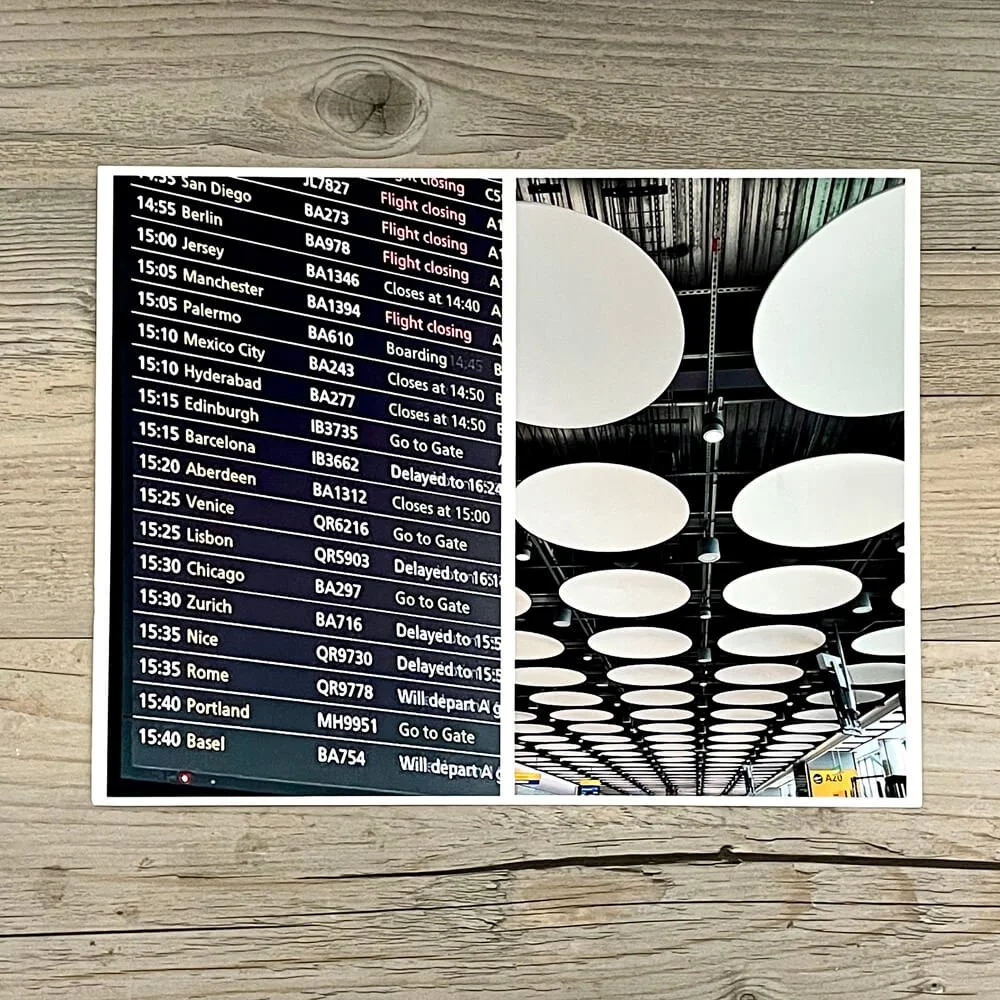
Step 1: You can use any photo you like for this project, but I think aesthetic photos that don’t feature people work best (you don’t want to cover up the subject with embellishments). In my case, I used photos from a recent trip. Mine were of the flight arrival/departure board and the departure gate ceiling at Heathrow Airport. Print your photos on thick matte photo paper. For my printer, I can set the photo size to 8.5” x 11” and print two photos per page. If you don’t have a printer, you can get photos printed professionally in 8” x 10” or larger sizes.
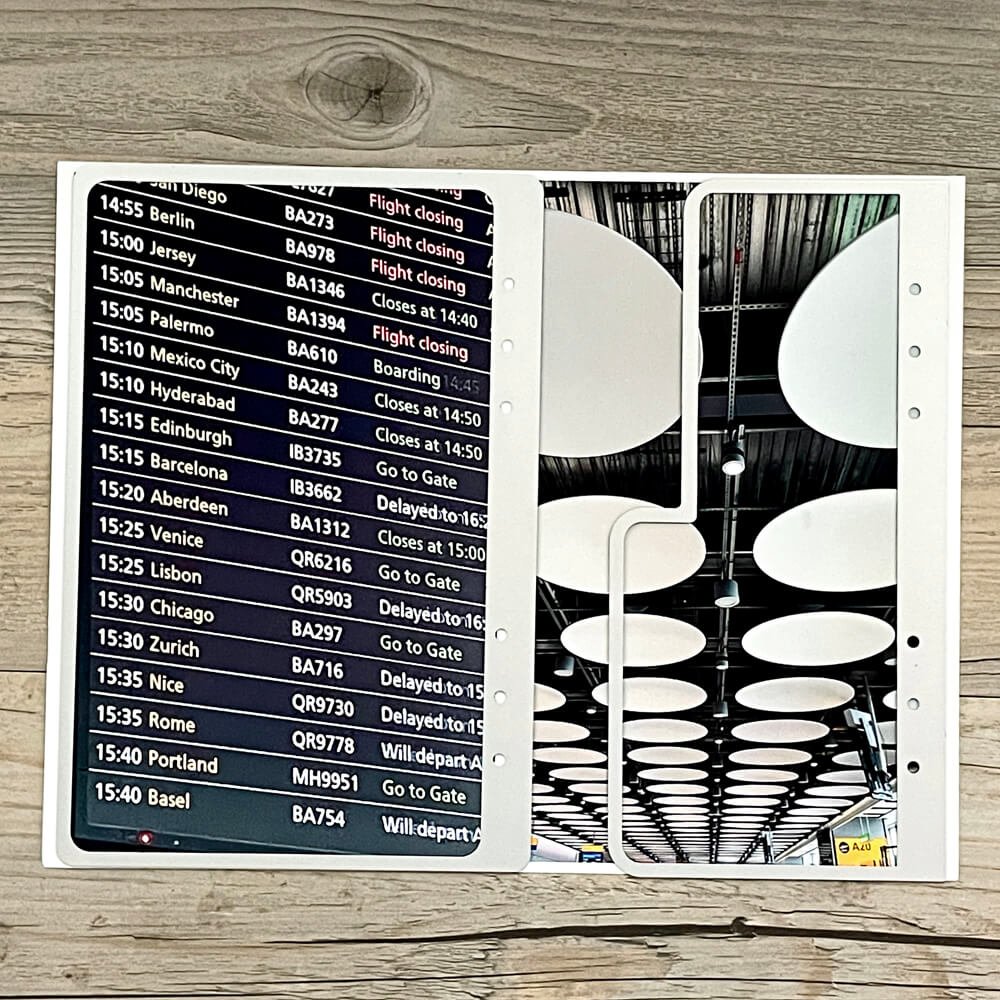
Step 2: Cut your pages from the photos as shown. In this project, I used the rounded page (2356 - Rounded Travel Page) on one photo and the slim base page (2357 – Home Hobbies) on the other photo. Note that I cut my photos so that they would be oriented as a left-sided page in my memory binder, and I flipped my slim base page upside down. The rounded page will extend beyond the width of the photo, but that’s fine since that portion will be covered by the slim base page.
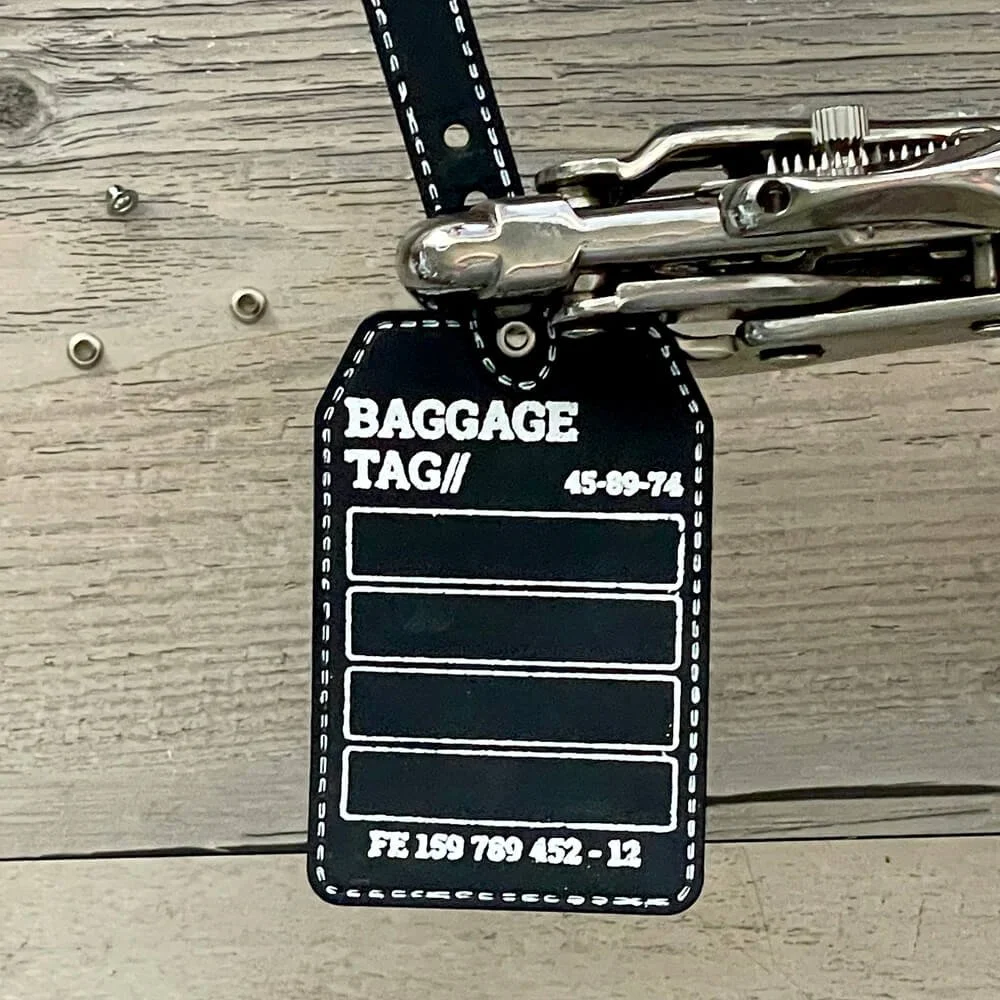
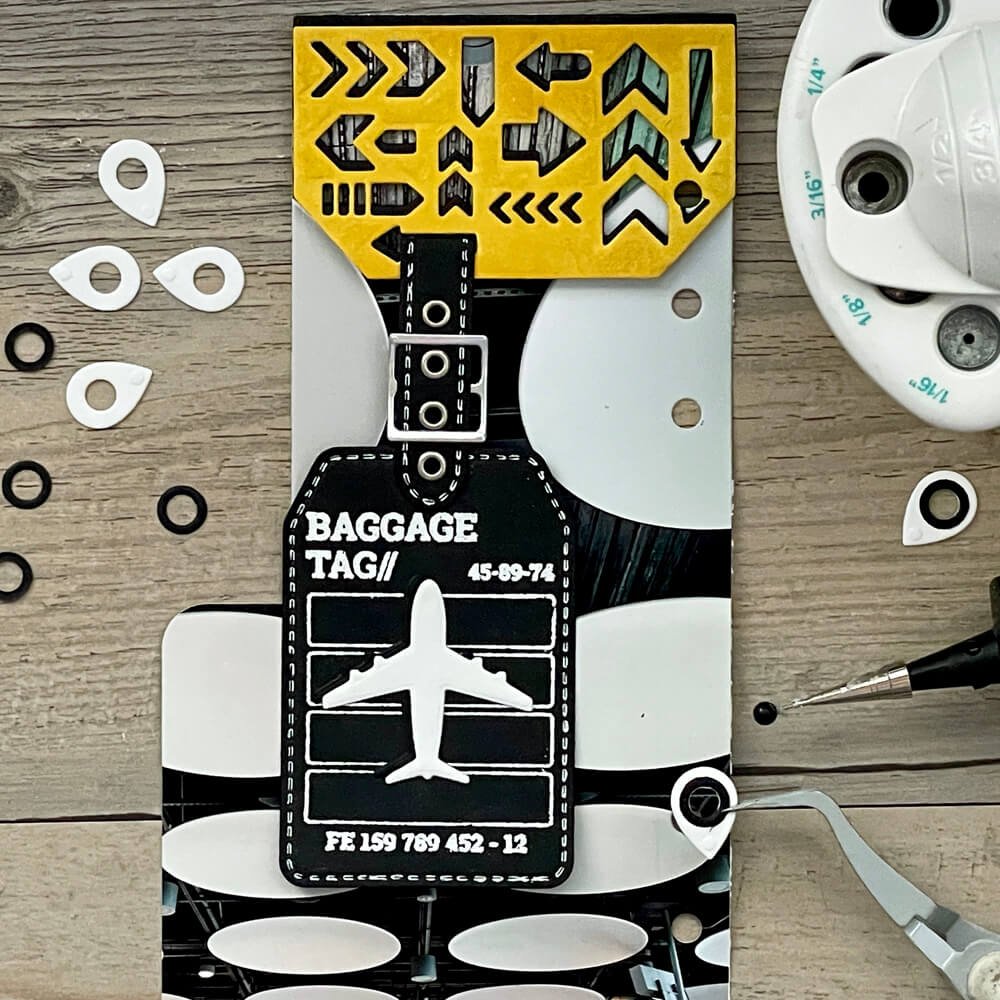
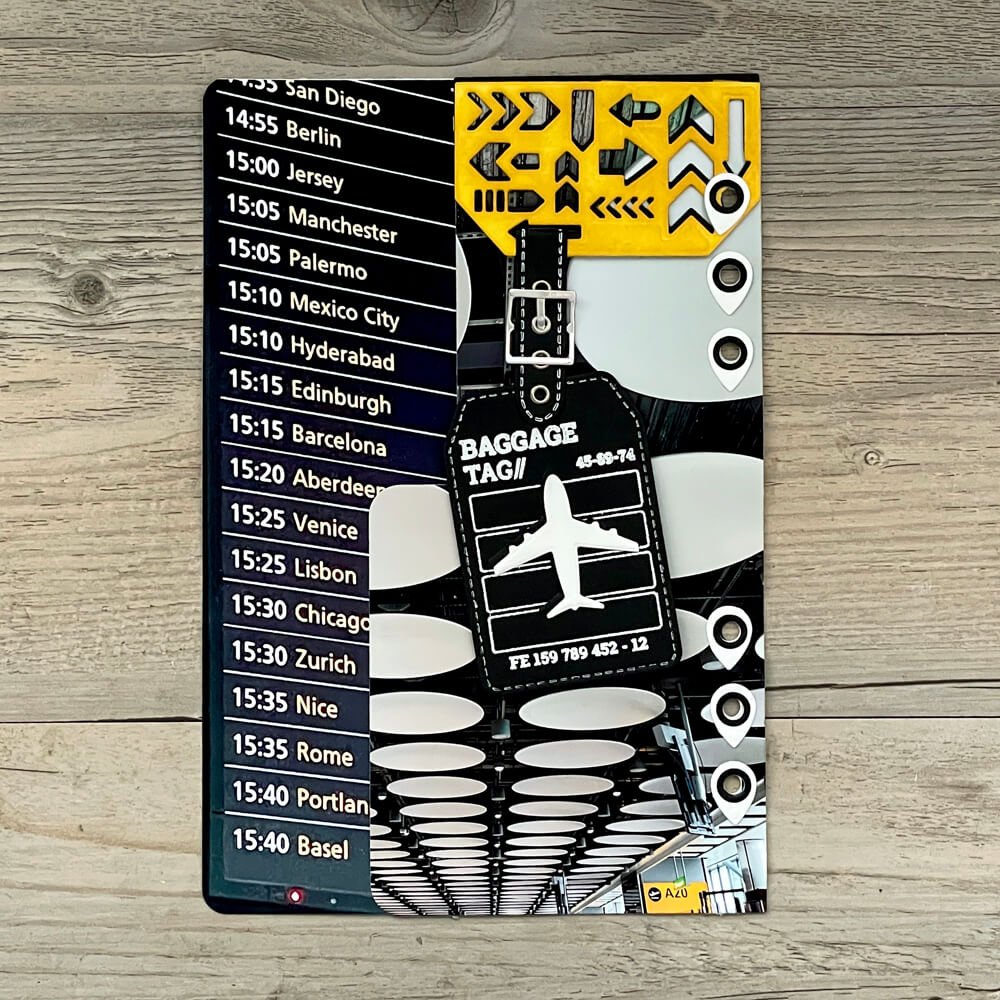
Cut the arrow tag topper (CSD455 – Layered Tags Stamp and Die Set) from white and black cardstock. From the rounded travel page die set cut: the luggage tag and its belt from black cardstock; the buckle from silver cardstock; the airplane from black and white cardstock; 6 of the map pin hole reinforcers from white cardstock; and 6 of the mini circle hole reinforcers from black cardstock (2356 – Rounded Travel Page).
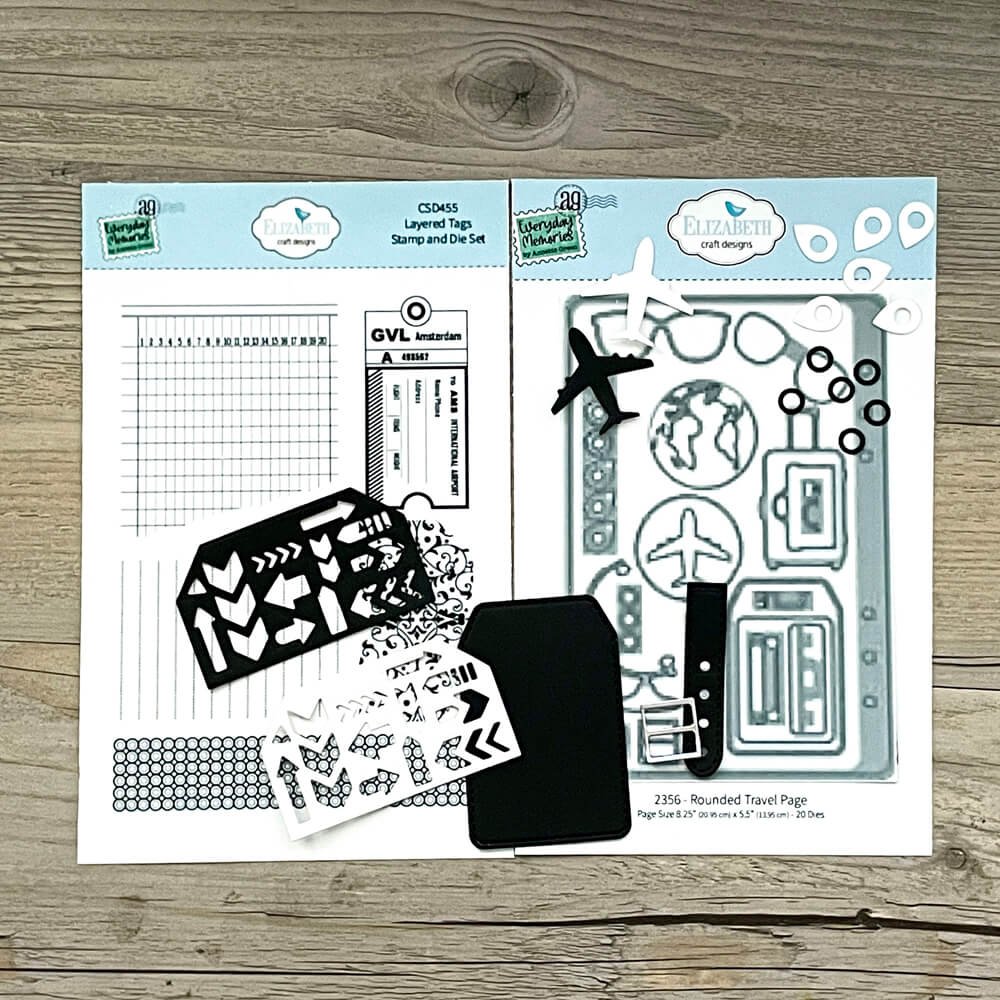
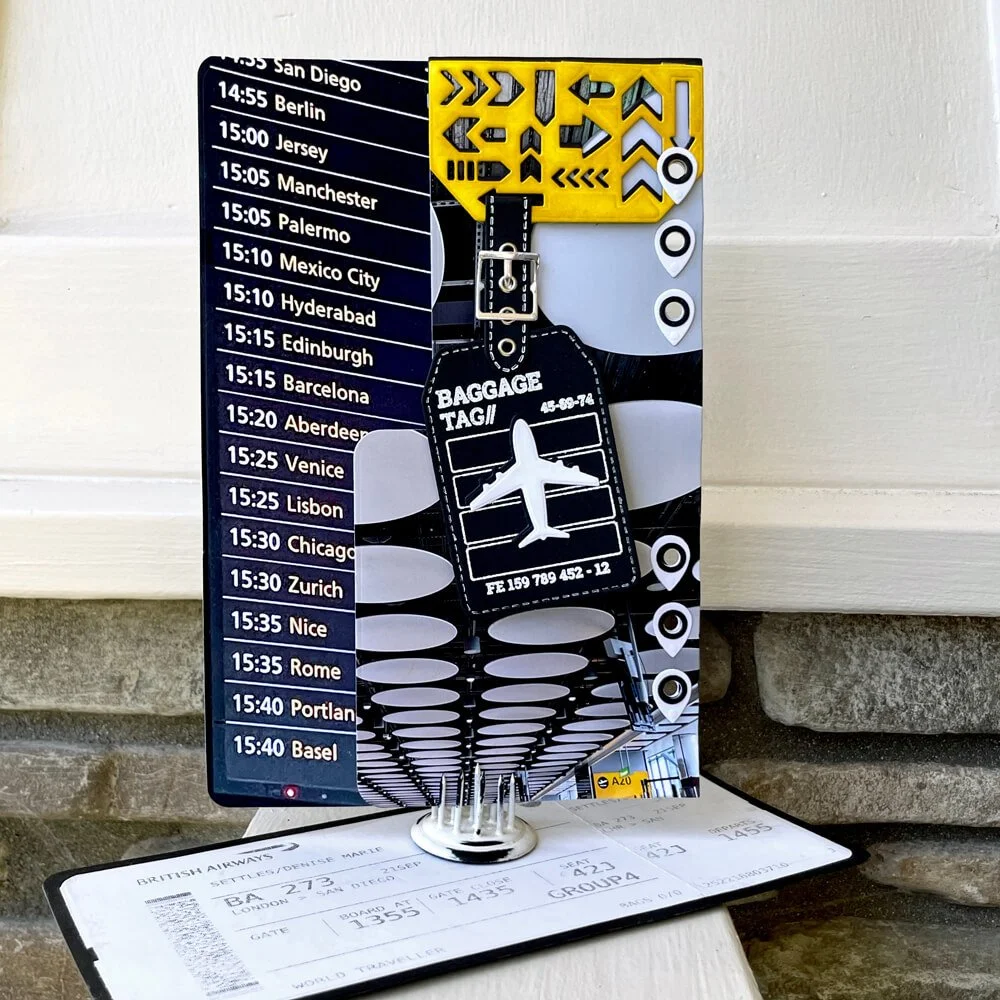
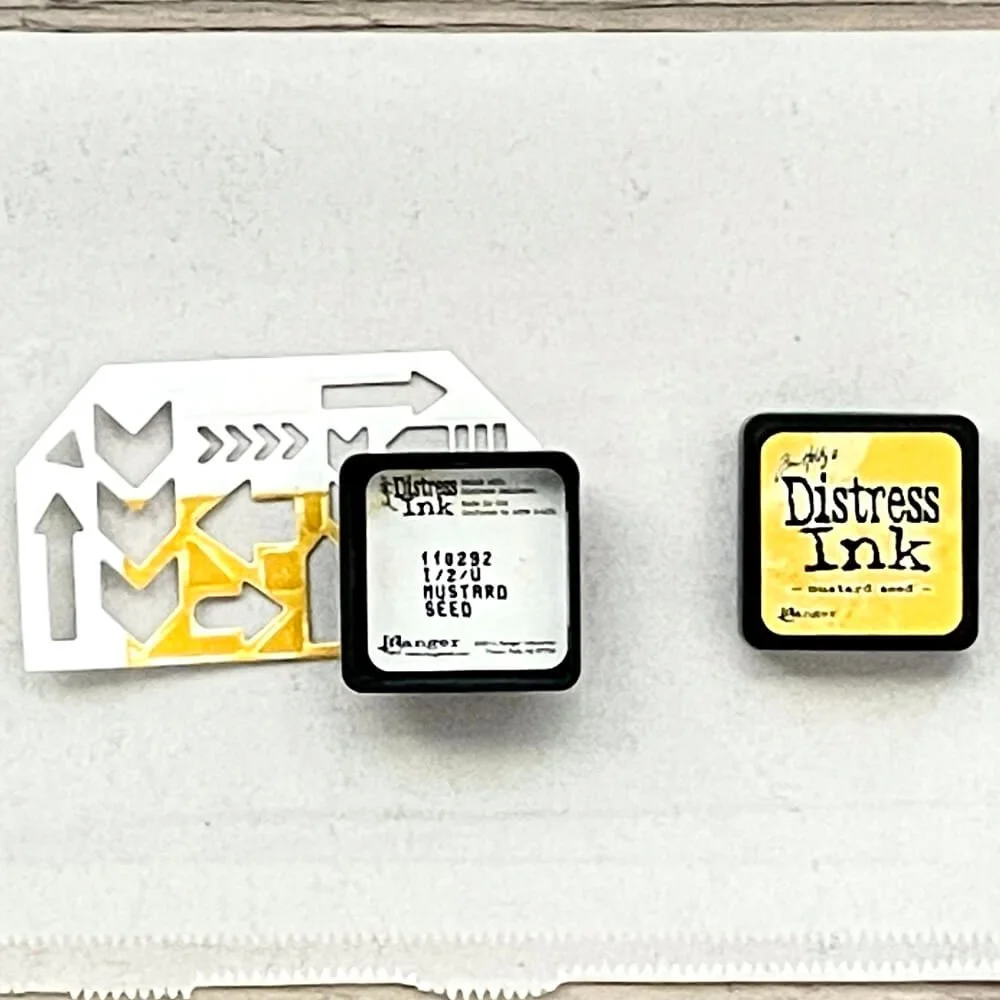
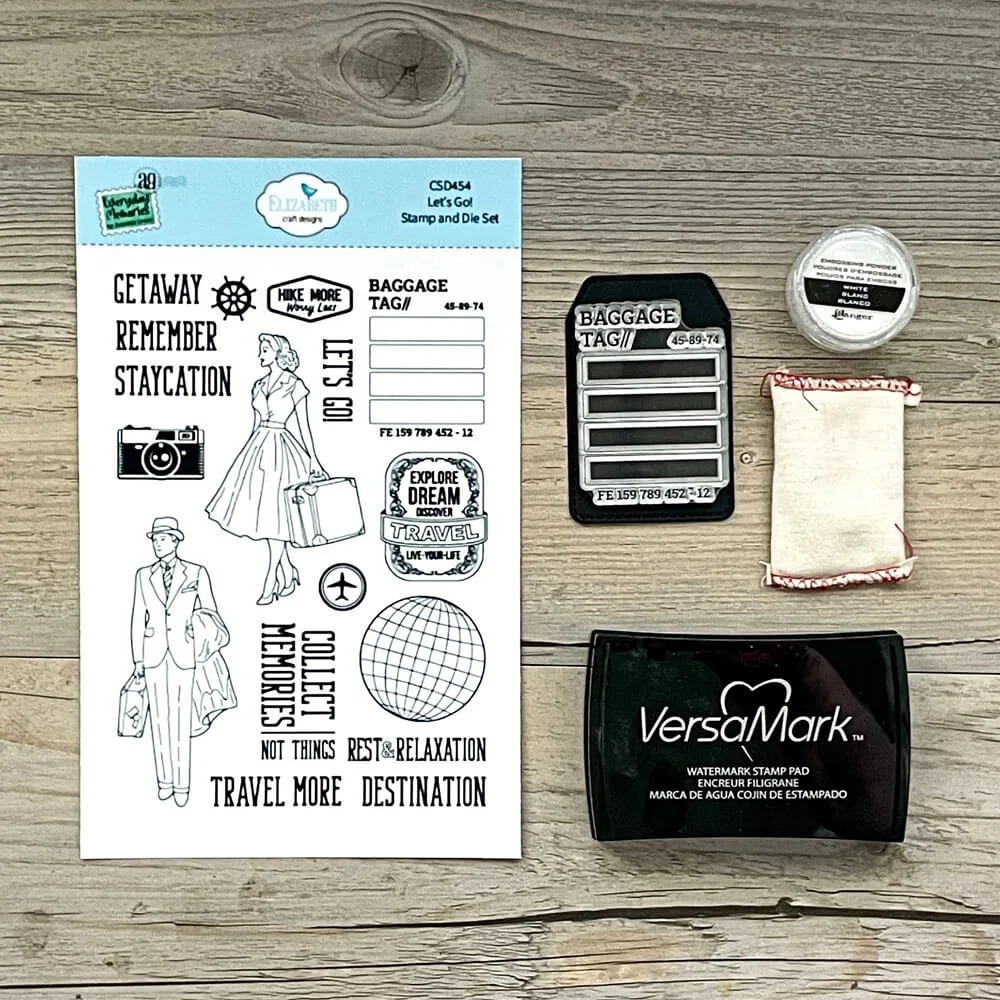
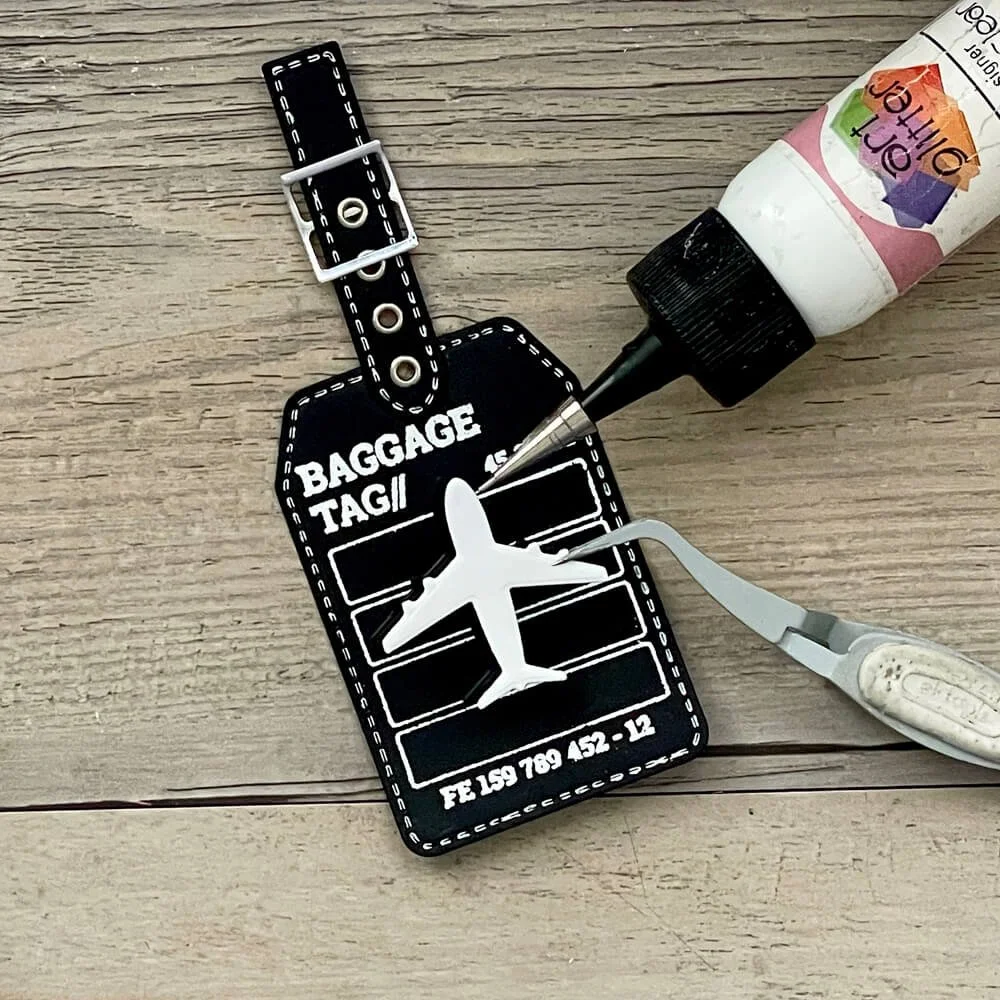
Step 3: I inked the white arrow tag topper with yellow ink to unify my photos: it echoed the yellow in both my photos and added a nice pop of color in an otherwise black & white palette. Stamp and heat emboss the baggage tag (CSD454 – Let’s Go! Stamp and Die Set) in white on the luggage tag (2356 – Rounded Travel Page).
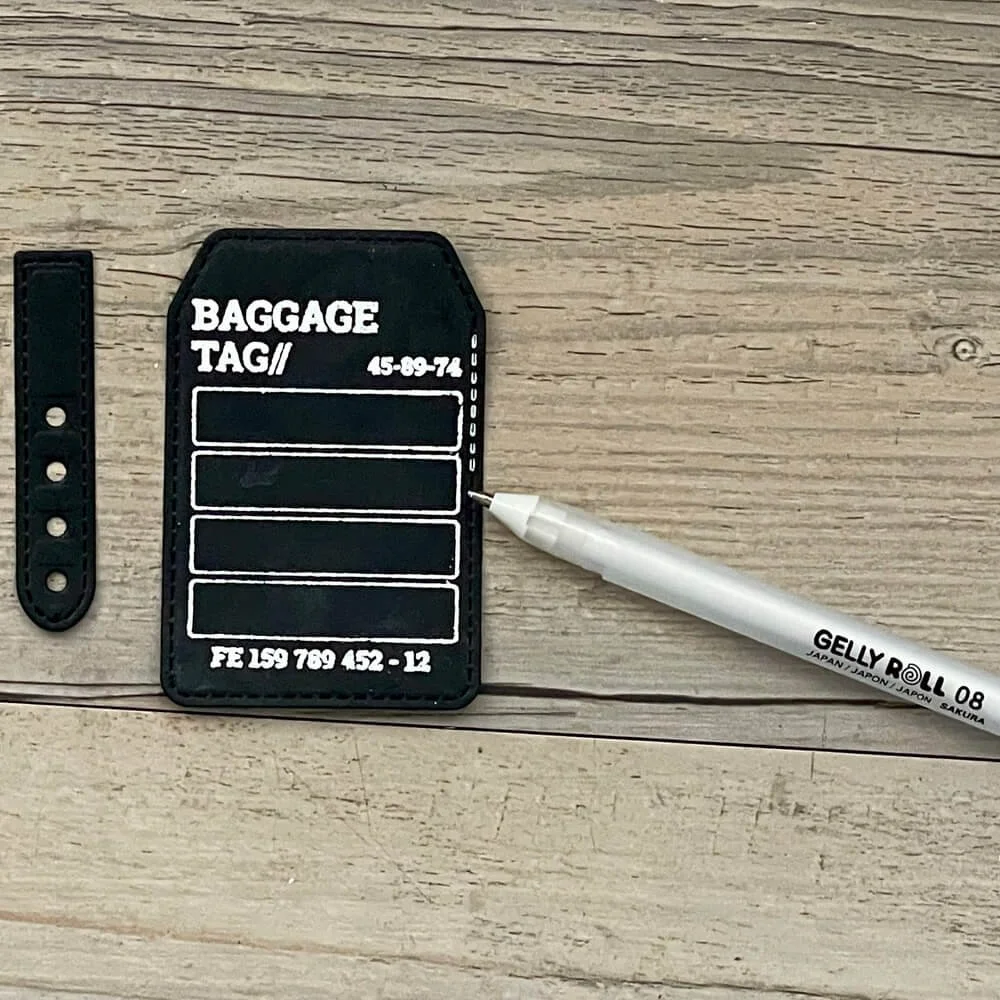
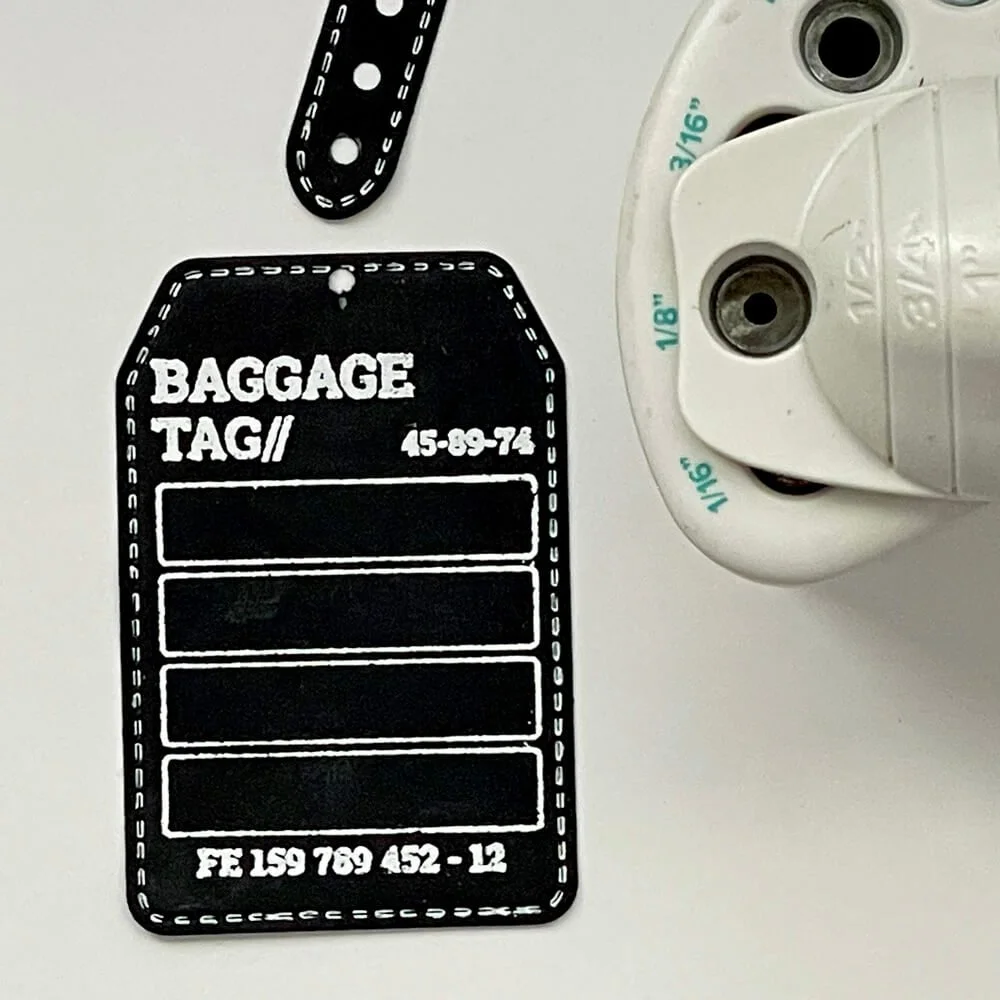
Step 4: Use a white pen to highlight the stitching detail on the luggage tag and its belt. Punch a ⅛” hole in the top of the luggage tag (the same size as the belt holes). Connect the luggage tag to the belt with a ⅛” silver eyelet. Add silver eyelets to the rest of the belt holes. Thread the belt buckle through the belt. Layer and slightly offset the white airplane on top of the black airplane and adhere to the front of the luggage tag.
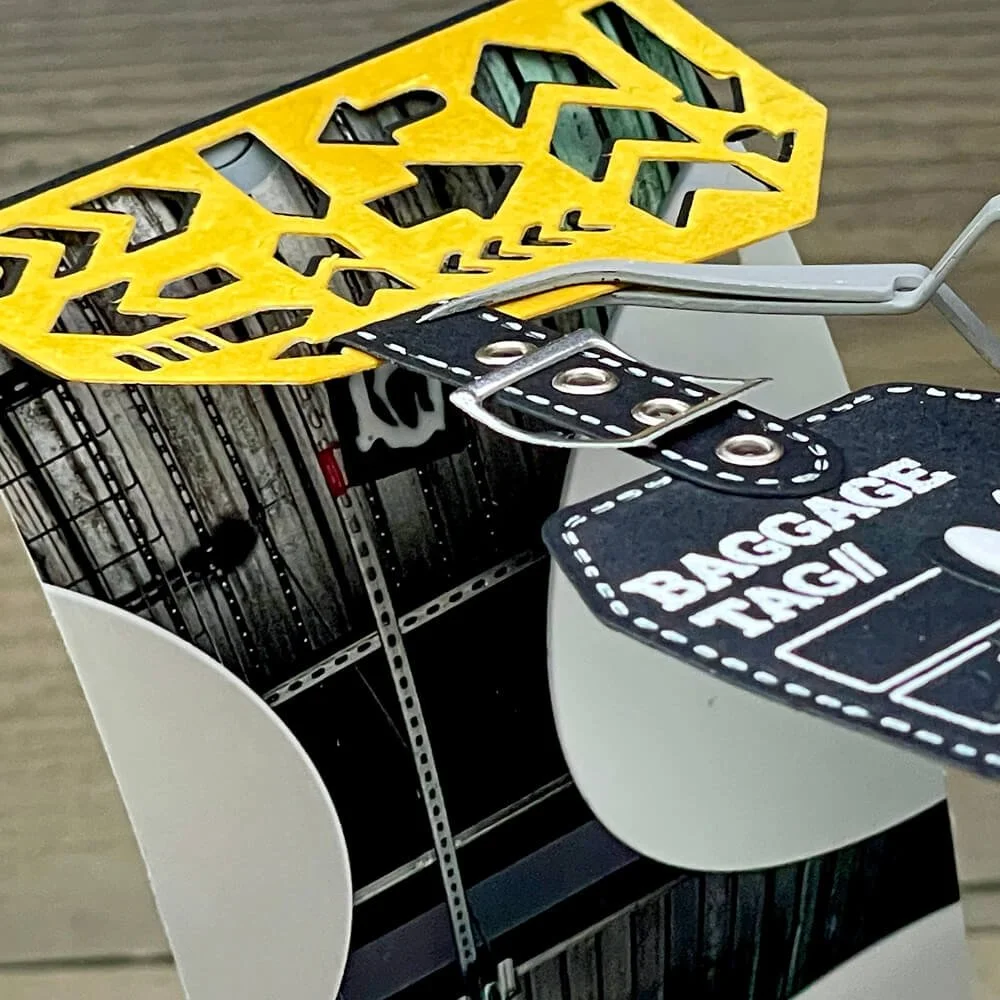
Step 5: Slightly offset and adhere the yellow arrow tag topper to the black arrow tag topper. Adhere just the top of the arrow tag topper to the top of the slim base page. Fold the top of the belt at approximately ½”, thread through the arrow tag topper, and adhere the back of the belt to itself. If the arrow tag topper partially covers the top hole needed to put the page into your memory binder, just punch a 3/16” hole through the arrow tag topper. Layer and adhere the slim black circle hole reinforcers on top of the white map pin hole reinforcers. Adhere the reinforcers to the page holes.


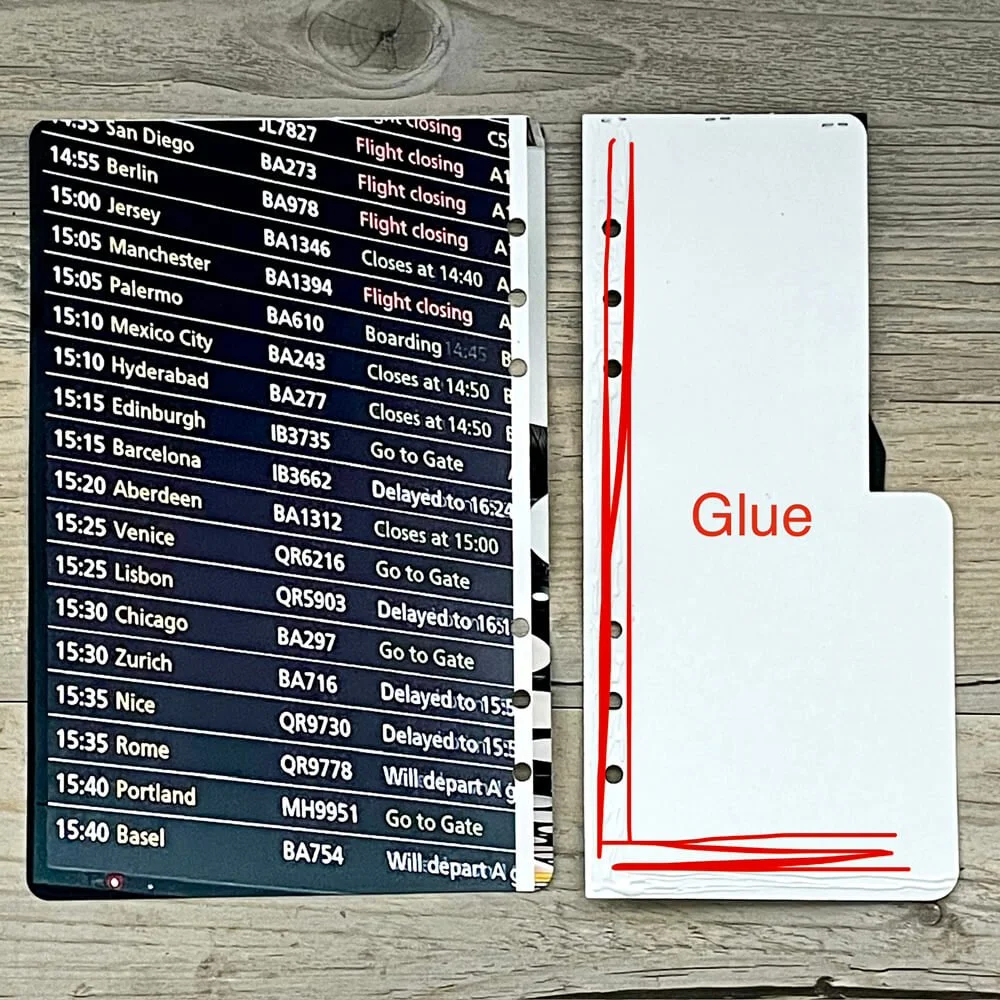
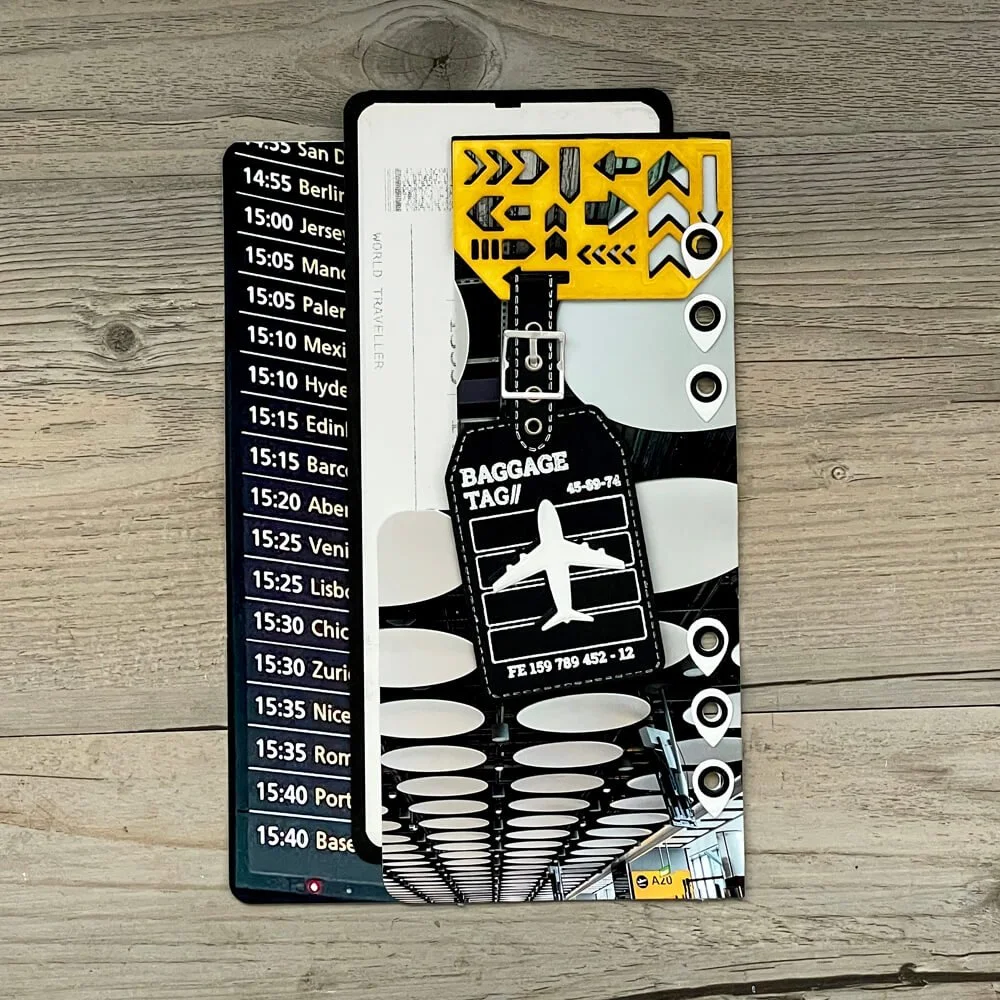
Step 6: Apply adhesive to two sides of the slim base page and adhere to the rounded base page to make a tuck spot with an open top as shown. I tucked my boarding pass for this trip into the resulting pocket and intend to do some journaling on the back of it.
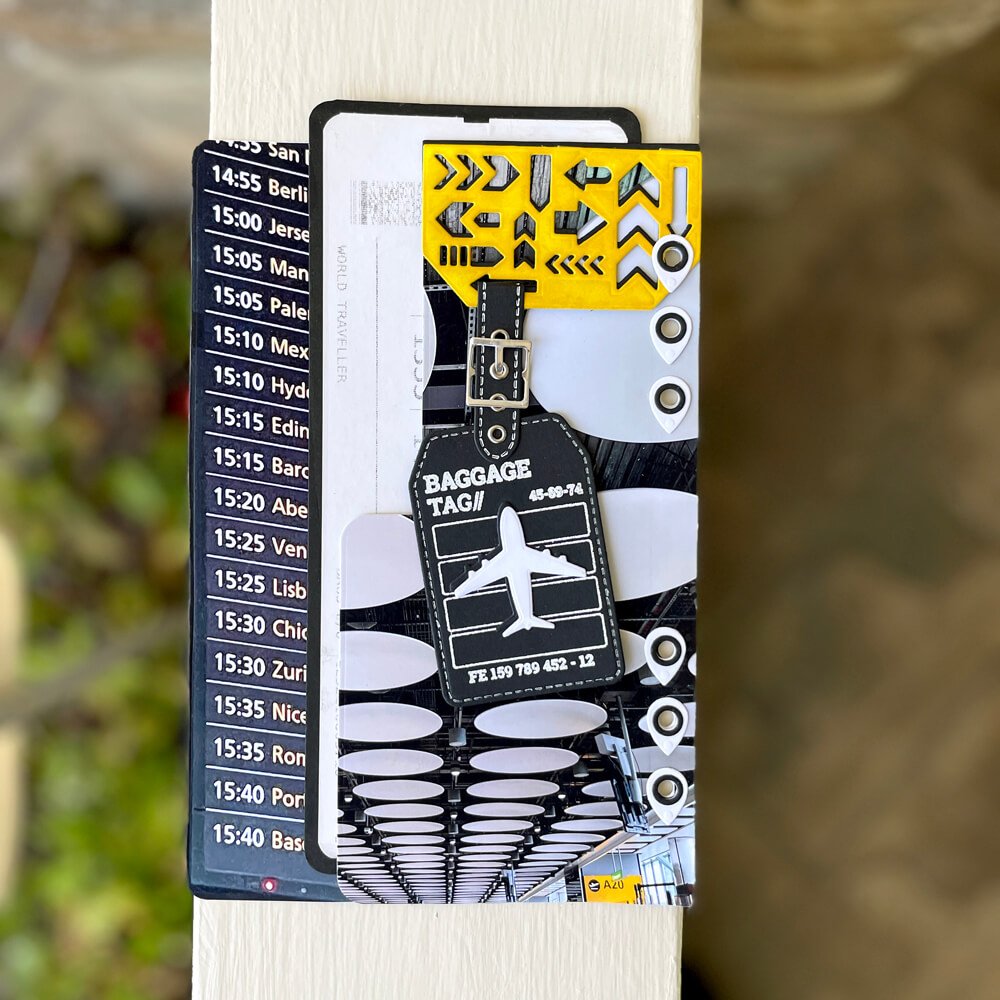
Not every photo is a focal point, but it still tells a story. Hopefully, you have been inspired to use your photos in a new way – as backgrounds for your pages!! This easy pocket page came together in no time. I look forward to seeing how you use this idea in your memory-keeping pages. Kraft on! ❤️ Denise