How to Make an Ephemera Pocket with a Hidden Message
Are you a crafter who loves adding interactive elements and hidden surprises to your journal pages? Or maybe you’re looking for creative ways to make an ephemera pocket for more than tags and photos? In this tutorial, you’ll learn how to create a decorative ephemera pocket with a hidden message, using the Hello You collection, plus tips for building the mechanisms that make it work, making it a fun and interactive element for your journals pages.
Hi everyone, Martine from Little Treasures here! Today I‘d like to share a fun project with you. We’re going to make a cute envelope and a card with a secret message, using the Ephemera Pocket set (2322) from the Hello You Collection. So join me, while we make this project, and let's have fun!
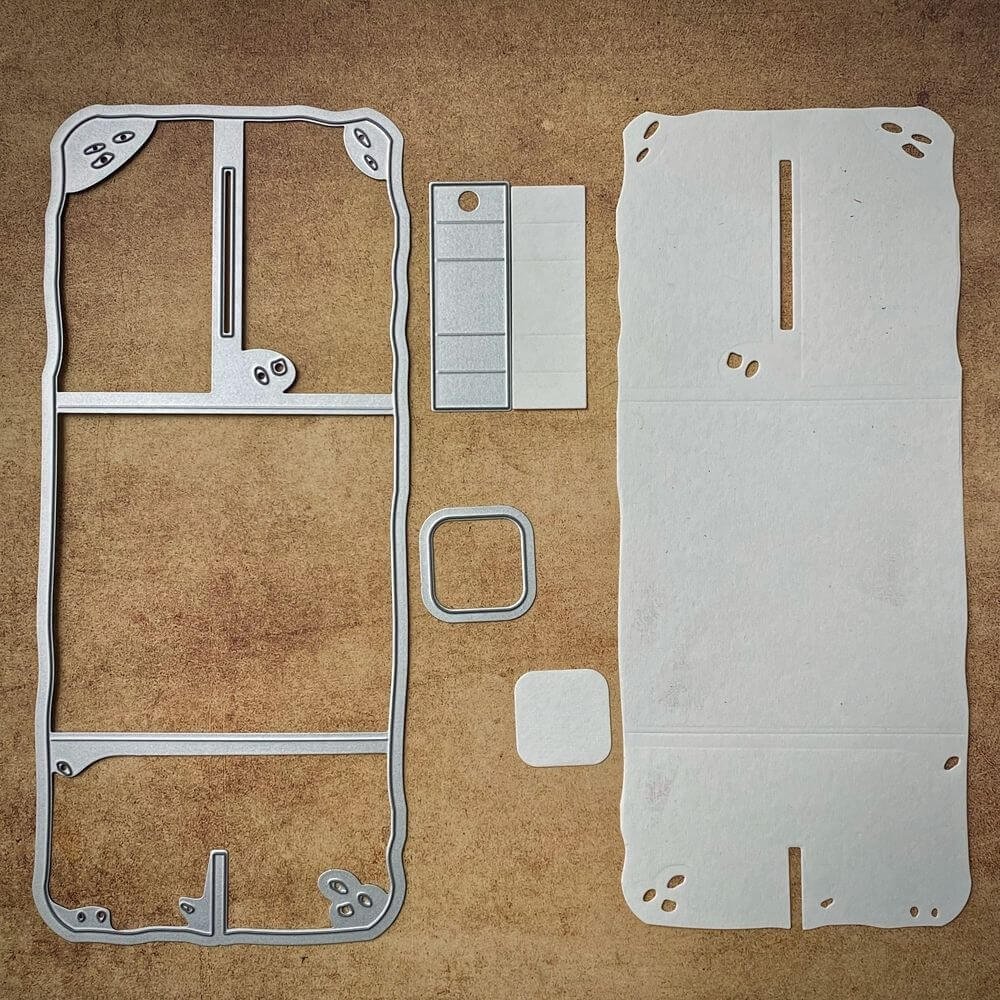
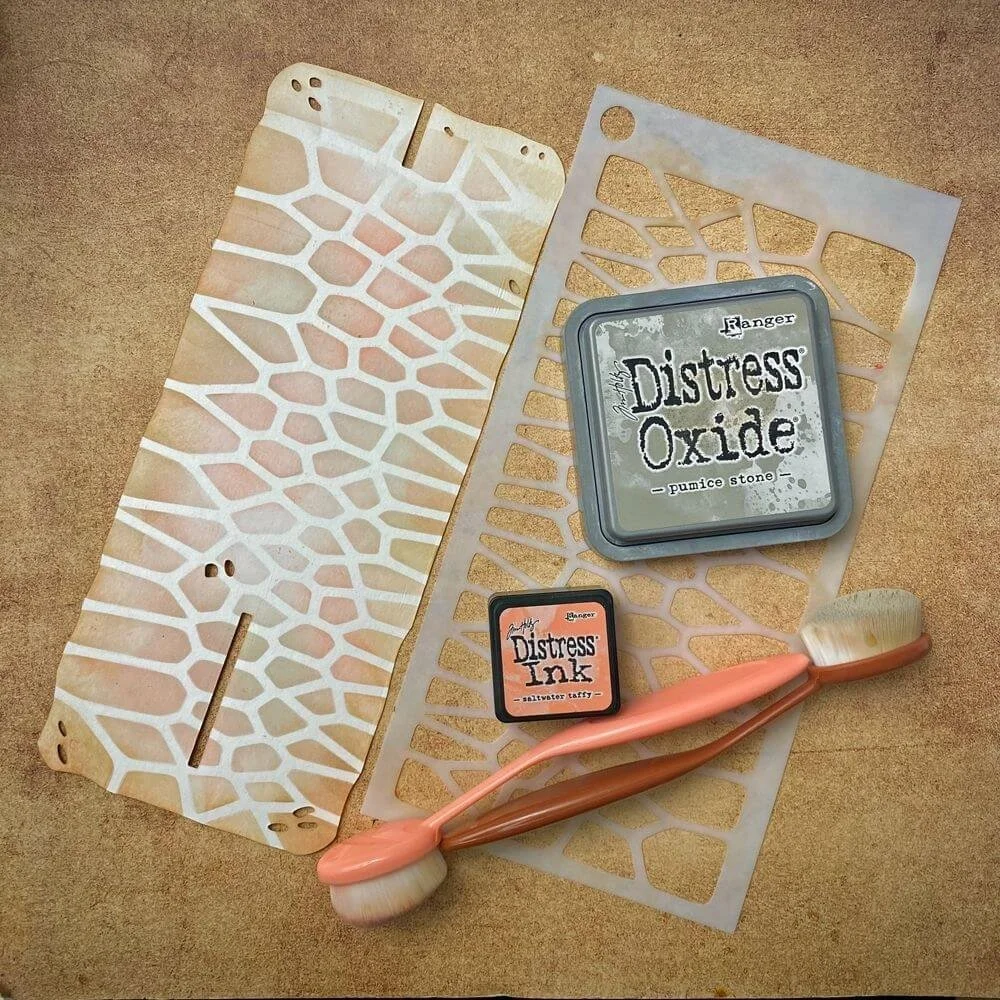
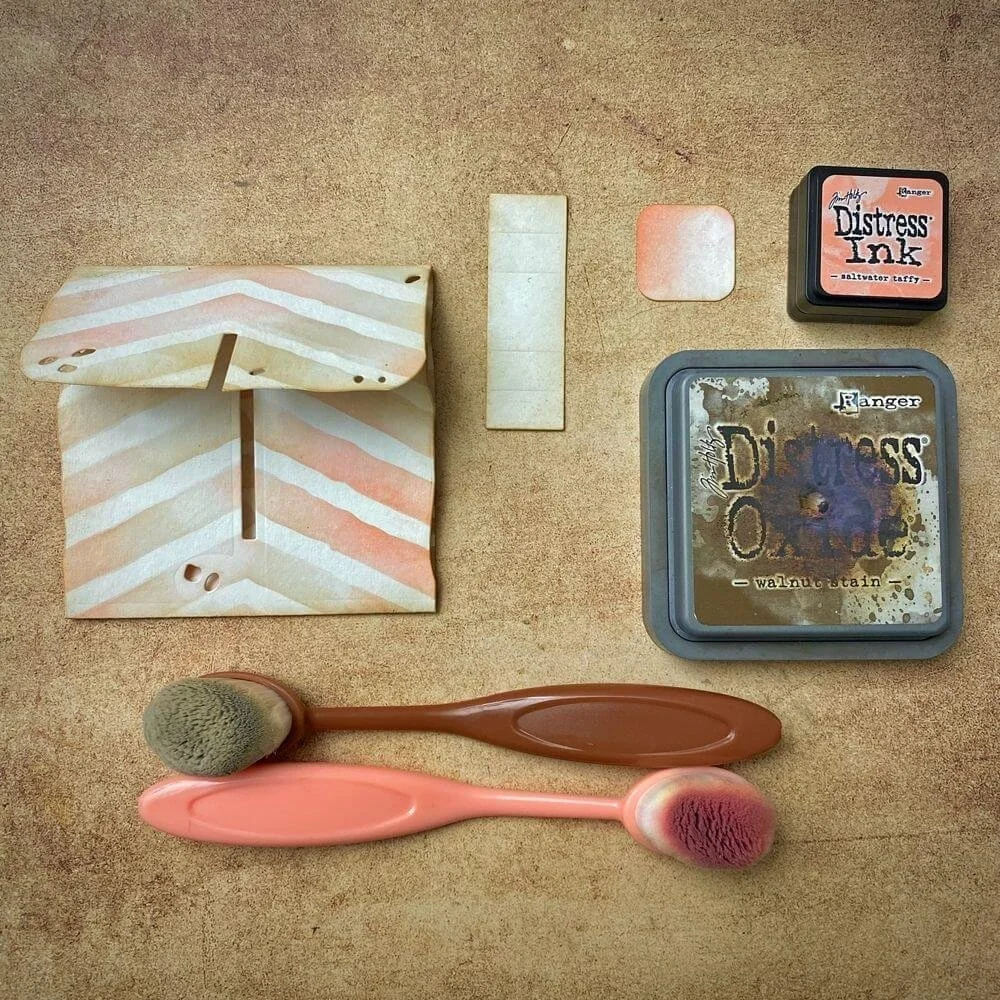
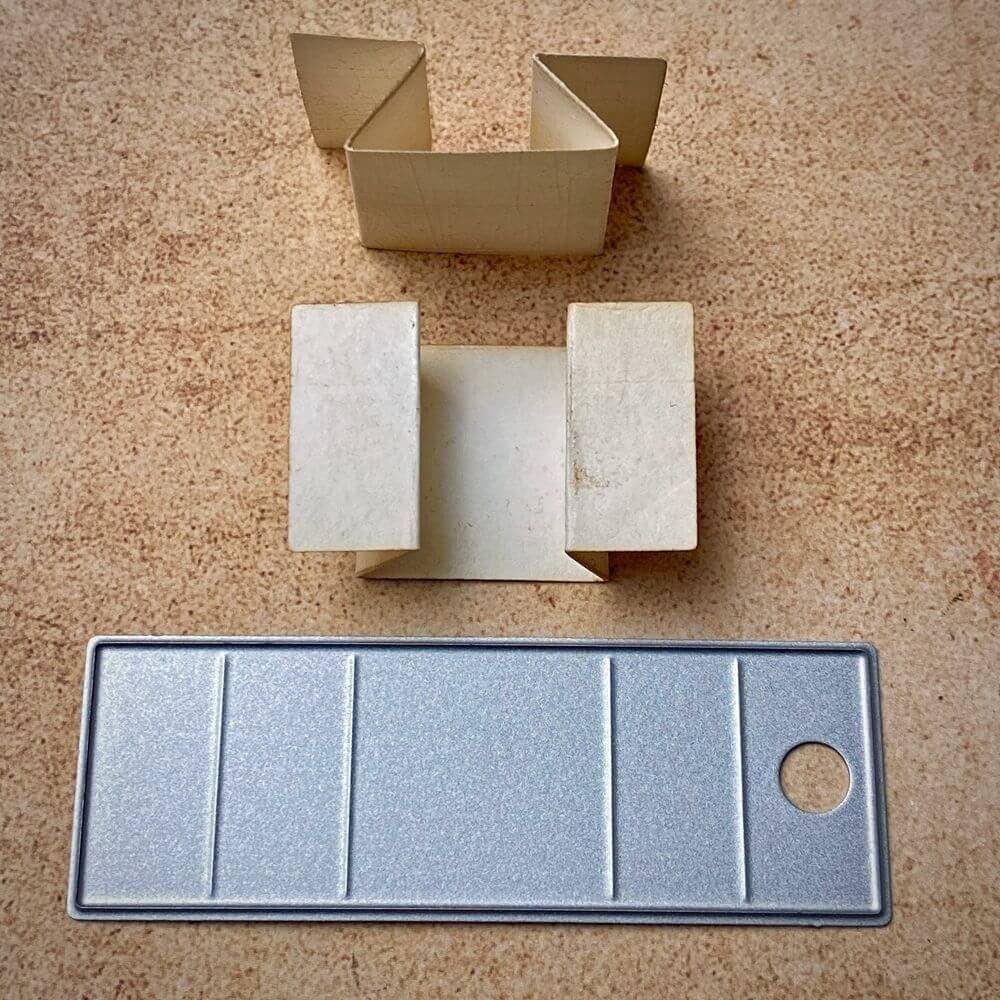
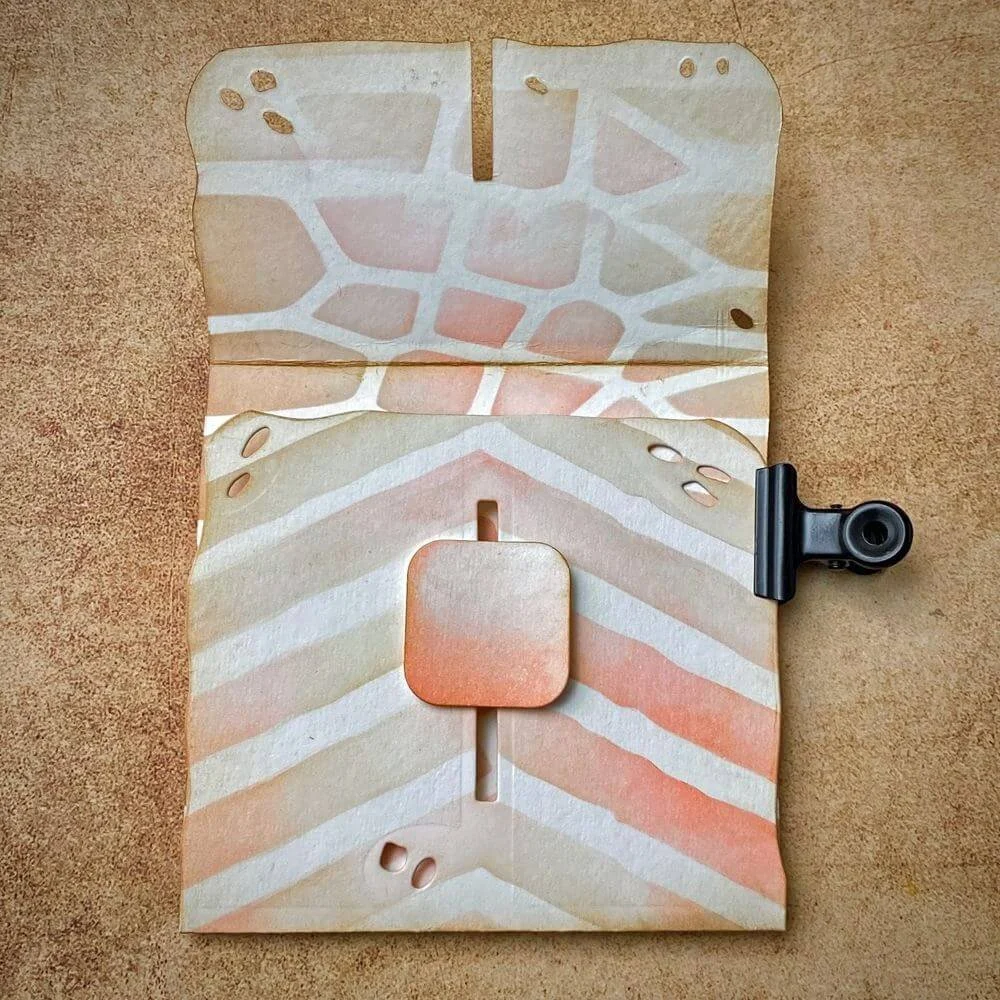
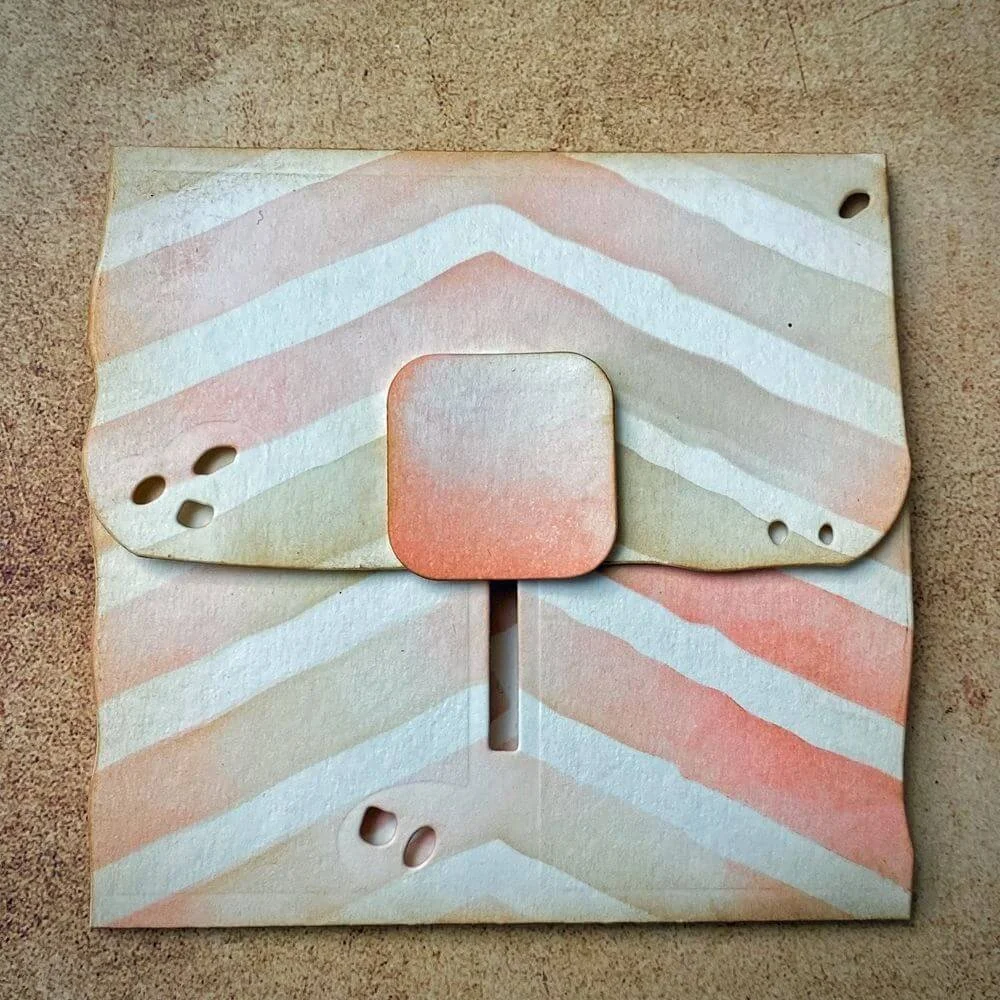
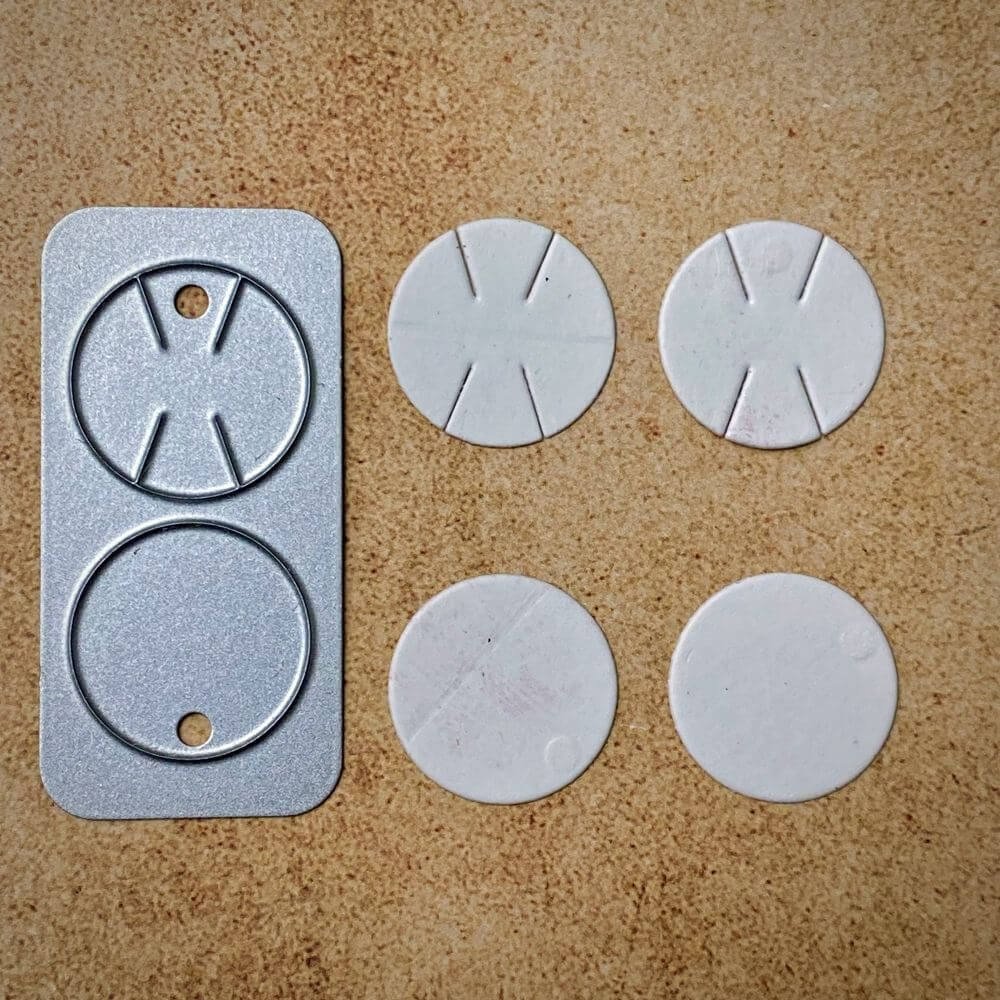
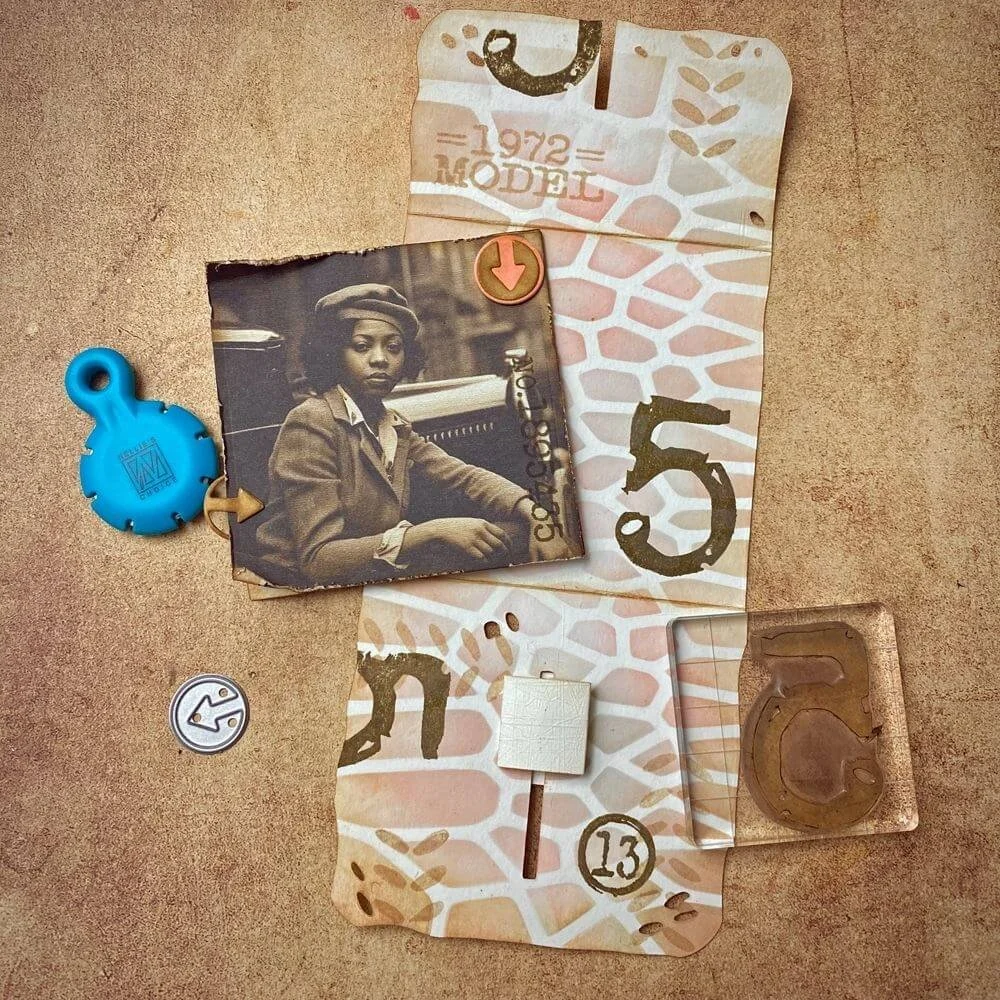
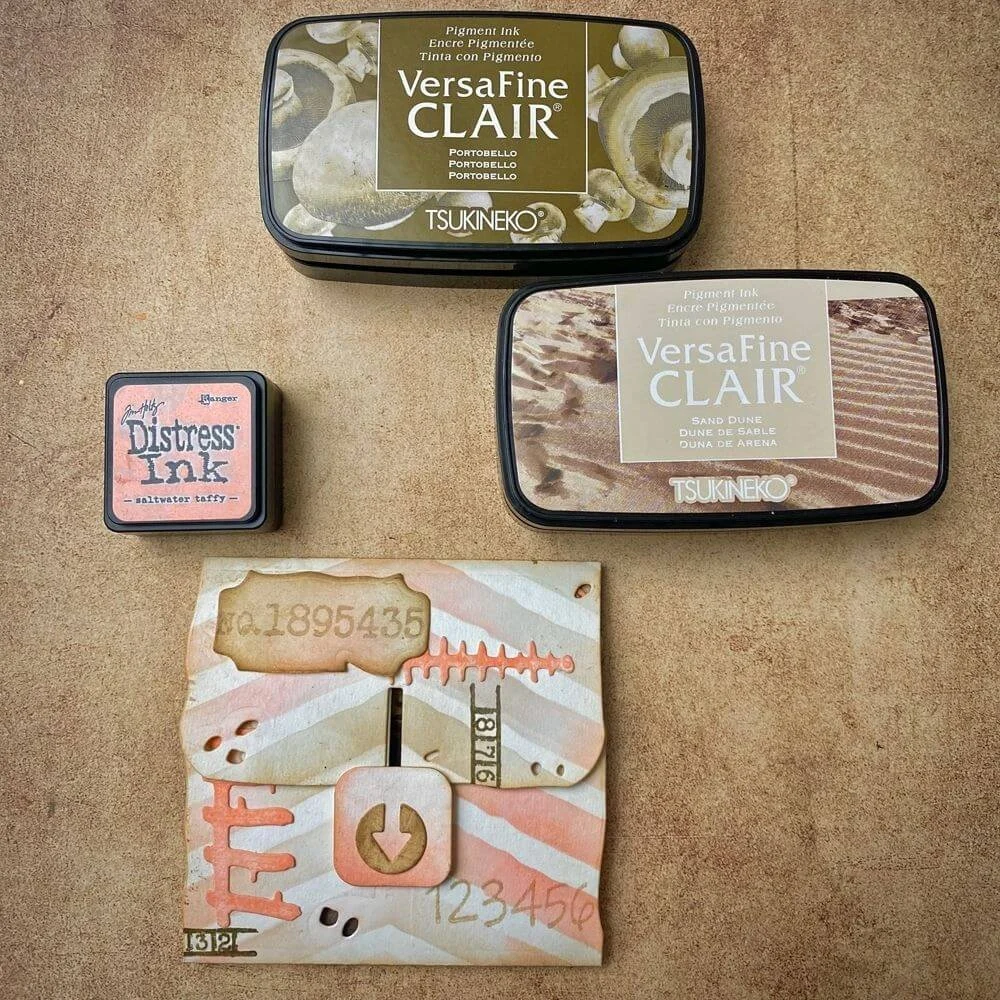
Step 1: Using soft finish cardstock cut the dies in the picture from the Ephemera Pocket set. Choose 2 different stencils from Journal Stencils 10 and create a great background on the front and backside of the envelope. It’s nice to use 2 different colors that blend together well to make it more interesting. Fold the envelope on the 2 score lines and ink the 2 smaller pieces. If you like a vintage vibe, you can also add a brownish accent to the edges.

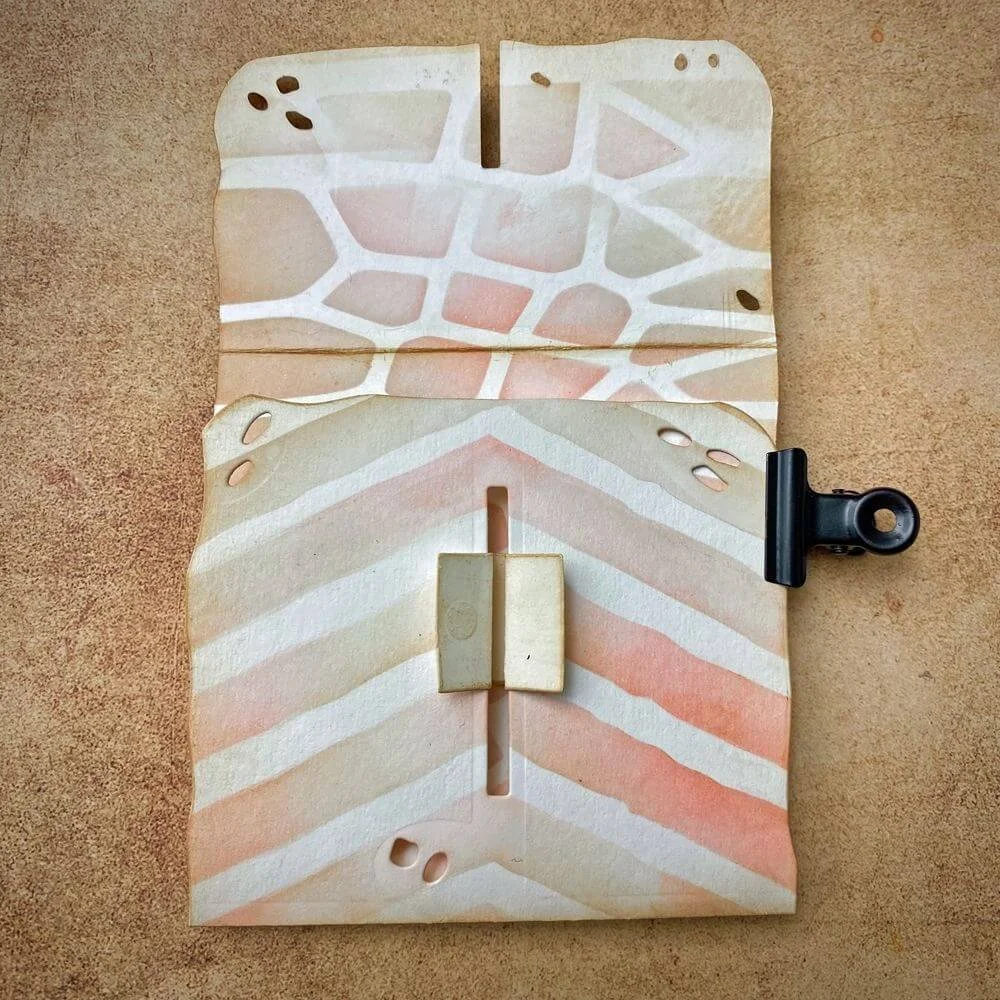
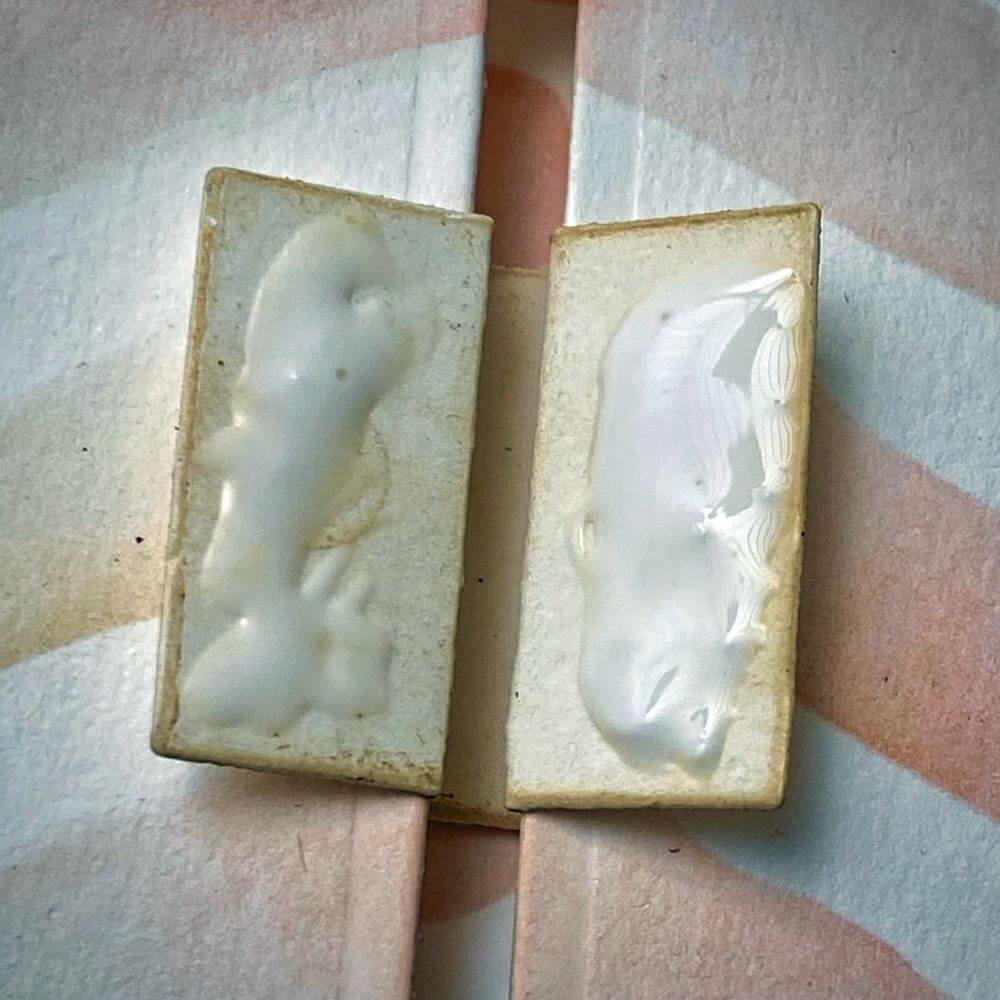
Step 2: Take the small strip and fold it, as seen in the picture below. This is part of the closure; stick it through the slit from the inside out. Put a little drop of glue on the parts that are sticking out on the front. Now put the square part on top of it. Let it dry for a minute. Your closure is ready. Let’s put it aside for now.
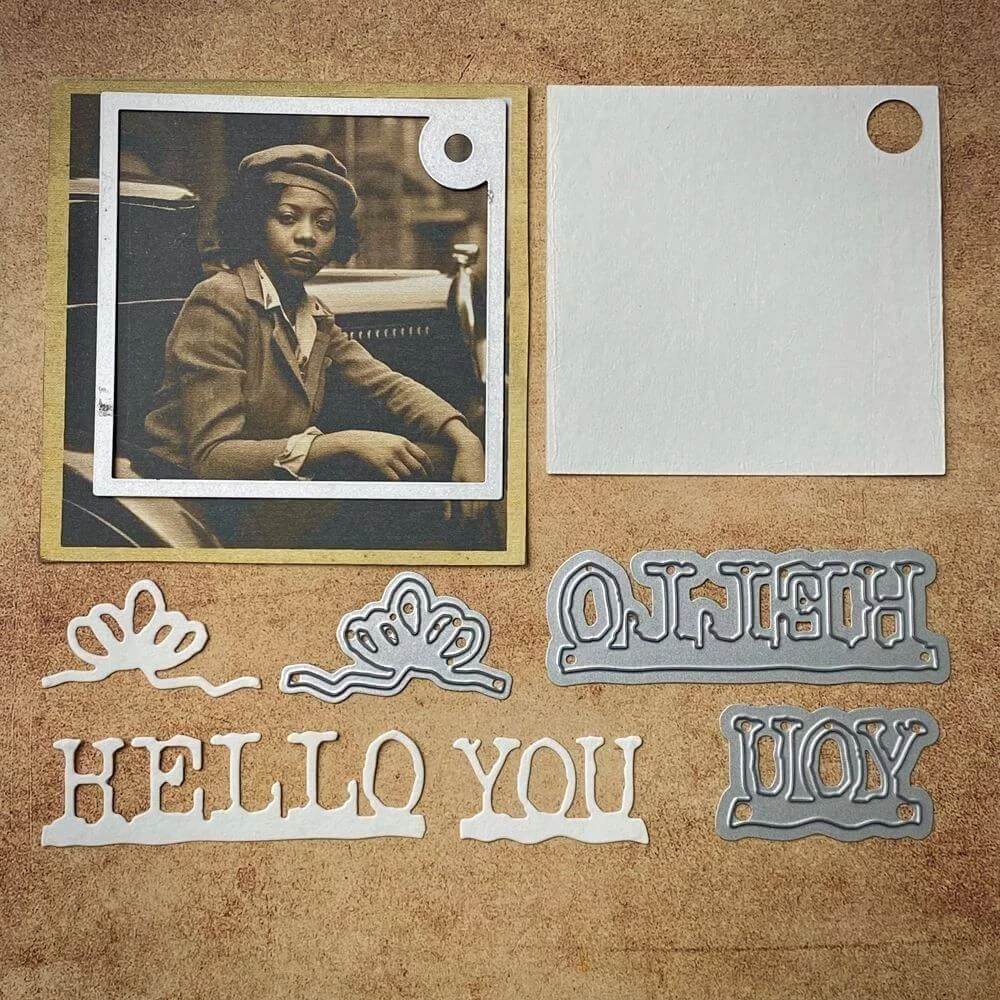
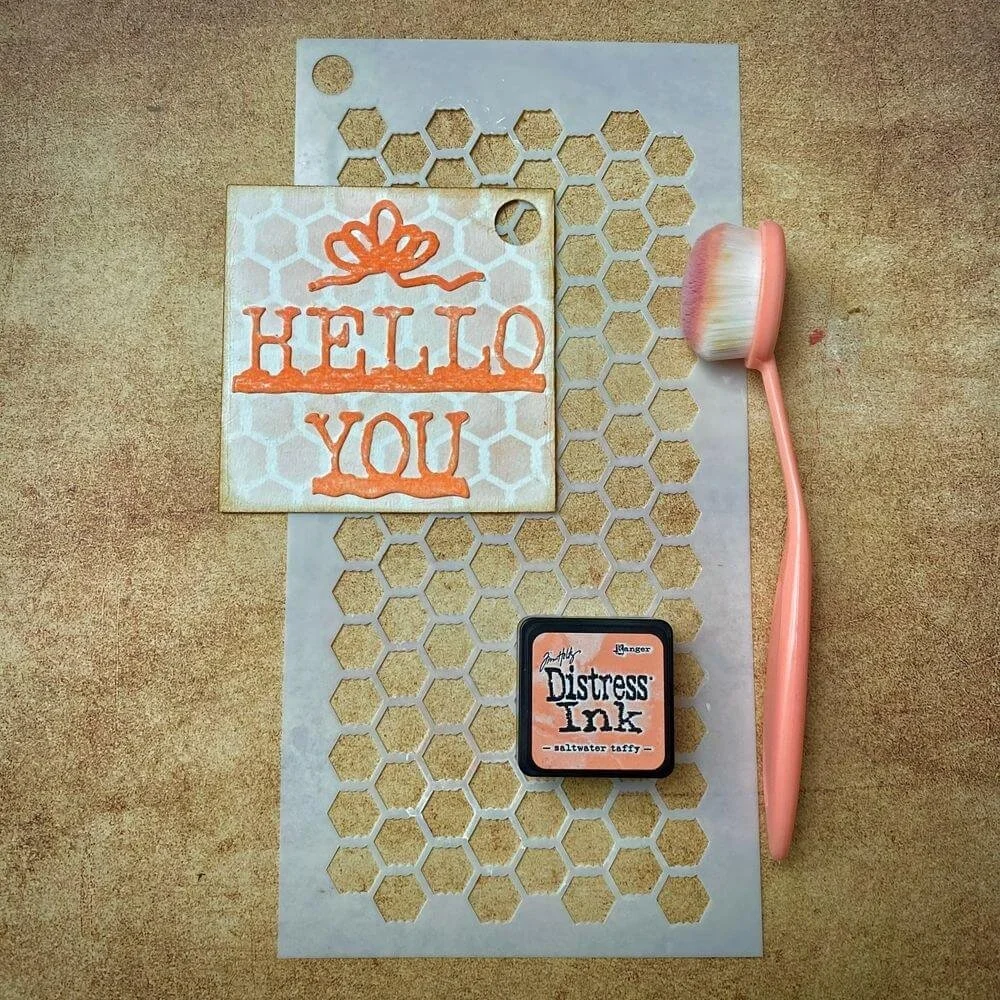
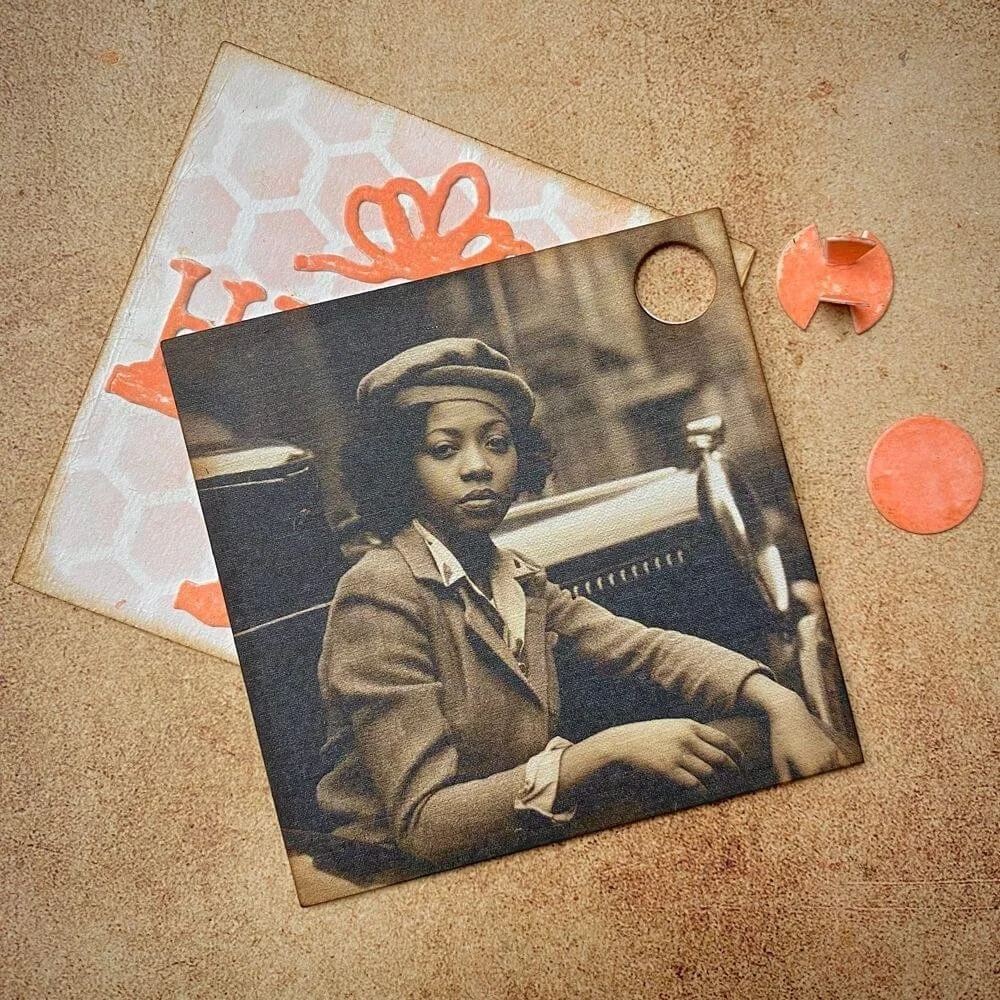
Step 3: Choose a nice picture or create one yourself. I chose a picture from the paperpack Backgrounds Volume 3. Take the words Hello, You, the decorative element, and the square die from the Ephemera Pocket set, and put them all through the die-cutting machine. Ink the words and the decorative element in a color to match your pocket. Take another stencil from the Journal Stencils 10, then color and decorate your square piece, and finish it up.
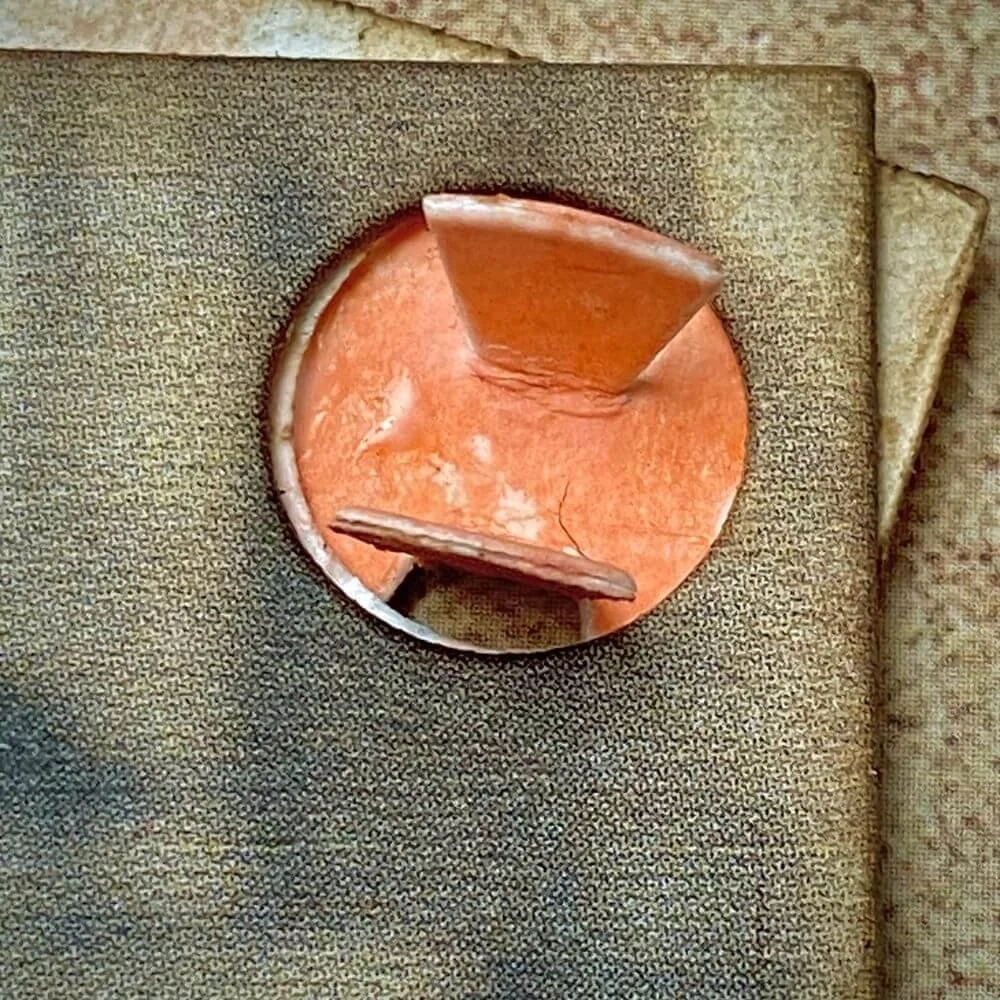
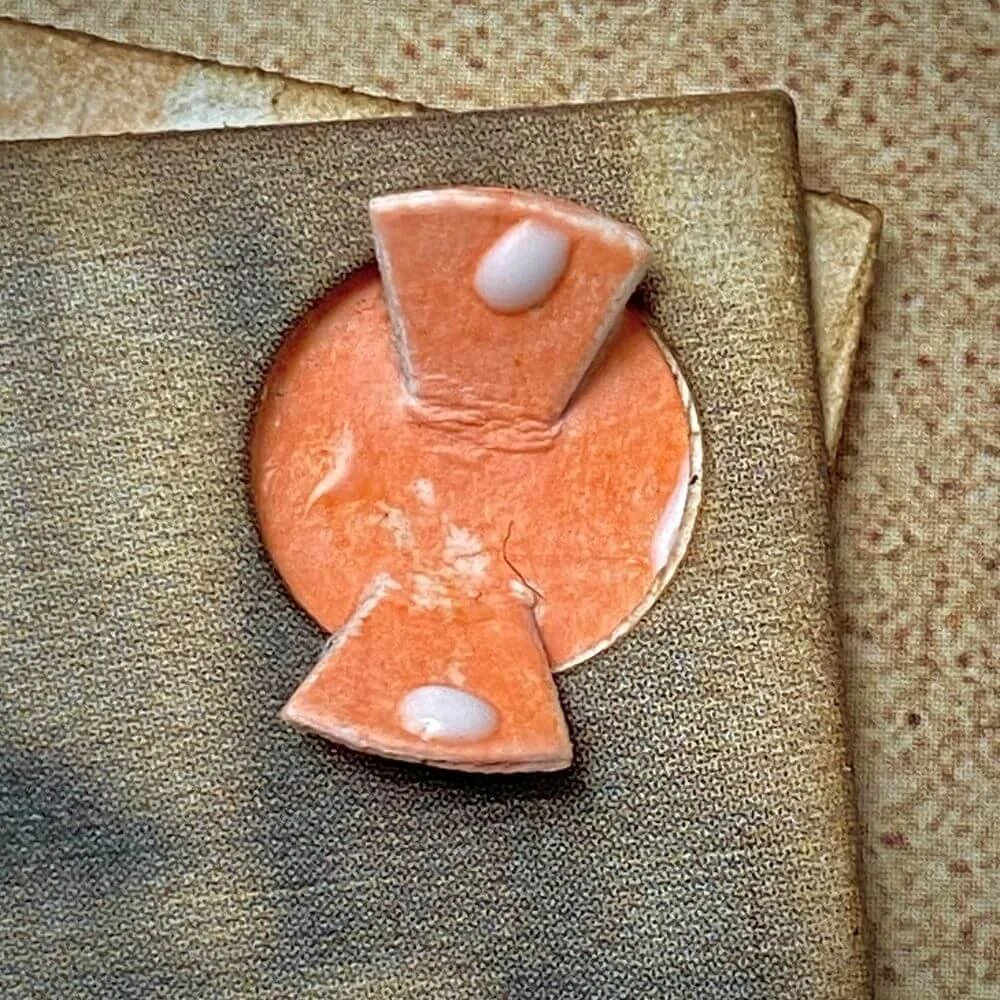
Step 4: We’re creating a system where you attach 2 layers of paper together and create a rotating system, so you can see both. Look for the die with the 2 circles on it. We need to cut it twice and double it up, so it becomes a little sturdier. After a bit of drying time, you can push the 2 smallest parts up. Lay the picture and the other square piece on top of each other, and make sure the two holes align. Take the circle with the 2 wings and put the wings through the hole, from behind. Lay it down carefully. Both wings need just a small drop of glue on the top, as you can see in the picture. Make sure it's not too much, because otherwise the picture on top will stick to the rotating system as well. The second circle comes on top and needs to dry for a second. Test it out to see if the rotating system works and if you can turn the top layer so the bottom layer is visible.
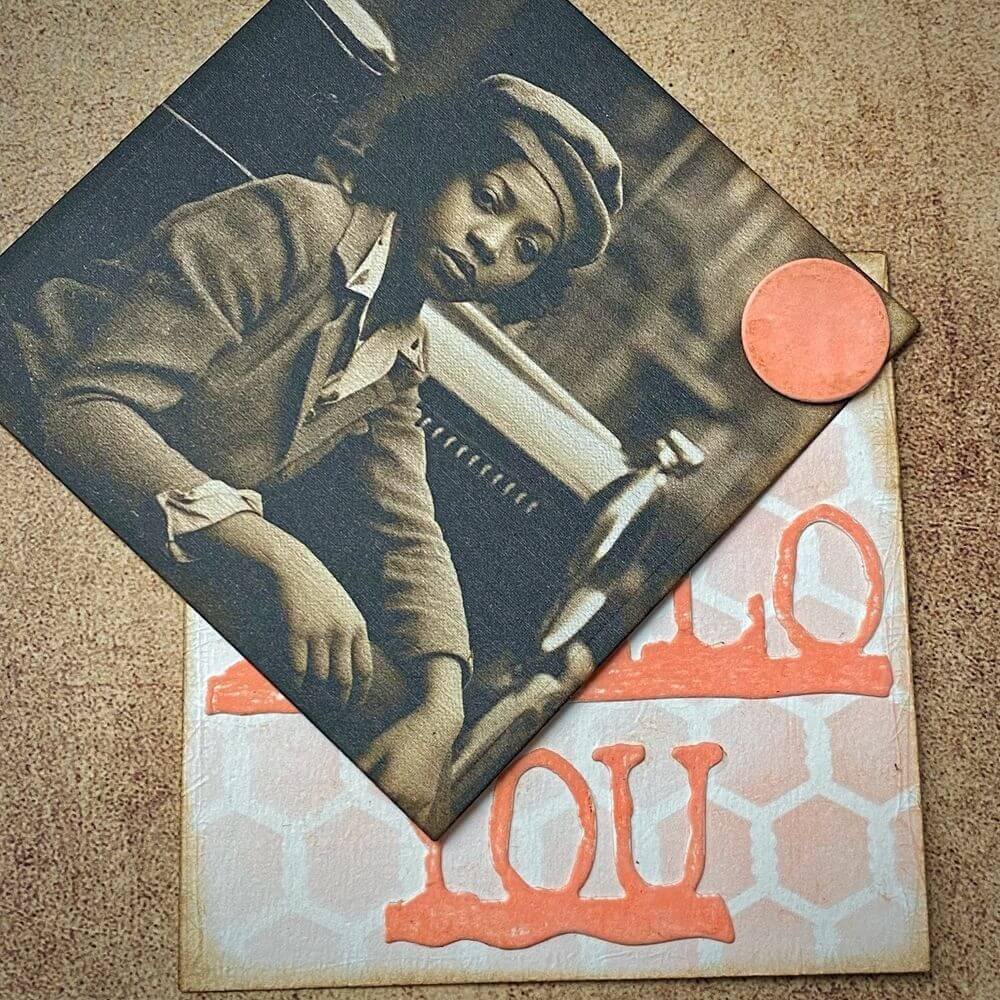
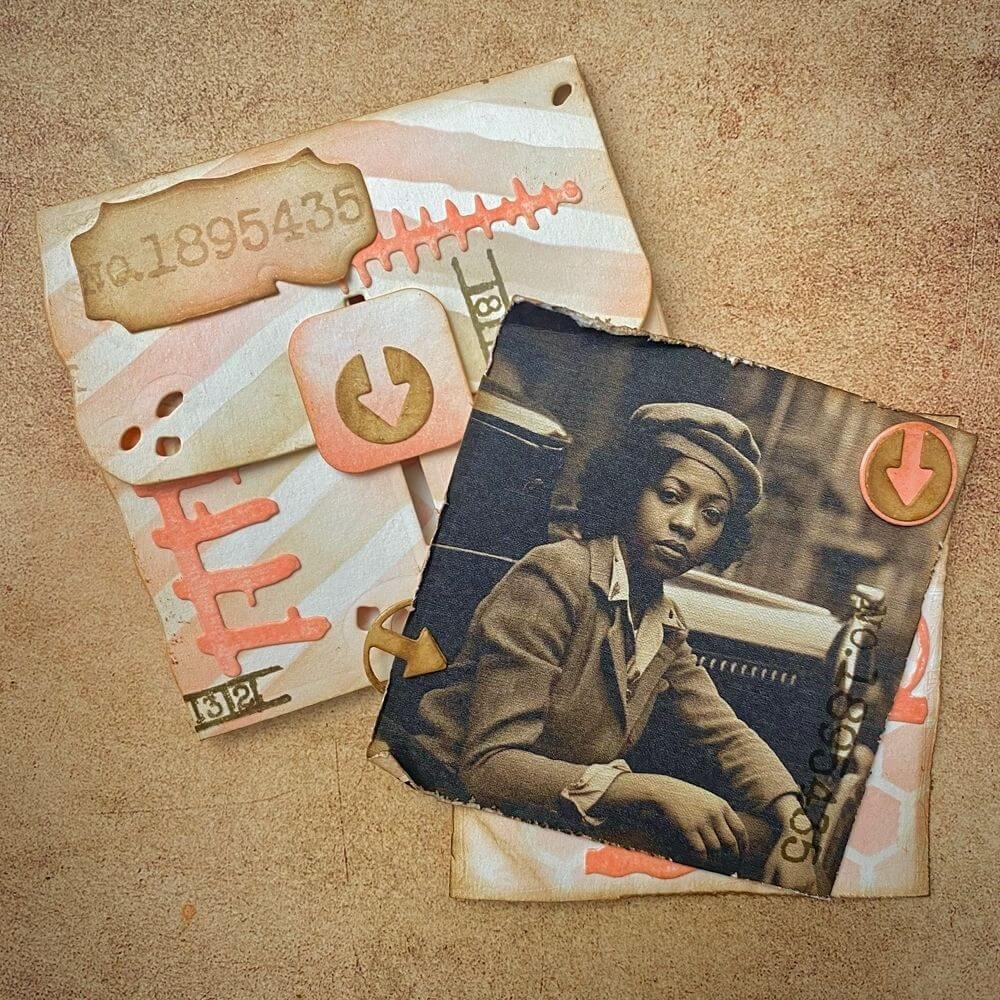
Step 5: All the basics are done, and your secret message is hidden. Now take a quick look to see if your creation needs to be decorated a little more. I chose to scratch the edges of my picture and secret message, stamped a bit, and took a couple of decorative elements from the set to finish it up. It’s time to deliver your secret message!!
I hope this tutorial has inspired you to create this masterpiece. Make sure you share your projects with us in our Facebook Group. We love to see what you create!
Make sure you share your projects with us in our Facebook Group HERE. We love to see what you create!
Never miss a tutorial and sign up for our emails today HERE.
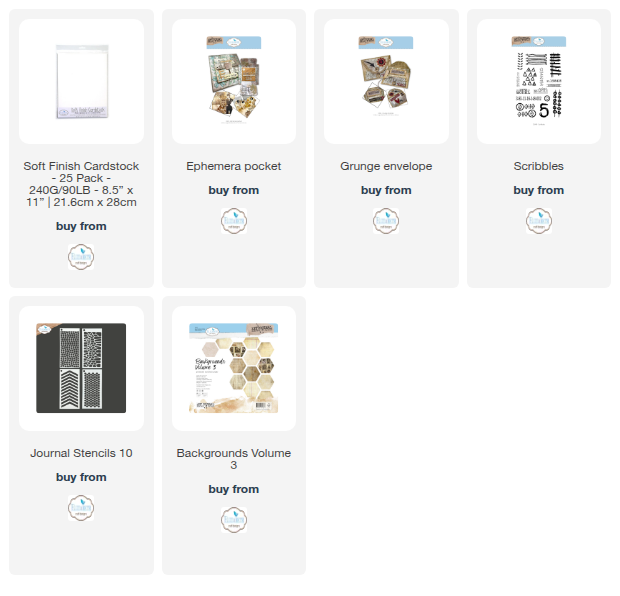
Elizabeth Craft Designs Products Used: