How to Make an Easy Hummingbird Card with Dies
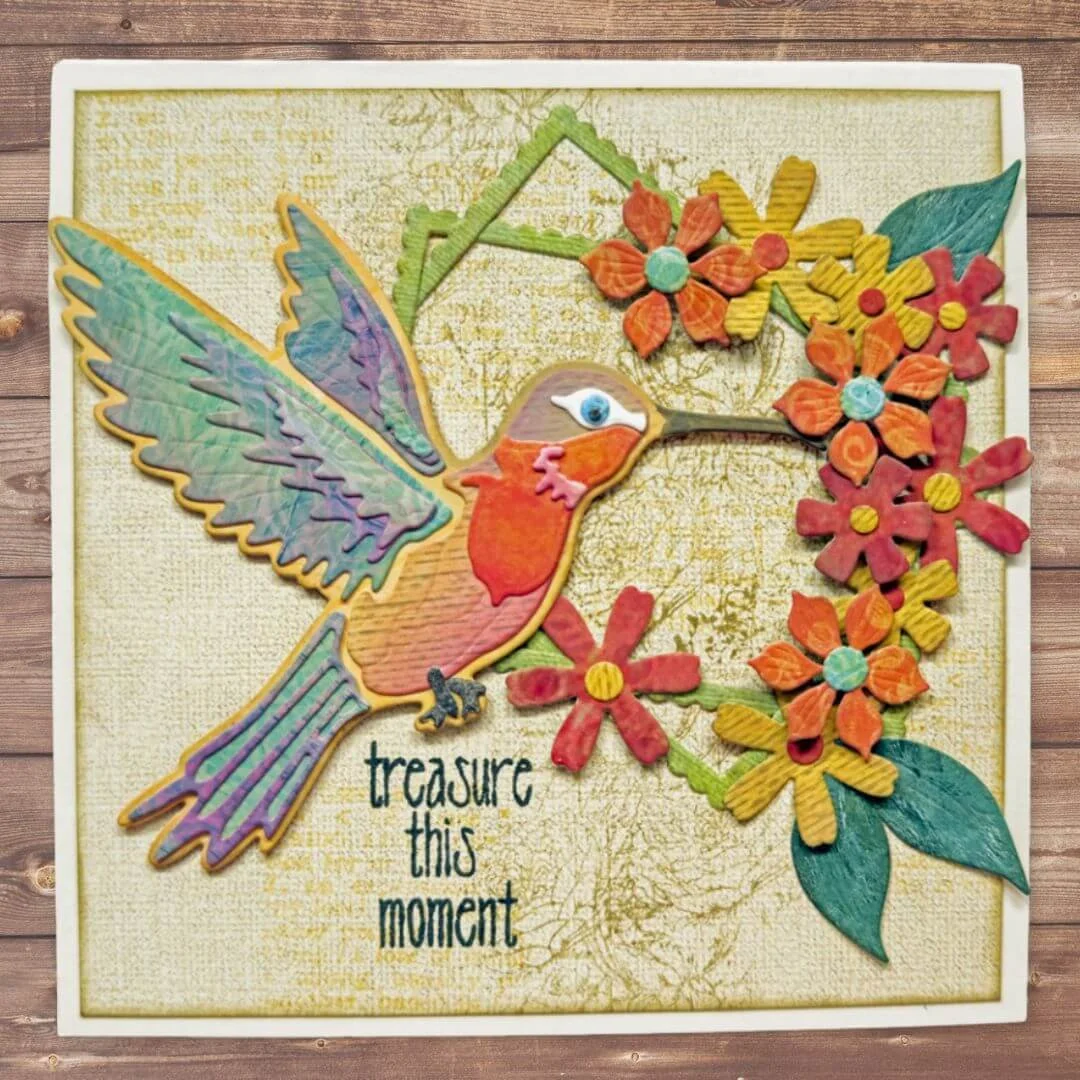
Need some inspiration for your card making? Jump start your creativity and discover how to create your own stunning card featuring an elegant hummingbird the EZ way. This eye-catching design is versatile enough for any occasion, PLUS…. you'll be able to adapt this layout for countless future projects!
Hello, it’s Kim here today with a hummingbird card tutorial. Thanks for checking in!
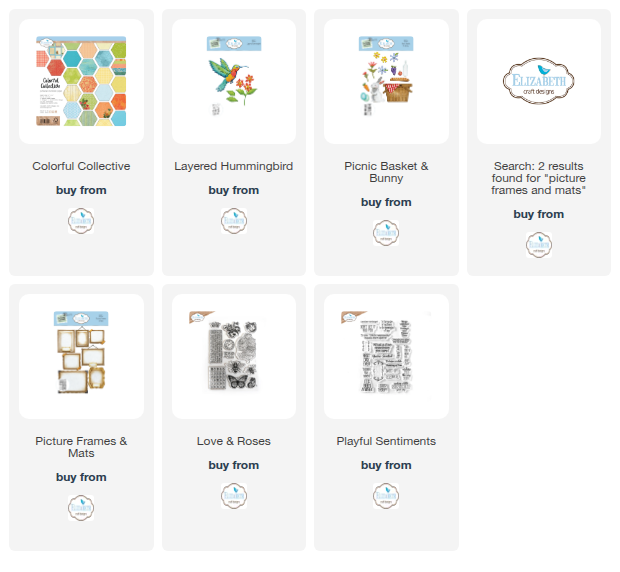
Step 1: Die cut the Hummingbird dies from the Colorful Collective papers pack, and build the Hummingbird using the image on the package for a reference if needed. This will be the focal point of your card. I like to add some extra color with inks for contrast.


Step 2: Die cut frames, flowers, and leaves from the Colorful Collective papers pack. These decorative elements will be used to add layers and interest.

Step 3: Cut your base paper 4.75” by 4.75” and lay down your elements to create a design that you are happy with.
Top Tip: Take a photo at this point to refer back to, and make some very light pencil marks, so I know where to place things. For this card, I marked where the frame and hummingbird should be.

Step 4: It’s time to distress the edges of everything. I like the contrast it adds. I use a small circle brush to add ink to the edges of small, detailed cuts. I tap the ink with my brush sideways towards the edges. Sometimes, if I want to add a bit of extra brightness, I tap a yellow dye ink on top of my elements, like the flowers. Yellow dye ink is transparent, so it’s like adding a ray of warm sunshine.

Step 5: Add some visual layers with stamps before gluing down all the die cuts. Text is always fun; here, I also used a floral theme. I like to ink my stamp, gently press down on scrap paper, then use the stamp on the cardstock. It is more subtle than the first ink to paper.

Step 6: Adhere your stamped base paper to a 5” x 5” card base. Interlock the frames as shown and adhere first; everything will build up from these frames.

Step 7: Adhere the hummingbird with foam tape. Next, adhere the flowers and leaves. I glue some with liquid adhesive and some with dimensional adhesive. I am a big fan of letting my elements extend to the farthest edge of my card; it adds nice visual energy. I added the sentiment stamp last, once I had a better idea where to stamp it.