How to Make an Adorable Bear Card with Gift Card Holder
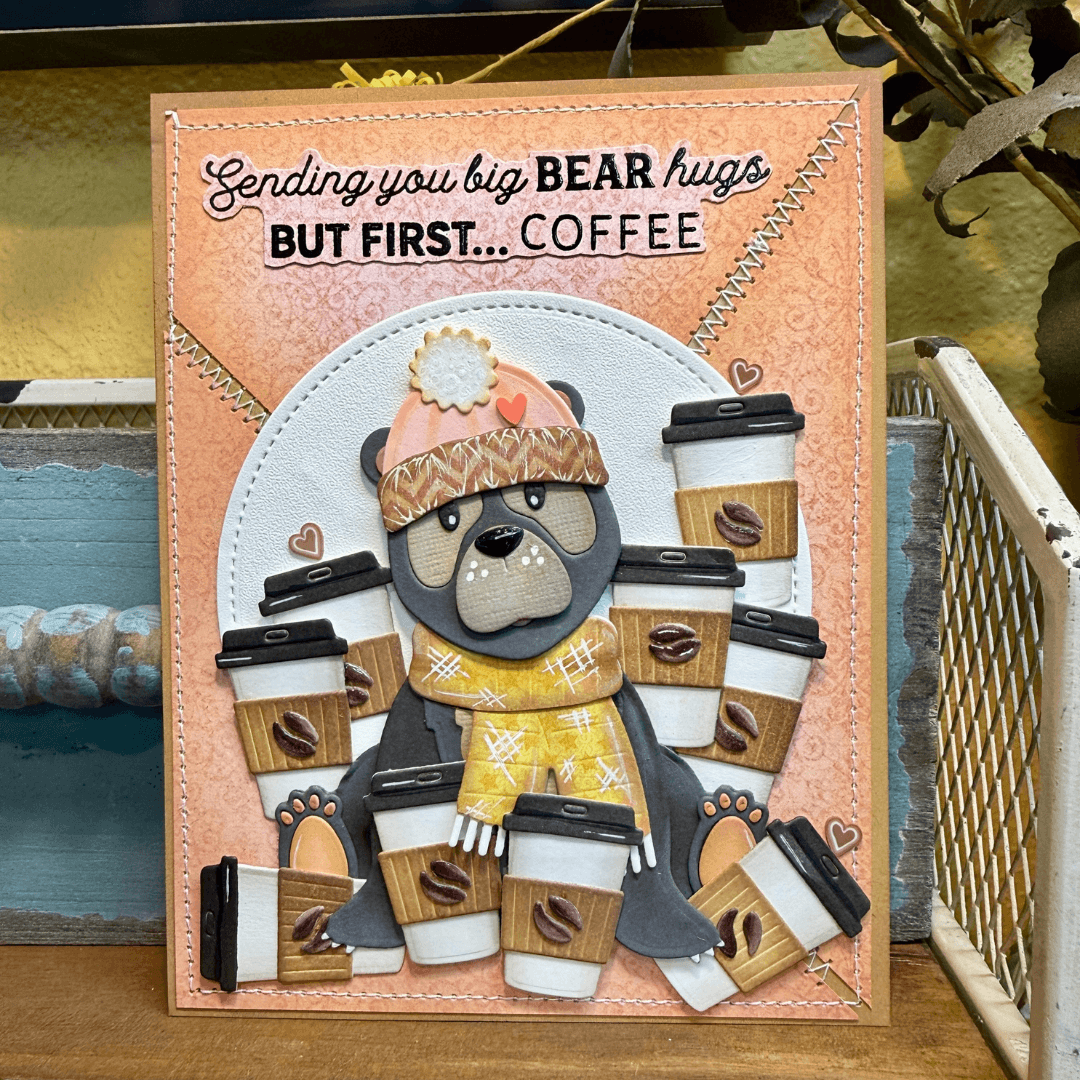
Treat the coffee lover in your life to an adorable, multi-technique gift card holder featuring a cozy, coffee-loving bear that’s as fun to make as it is to receive! In this tutorial, you'll learn how to combine die cutting, subtle ink blending, heat embossing, and hand-stitched details using die sets from Elizabeth Craft Designs to create a card that everyone in your life would love to receive.
Grab your favorite hot beverage, fire up your die-cutting machine, and follow along with the complete step-by-step guide and supply list below!
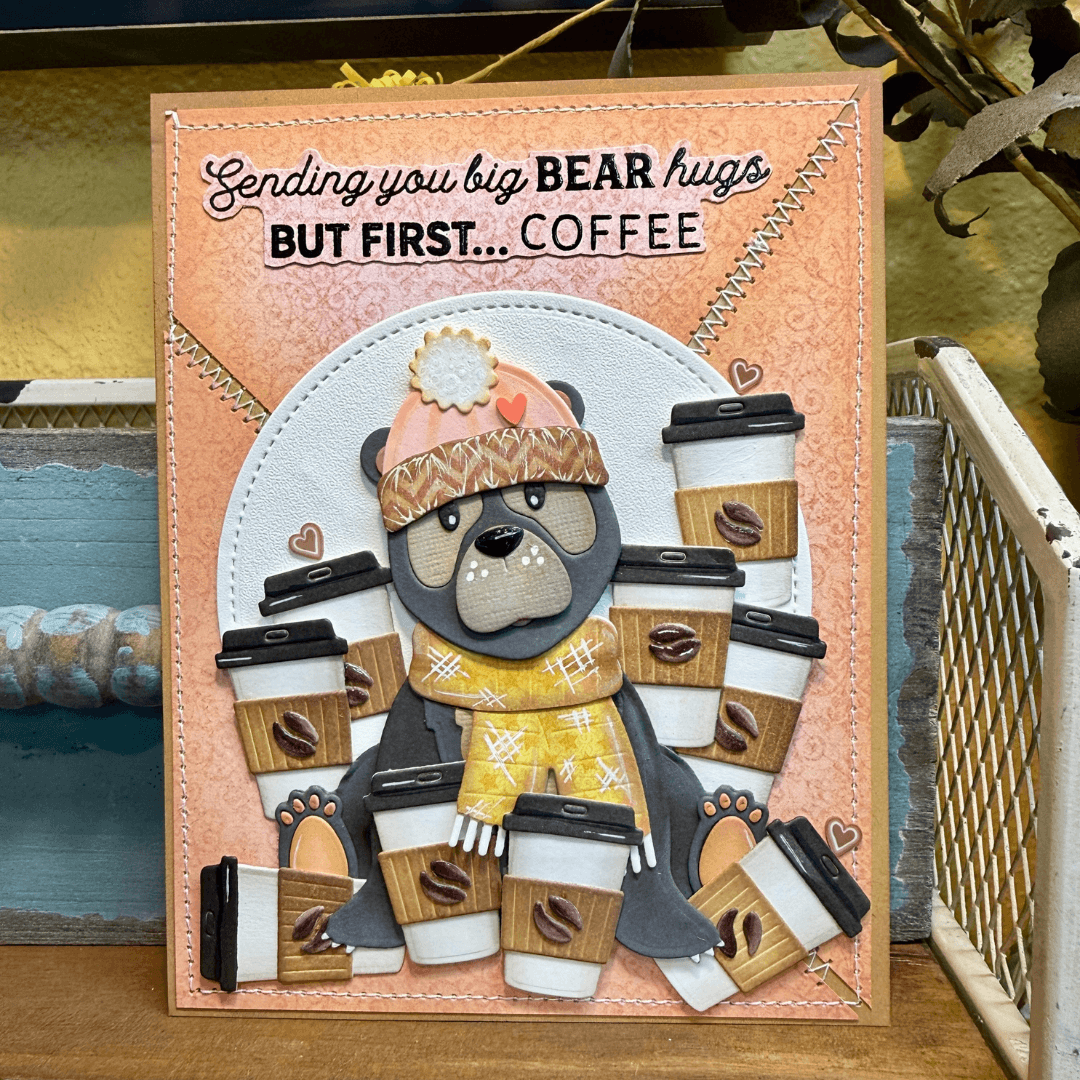
Big Bear Hugs….But First…Coffee. Join me for a playful, possibly caffeinated, creating date. This isn’t just a card, but a gift card holder, too! This coffee-lovin ’ bear card features fun die cutting, a bit of sewing, some ink blending, and a touch of heat embossing. Grab your favorite beverage, possibly a bit of whipped cream, and play along with me!
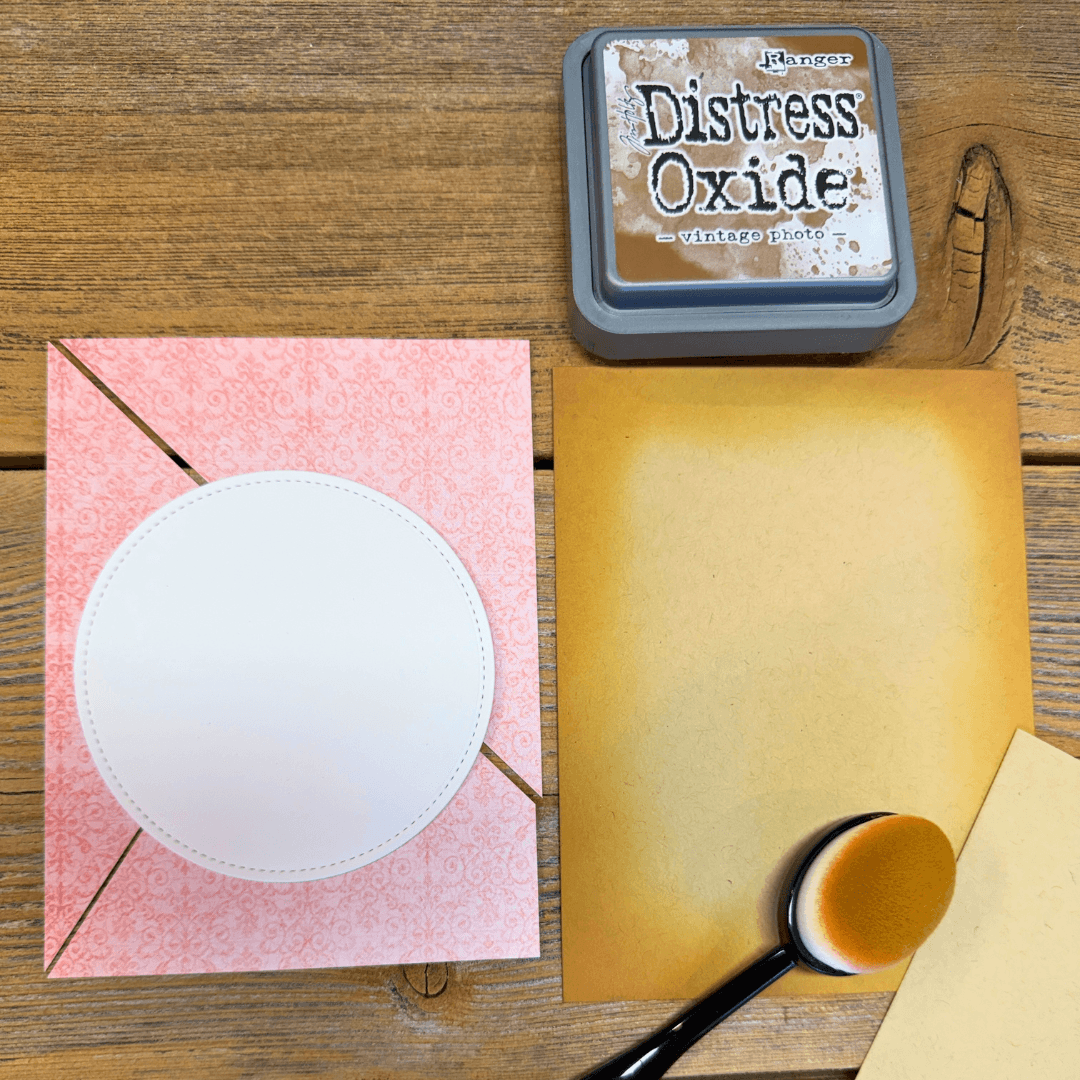
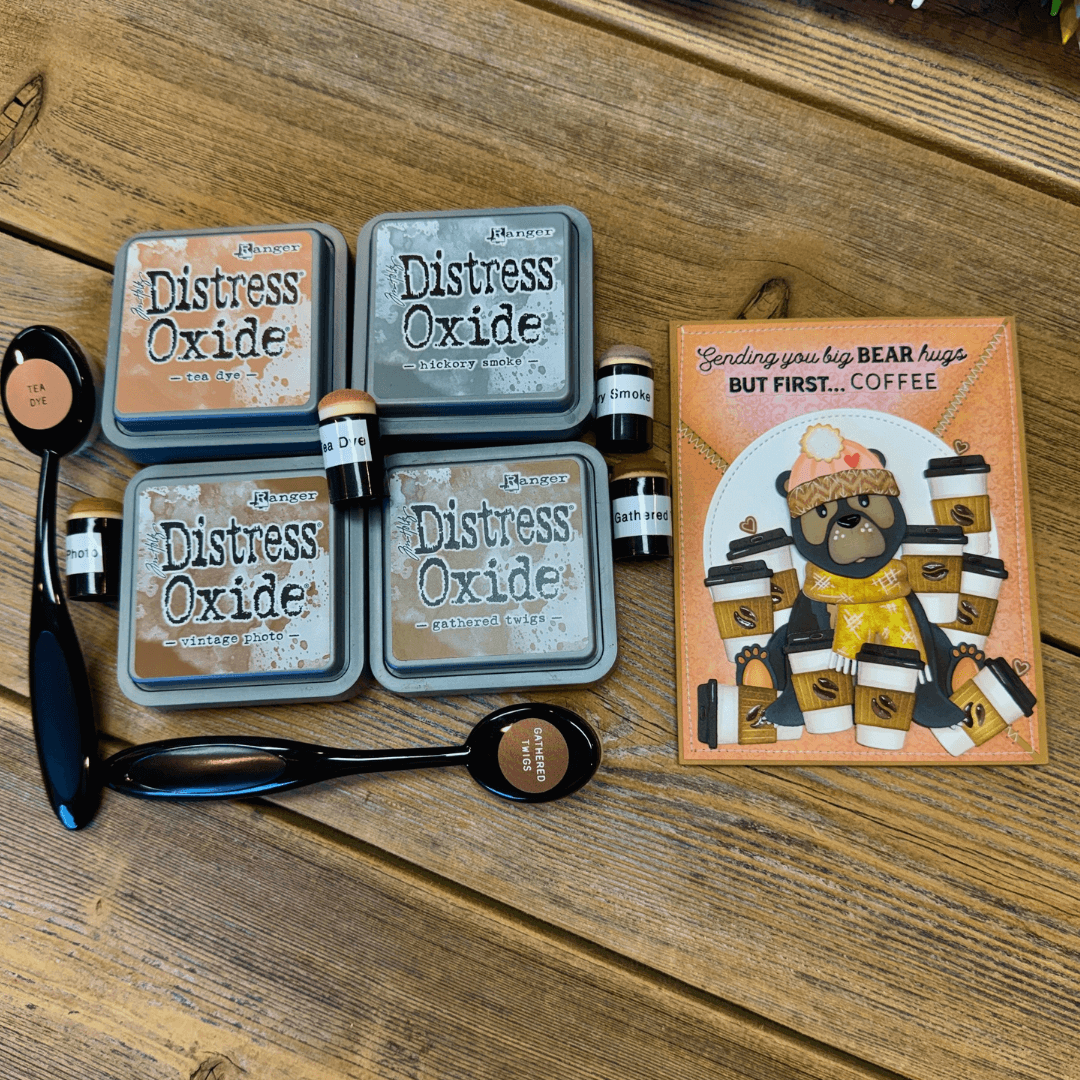
Step 1: Start by cutting the soft pink baroque style paper from the Pretty Pastels paper pack (C014) down to 4-⅛” X 5-⅜”. Cut it into 3 random, diagonal pieces. Lightly ink-blend all the edges using Vintage Photo Oxide ink. Cut a piece of kraft cardstock to A2 size to sew your pink pieces to. Ink all 4 sides as well. Add a trace of glue to the center of each cut piece, then attach it to the kraft base, leaving a small gap between the pieces and the kraft border. Trim down pink a smidge, if necessary. Avoid fully adhering to avoid gumming up your sewing needle.
If you choose not to sew the piece in place, attach securely with glue.
Die-cut the largest circle from the 2350 die set, using Soft Finish Cardstock. Glue directly to the card front once done sewing.
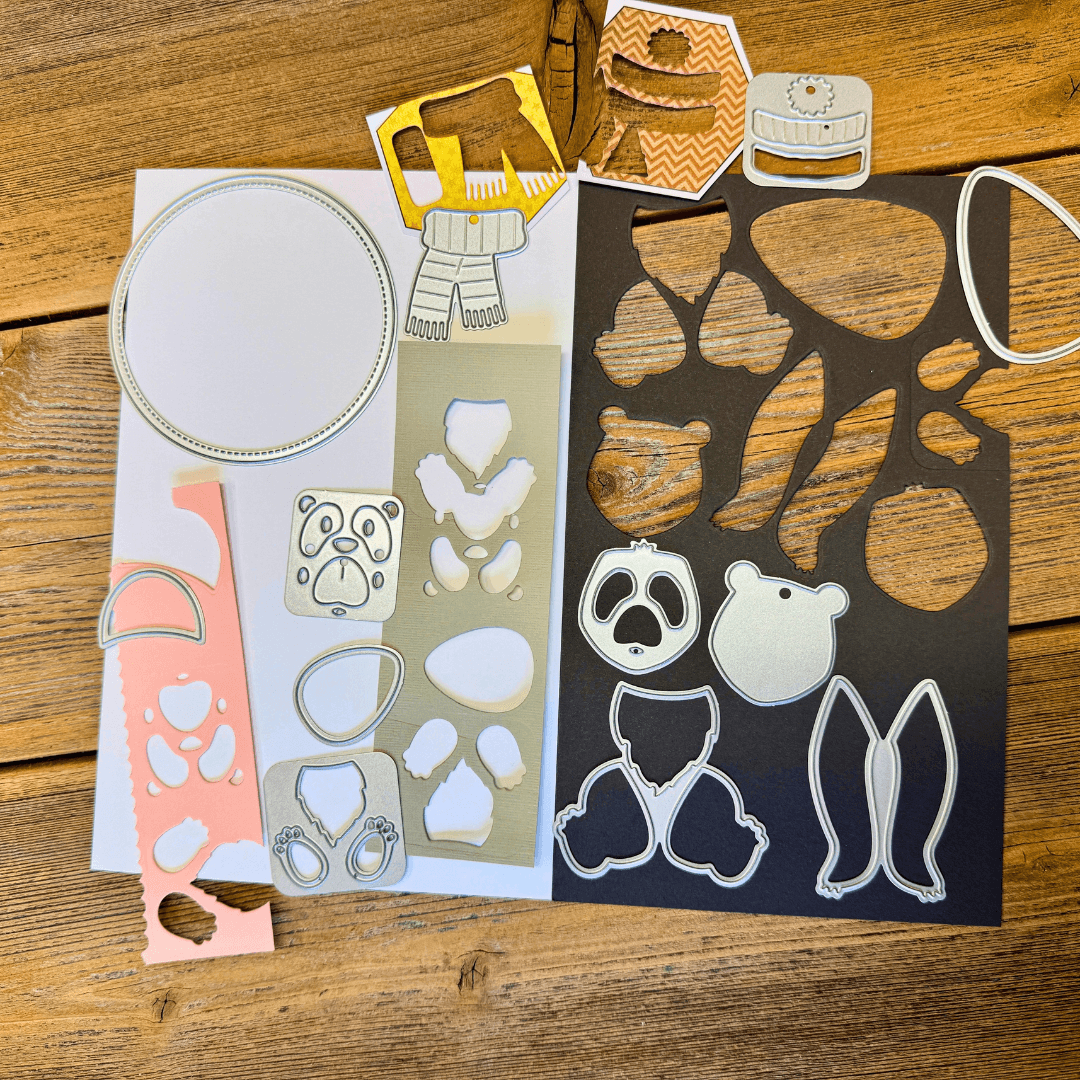
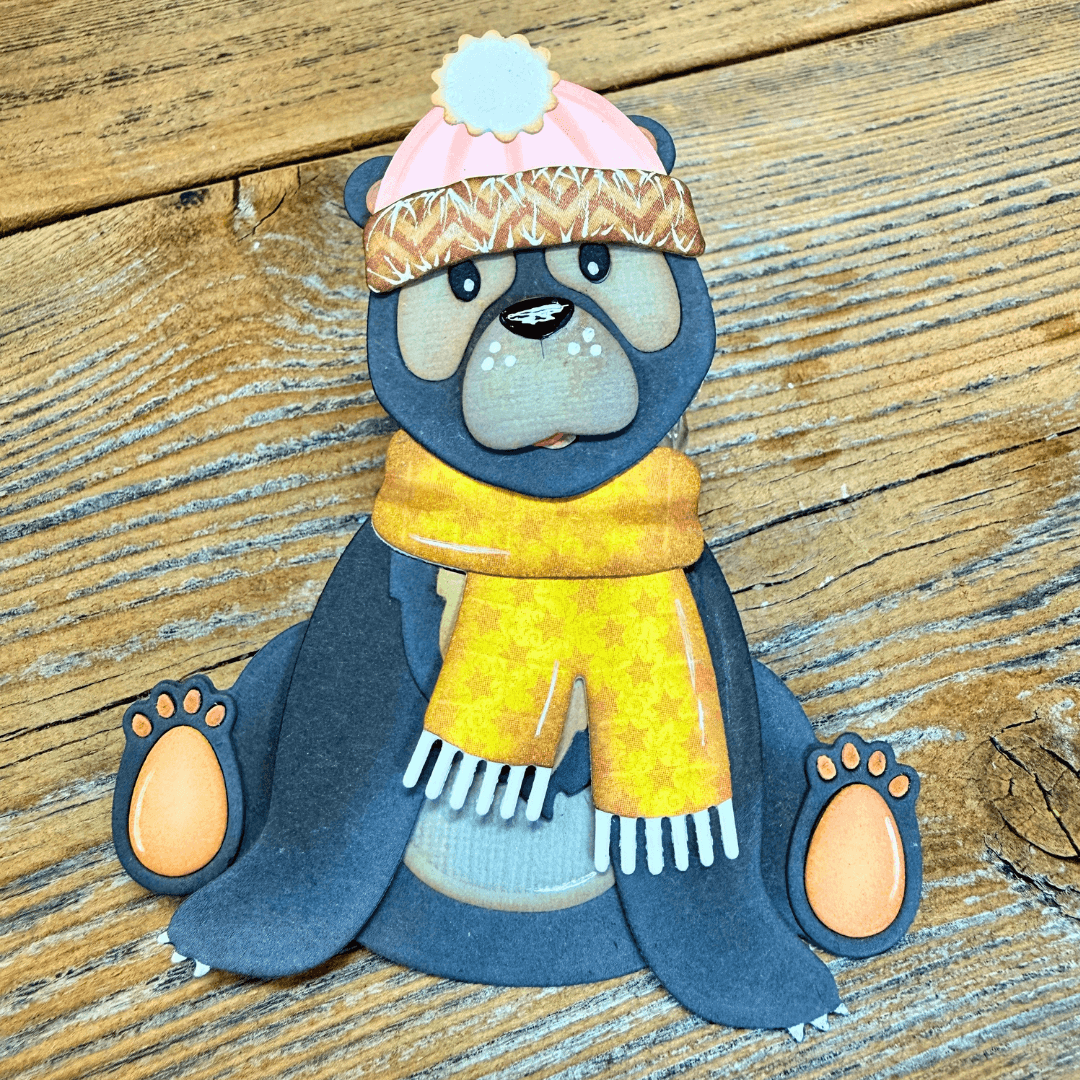
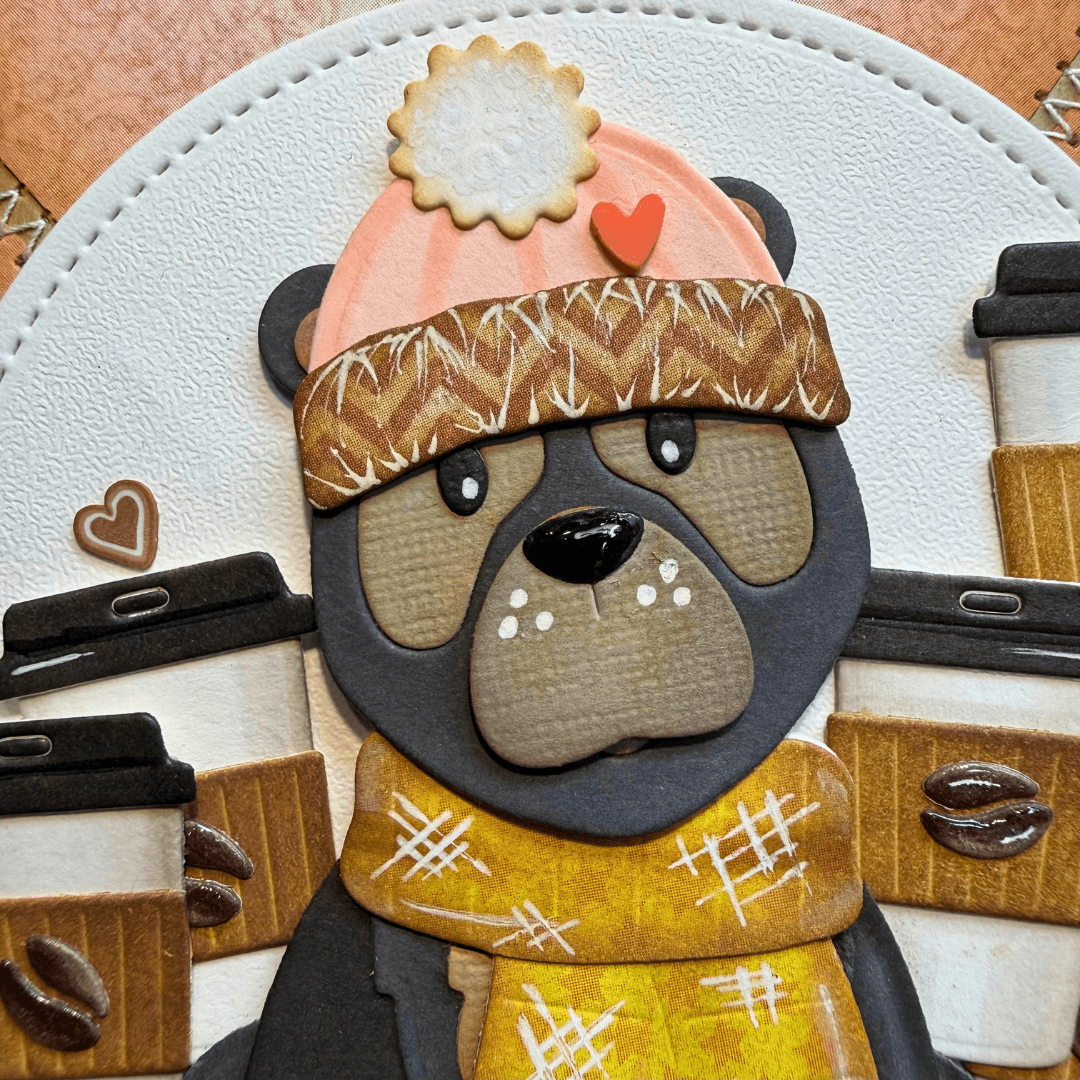
Step 2: Die-cut all pieces for the Oli the Bear set (2092), You can see the colors I cut the pieces from in the photo below. I used two of the tiny pattern hexagons from the cover sheet of the Dog Days paper (C040) for the scarf and parts of the hat. Ink-blend the edges, as desired, and use markers and a white gel pen (fine tip) to create the design on the scarf, hat, and tiny claws. Add white highlights, if desired, and assemble the bear according to the packaging illustration. You can tip the head if you wish. I used a combo of glue and thin foam adhesive (snout for example).
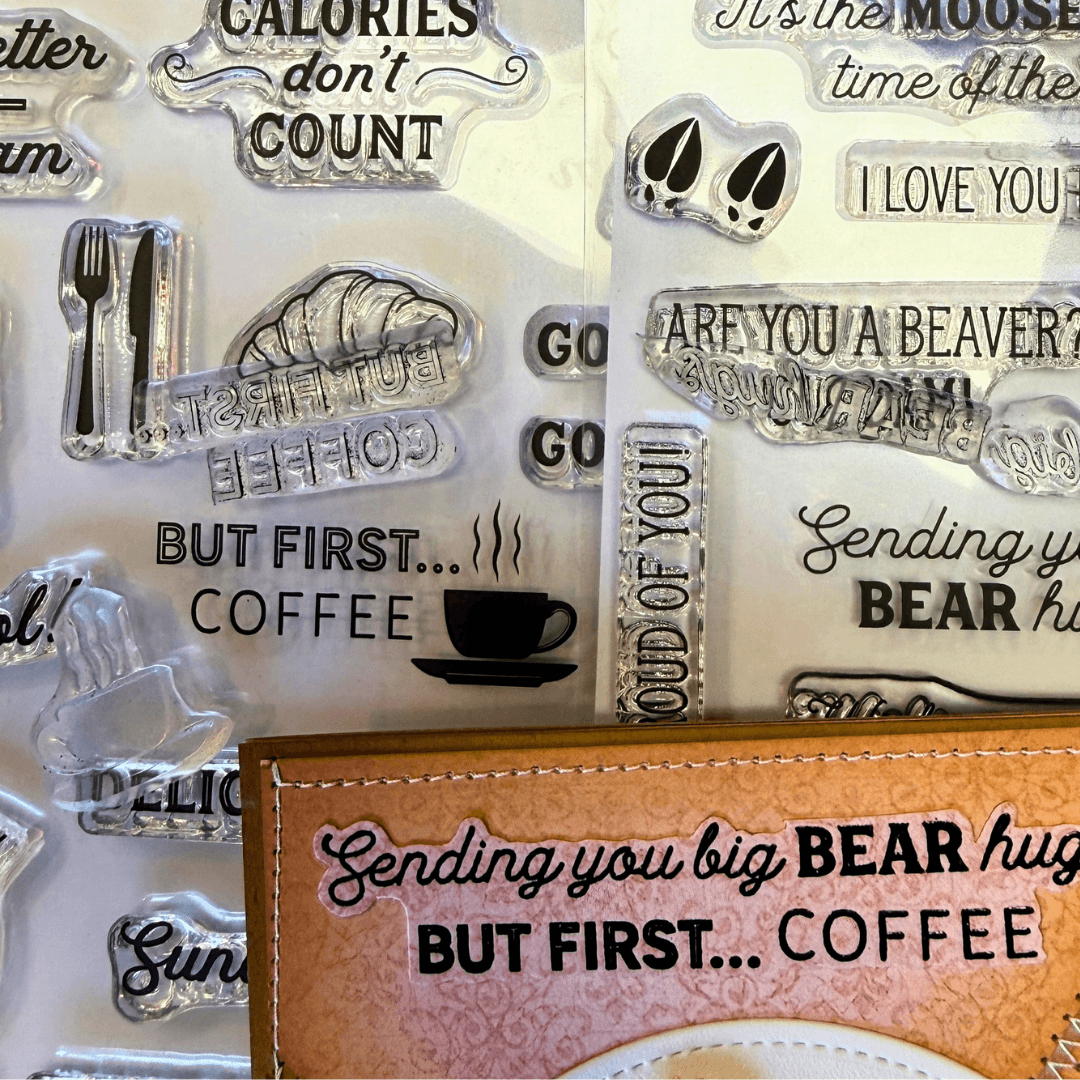
Step 3: Pick your sentiment and heat-emboss it on the same baroque-style light pink paper. I used two sentiments from different sets, cut them apart, and combined them to create the sentiment I wanted. Once cool, fussy-cut down to the desired shape and glue over the top in the space between the stitched areas.
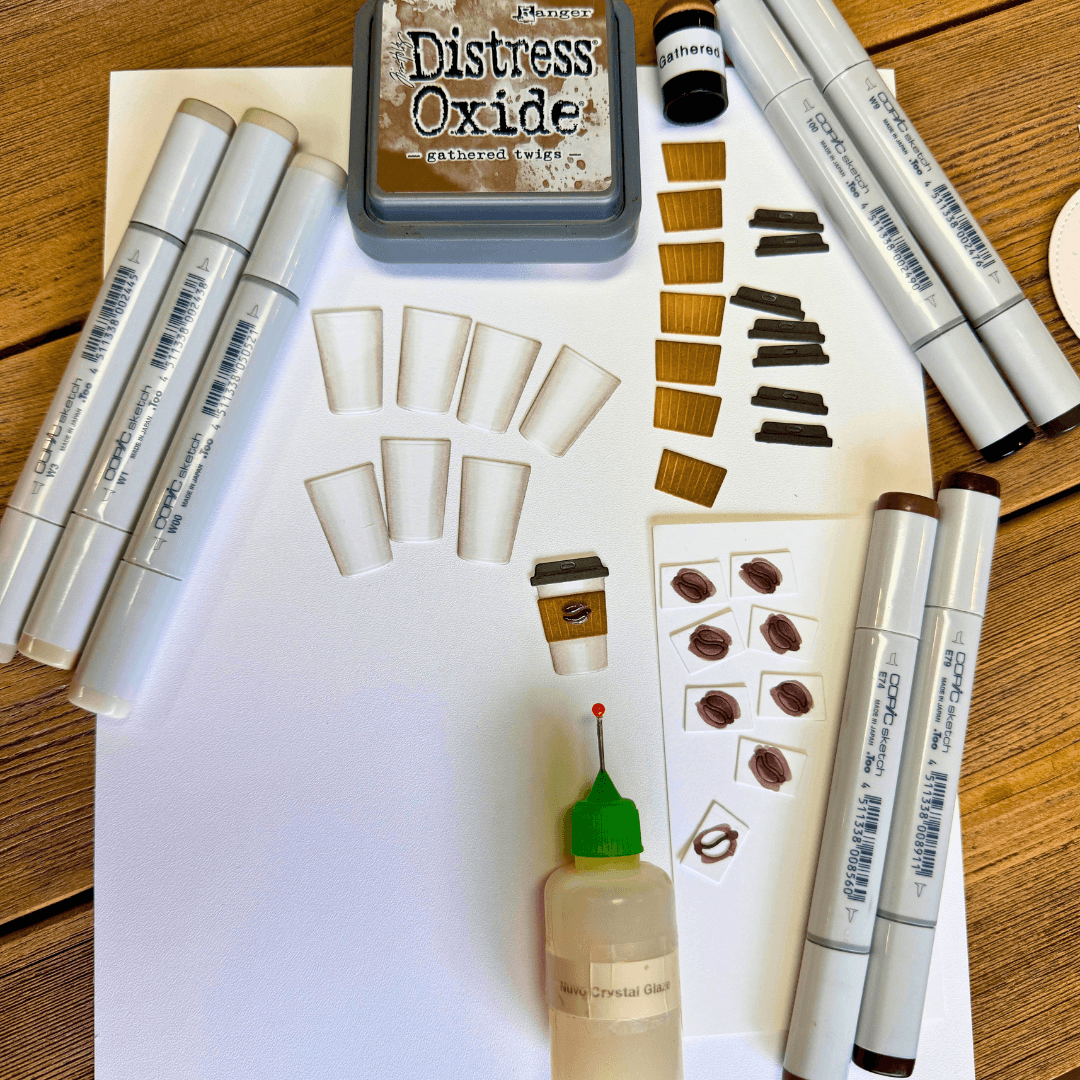
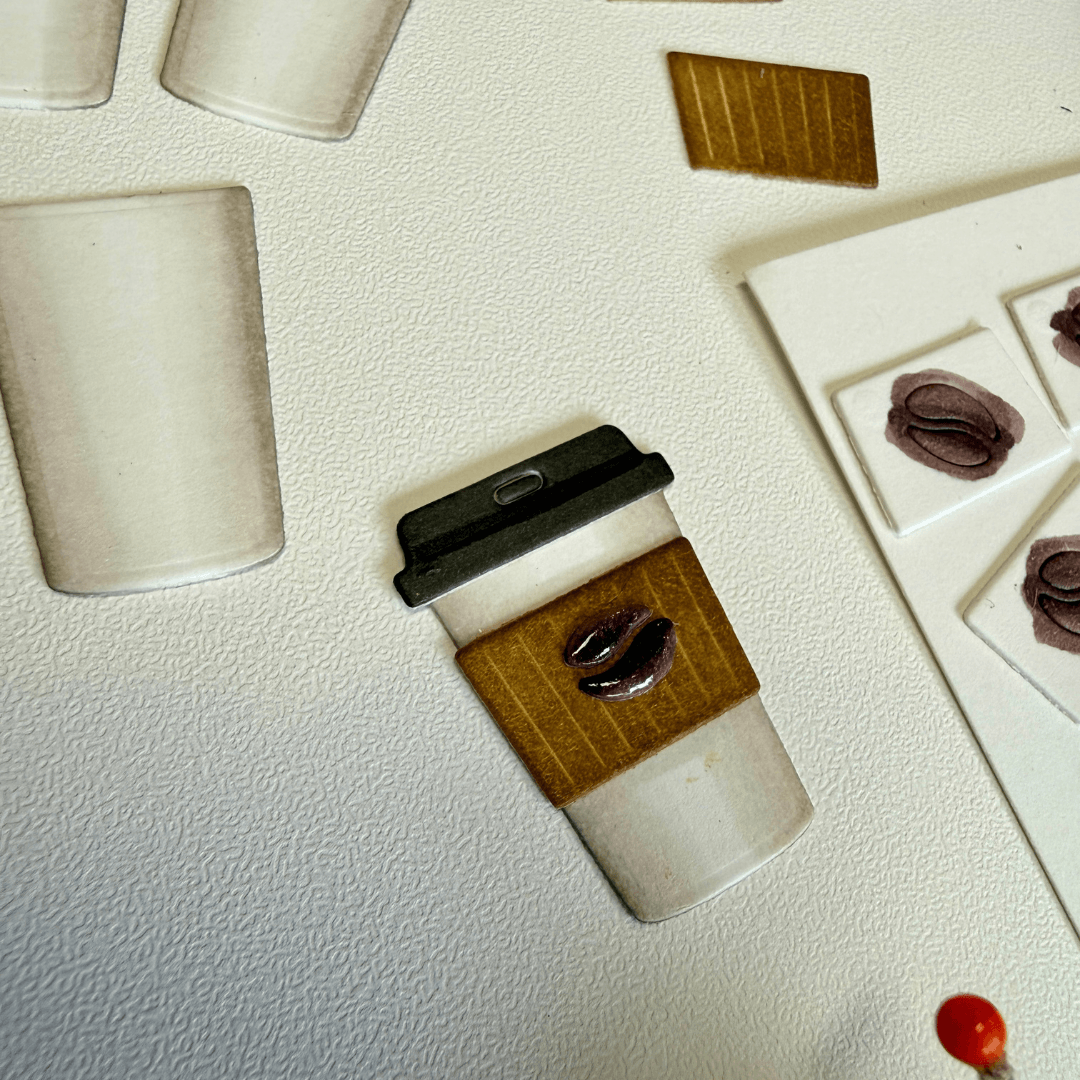
Step 4: Die-cut 10 of the to-go cup dies from white soft-finish cardstock. Then create an assembly line: color each, then assemble each. Using the same markers and inks, color and blend.
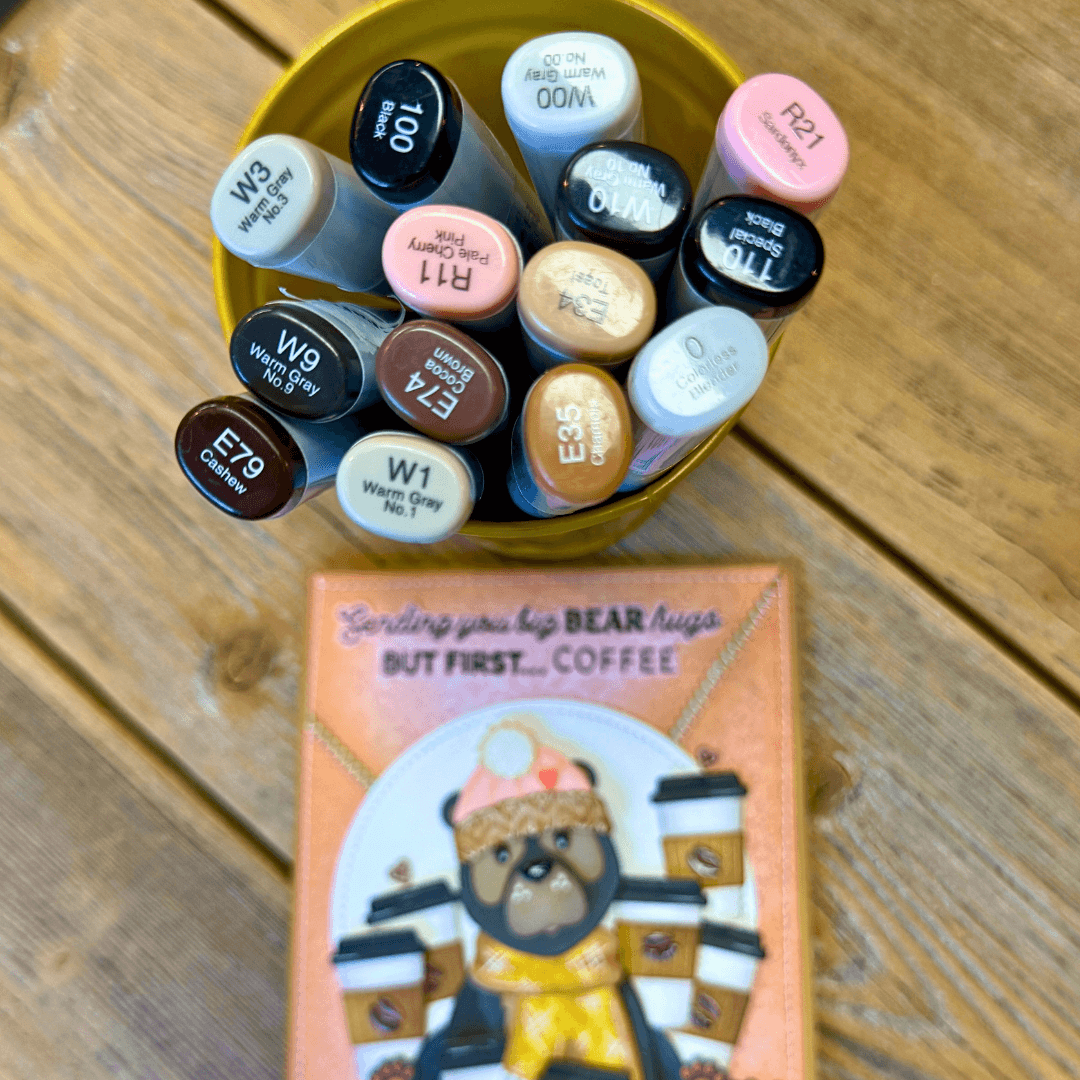
I used Copic Markers: white cup W3 (edge working into center), W1, W00, and Zero. Lid W9 with just a stripe of 110 for shadow) Beans are E79 & E74, and the Coffee cozy is finger daubed using Gathered Twigs oxide.
Once colored, add a liquid glaze to the coffee bean (done last to allow it to dry) and assemble all 10 according to packaging; set one aside for the inside of the card.
Step 5: Attach top of bear (head, behind scarf with thin foam adhesive. Making sure to leave room to tuck in coffee cups. I used thin foam adhesive on the tops of the coffee cups only, and glue on the bottom. Attach clay hearts above 3 cups, and to the hat, if desired. Now, add additional glue to paws or any areas that need to be attached down. Now is the time to add the glossy accents/glaze to the coffee beans (if you didn’t do that in the last step) and the bear's nose- set aside to dry.
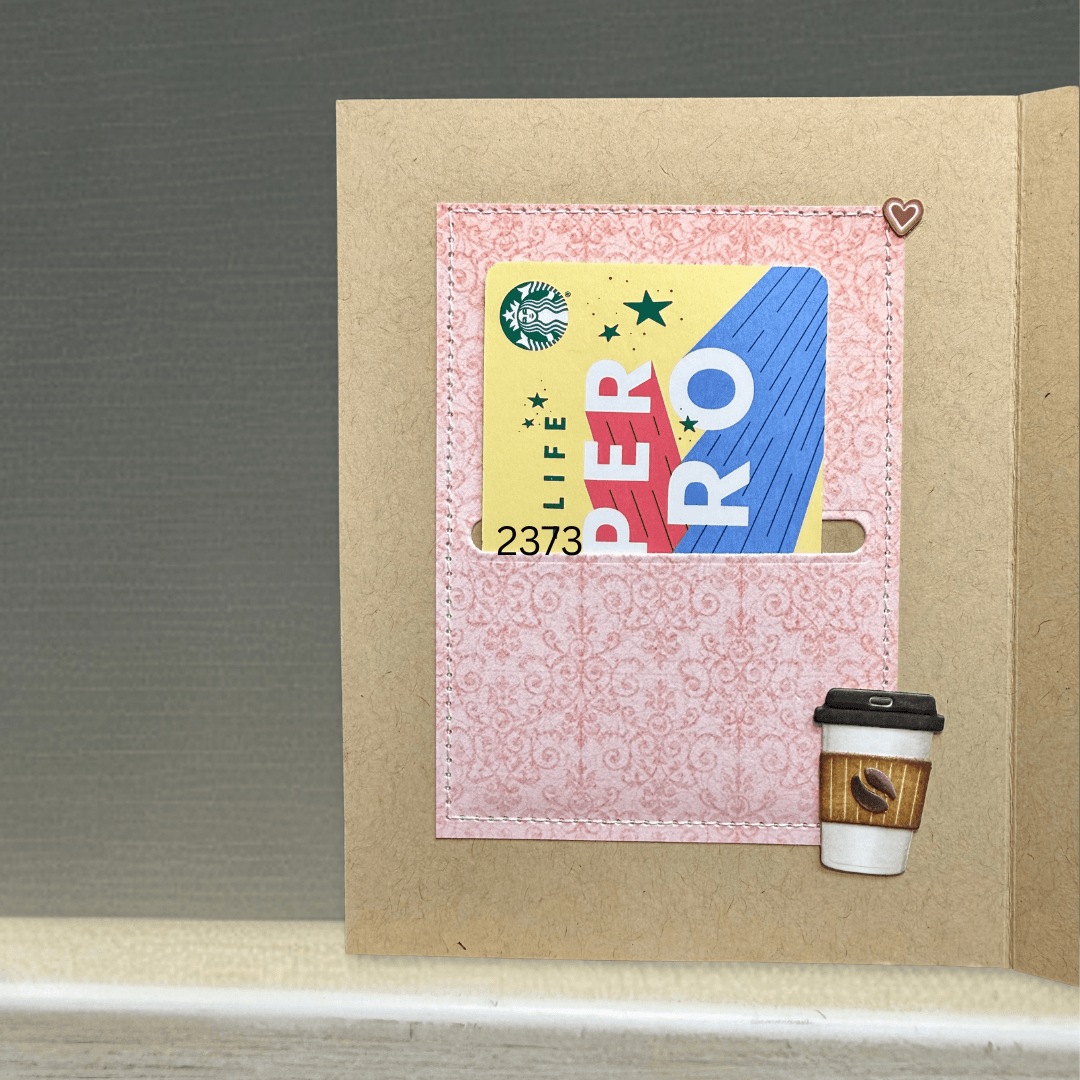
Step 6: Take a kraft card base, scored landscape (at 4-¼’). Open and lay flat. Using the same soft pink paper, cut a piece to 3”x4”. Taking the long oval die from the Cat Scratching Post die set (2373), die-cut out the slit for the gift card opening. Add a drop or two of glue above the slot area, let it dry, then sew around the outer edge only (all 4 sides). Your gift card will slide right in.
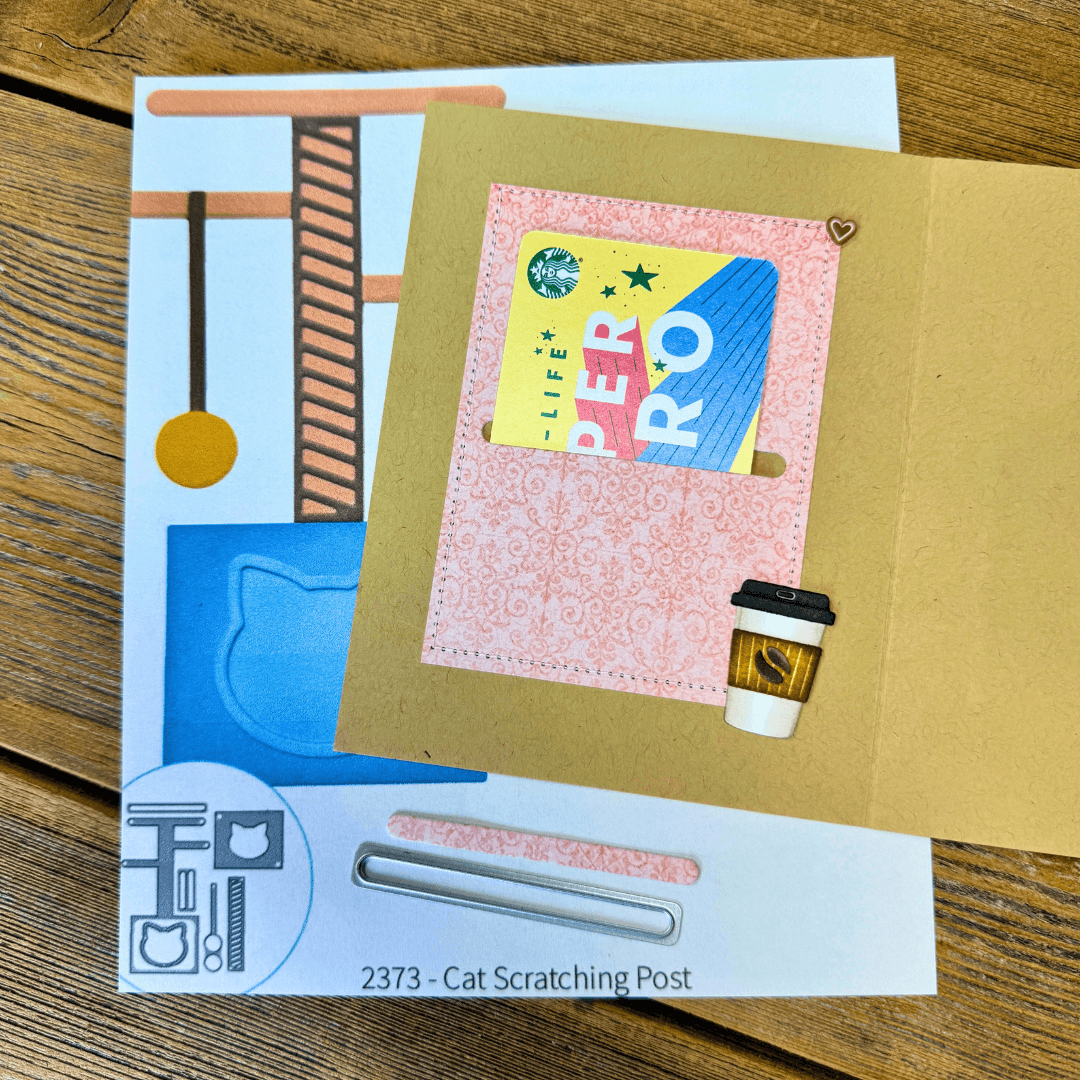
Step 7: Once the glossy beans and nose are dry, attach the card front to the card base front using liquid glue. Allow to dry. Once dry. Attach the final to-go coffee cup and clay heart to the inside of the card, as shown in the photo above.
I hope you’ve had a beary good time crafting, today! And that our bear friend and his coffee habits, didn’t give you any jitters!! :O)
Make sure you share your projects with us in our Facebook Group HERE. We love to see what you create!
Never miss a tutorial and sign up for our emails today HERE.
Elizabeth Craft Designs Products Used:
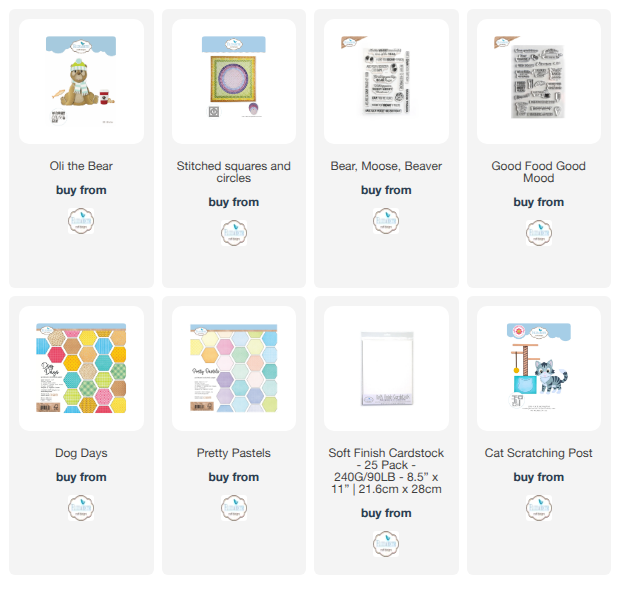
Elizabeth Craft Designs Products Used:
Oli the Bear die set (2092)
Stitched Squares and Circles die set (2350)
Bear, Moose, Beaver sentiment set (CS335)
Good Food Good Mood sentiment set (CS296 )
Dog Days 12x12 cardstock/paper set (C040 )
Pretty Pastels 12x12 cardstock/paper set (C014)
Soft Finish Cardstock (PSF144)
Cat Scratching Post (2373)