
How to Make a Shed-Themed Mixed Media Art Journal
Do you love creating journals with a strong theme? Or maybe you’re looking for more ideas for shaped art journals? In this tutorial, you’ll learn how to create a mixed media garden shed-themed journal filled with hidden pockets and layered details. This project also gives you the techniques for adding pages over time, allowing your journal to grow and evolve as you continue crafting.
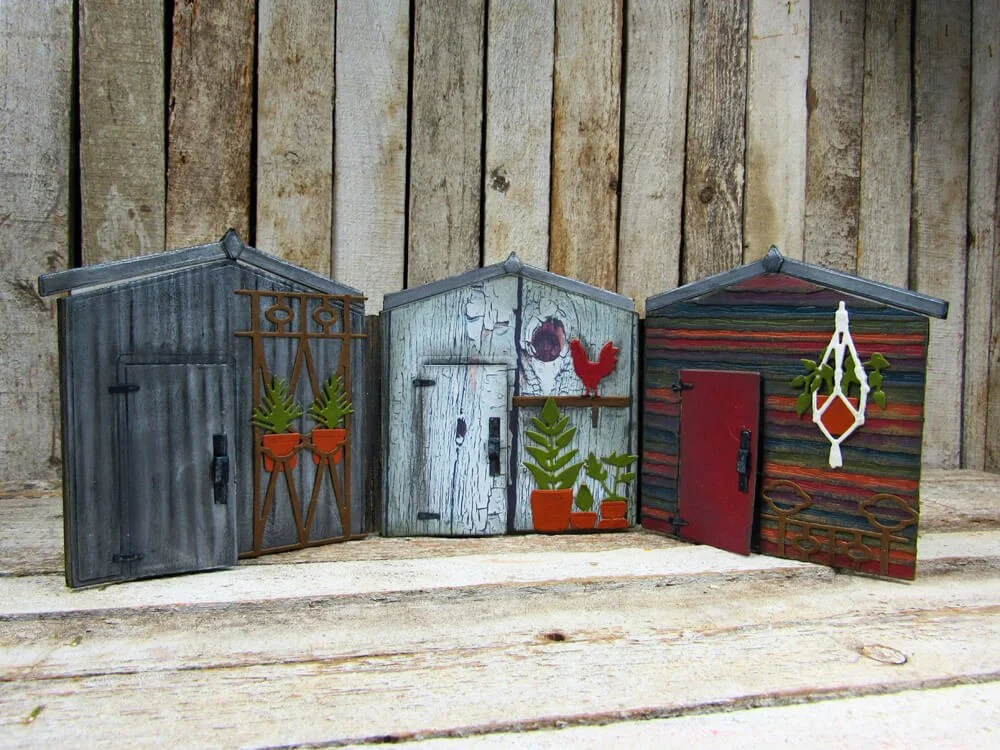
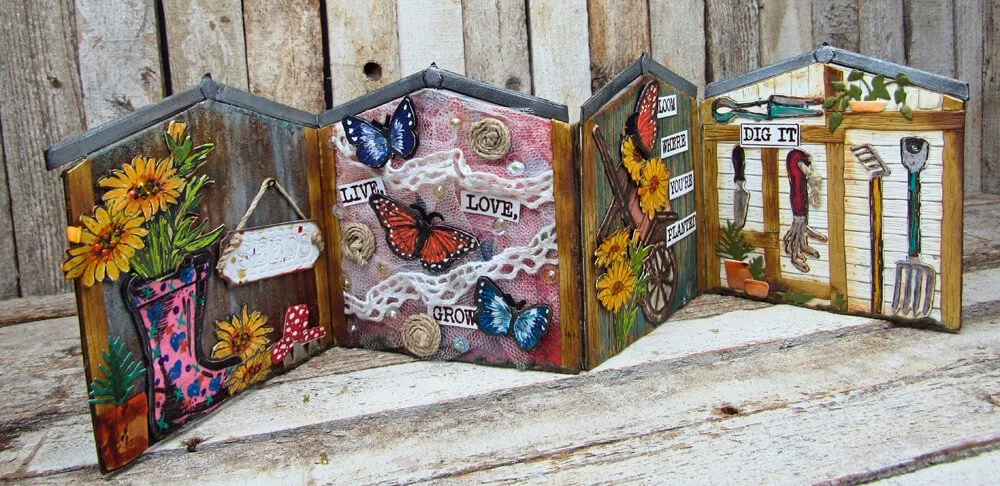
With Spring just around the corner and my mailbox full of seed catalogs, what better time to make a Garden Shed Art Journal! The In the Garden Collection has everything you need to get you started. This art journal step-by-step tutorial only shows a three-page garden shed journal, but you can make as many pages as you want and keep adding to it. I will show you how I made my journal and hopefully give you some inspiration to make your own. Always remember, there is no right or wrong way to make an art journal.
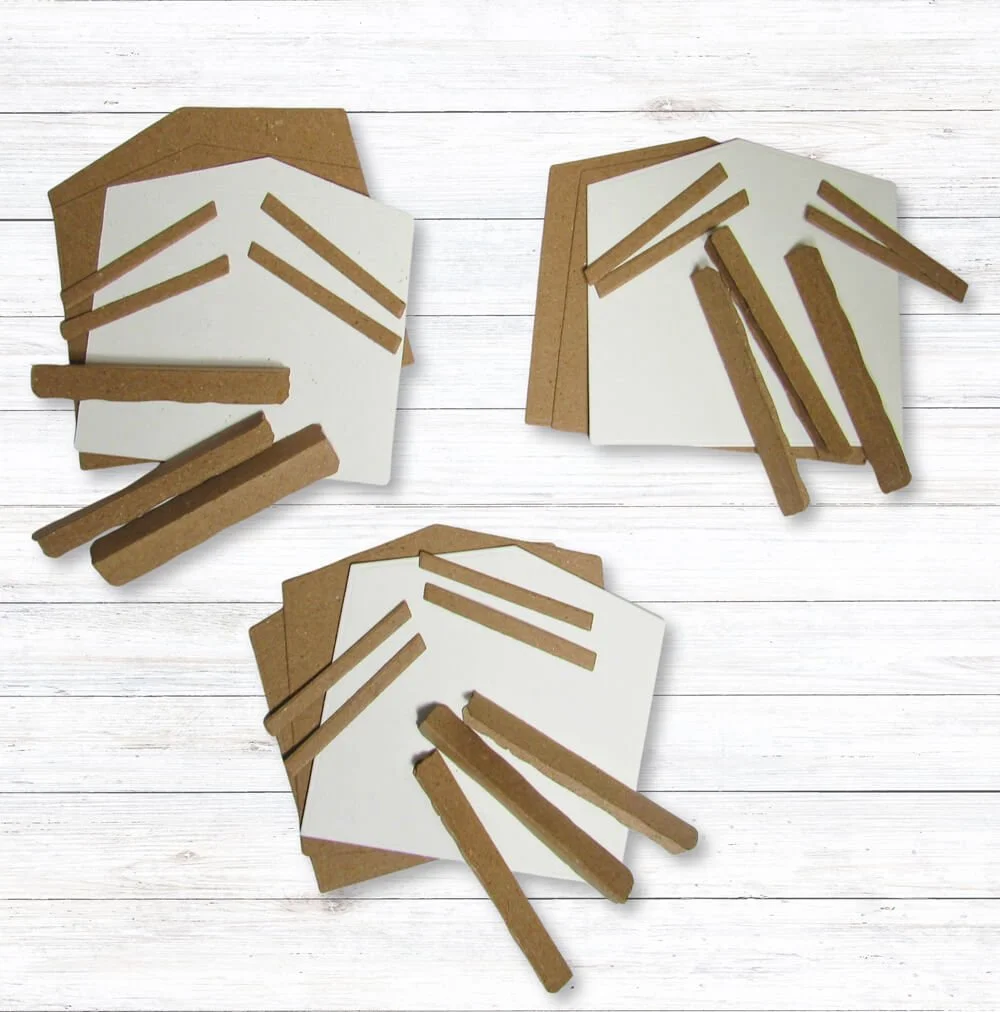
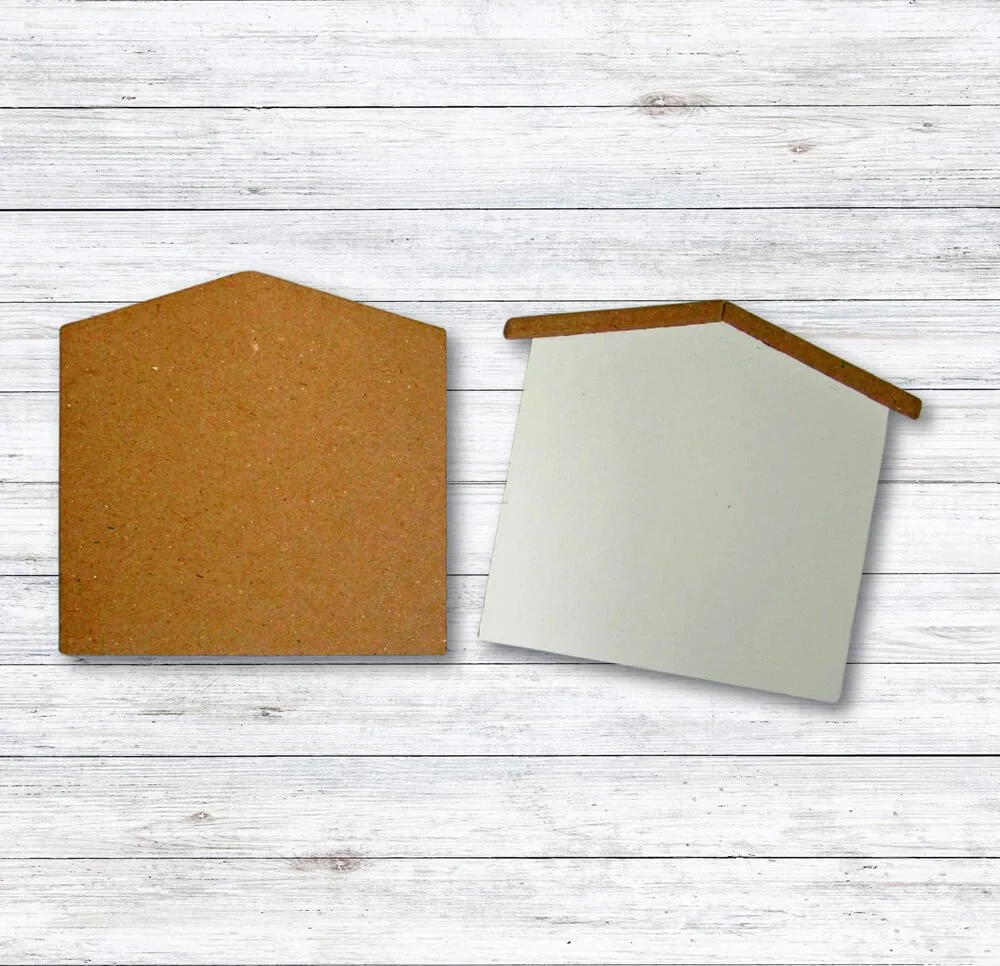
Step 1: Die cut all the pieces. Each garden shed page will need three solid shed pieces: two for the pocket and one for the insert. You will also need three connectors and four roof trim pieces. You will need to multiply those numbers by the number of pages you want for your journal.
Tip: When cutting the pocket insert, use sturdy watercolor or cardstock paper. It needs to be stiff so it can slide in and out of the pocket without getting wrinkled or torn. If you want lines to write on, I recommend notebook paper glued or taped to the insert.
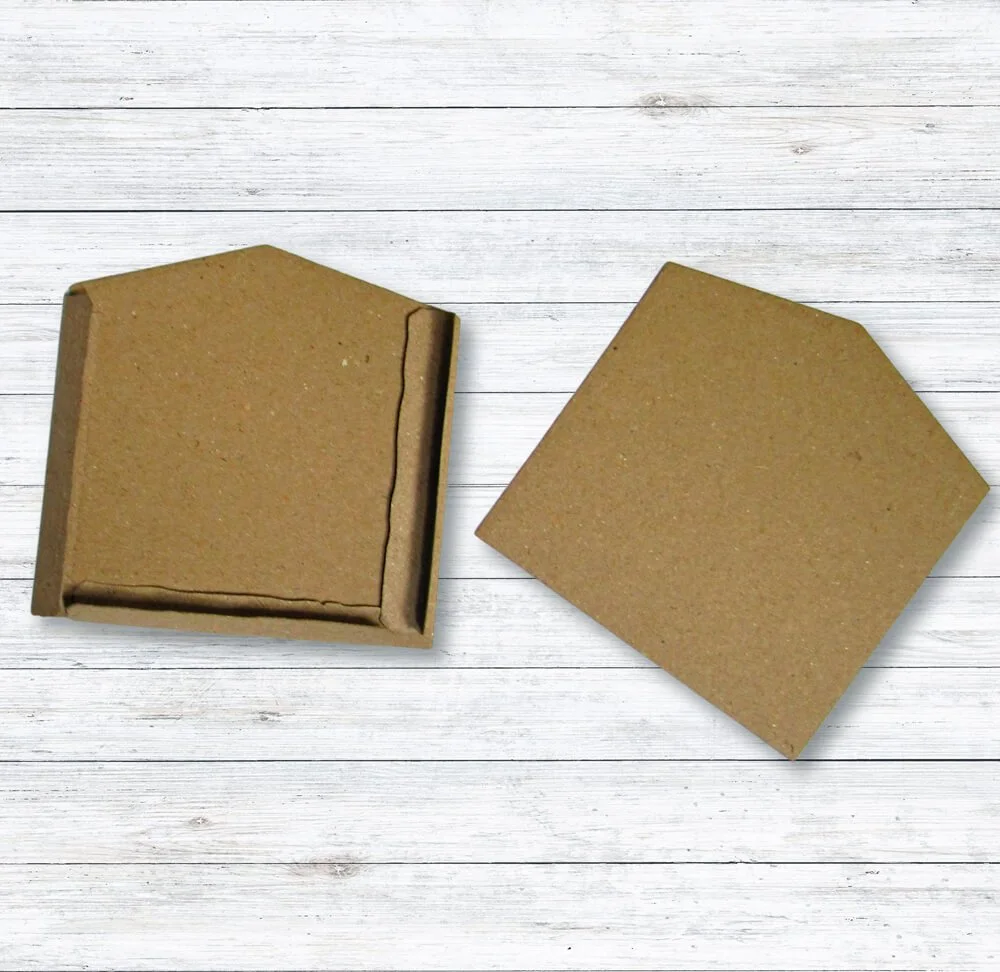
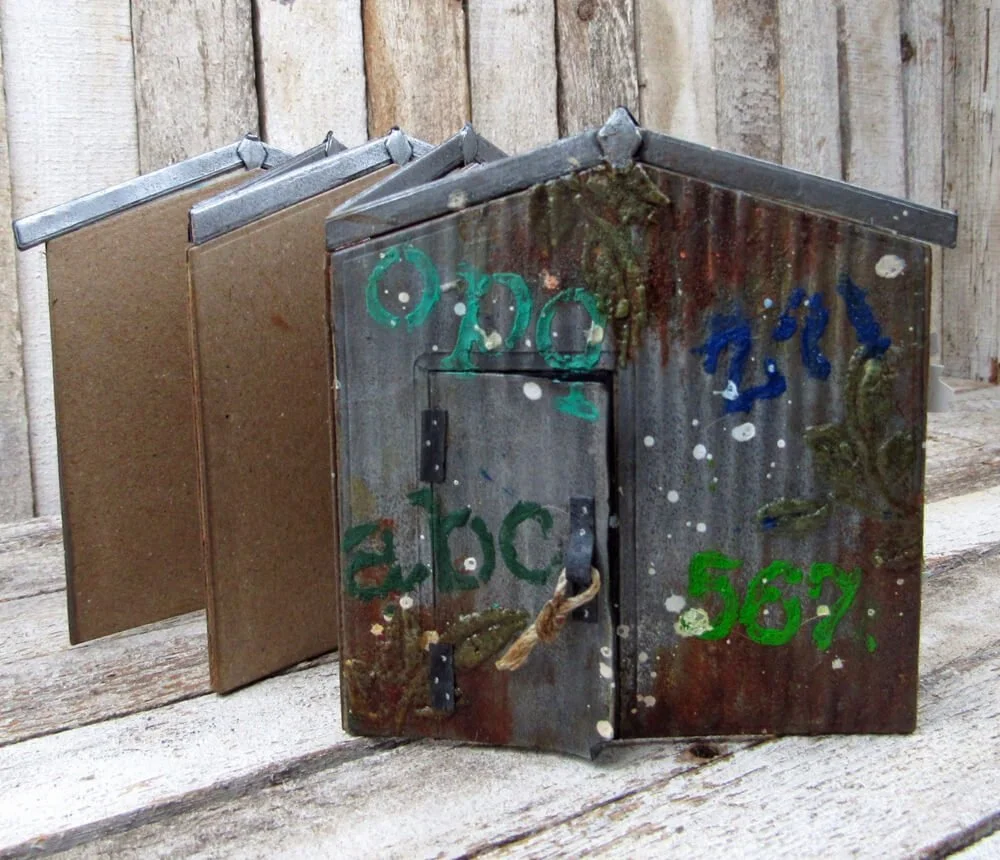
Step 2: Use two of your solid shed cutouts and three of your connector pieces to create the pocket. Fold the connector pieces at their crease line and glue the crease line edge to the right side edge of the shed, one to the left side edge of the shed, and one on the bottom edge. You will need to cut 10 mm off the bottom connector piece before you glue it down. Let the glue dry for a few minutes before moving on. Next, add a small amount of glue to the top flap of the connector and lay the second solid shed cutout on top. Be careful to line it up evenly and not to get glue on the inside edges that form the shed's peak. This forms your pocket. Let the glue dry before moving on to the next step.
Step 3: To make the insert, trim 1mm from both the right and left sides of the solid shed cutout. You do not need to trim anything off the bottom. Remember to start small and adjust accordingly. Trimming off too much could result in having to recut the insert.
Tip: Trim each side equally or as close as possible, so it sits centered in the pocket.
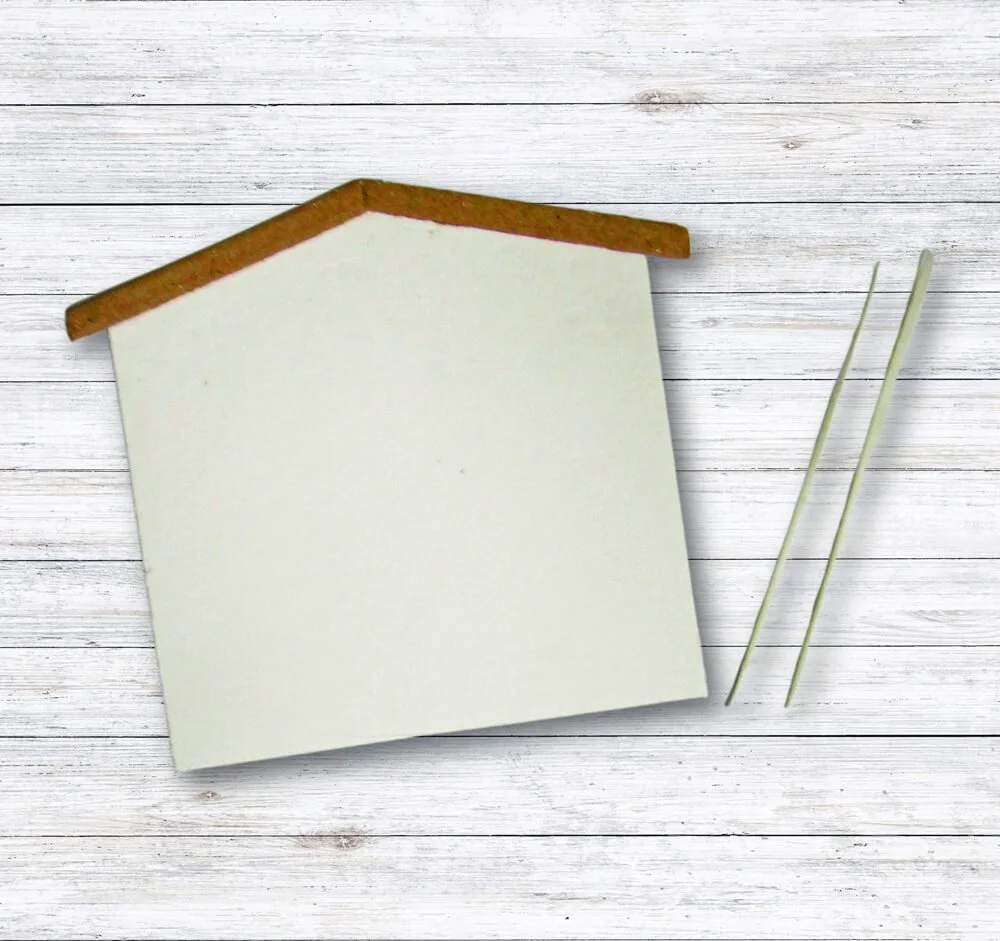
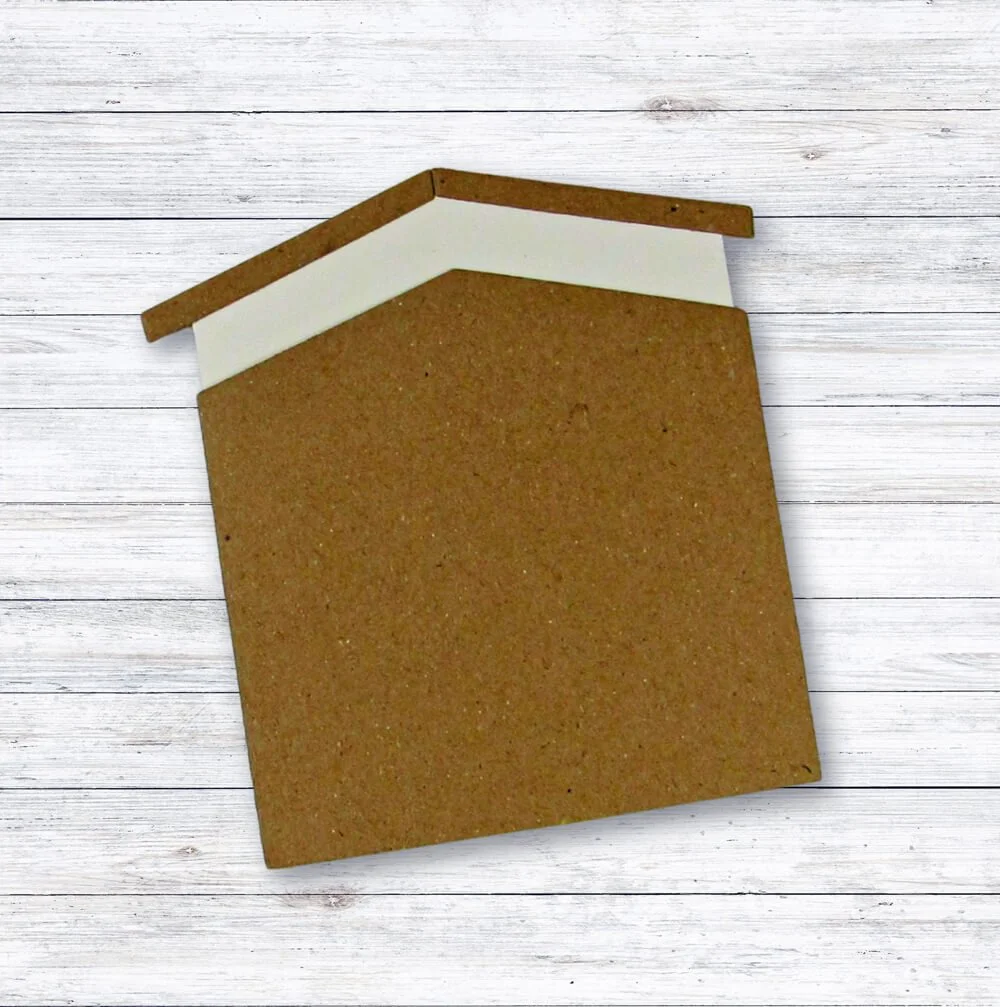
Step 4: Building the Roof of the Insert. Once you have the right and left sides of the insert trimmed and know it fits in the pocket, add the roof pieces. Each piece is angled to fit the peak of the shed/insert. Line the pieces up with the edge on the top of the insert, and do this on both sides. This should sit just outside the roof edge of the pocket. It helps to grab the insert and slide it out of the pocket more easily.
Tip: Do not be tempted to add the diamond topper. This will be added after you add your final roof trim paper.
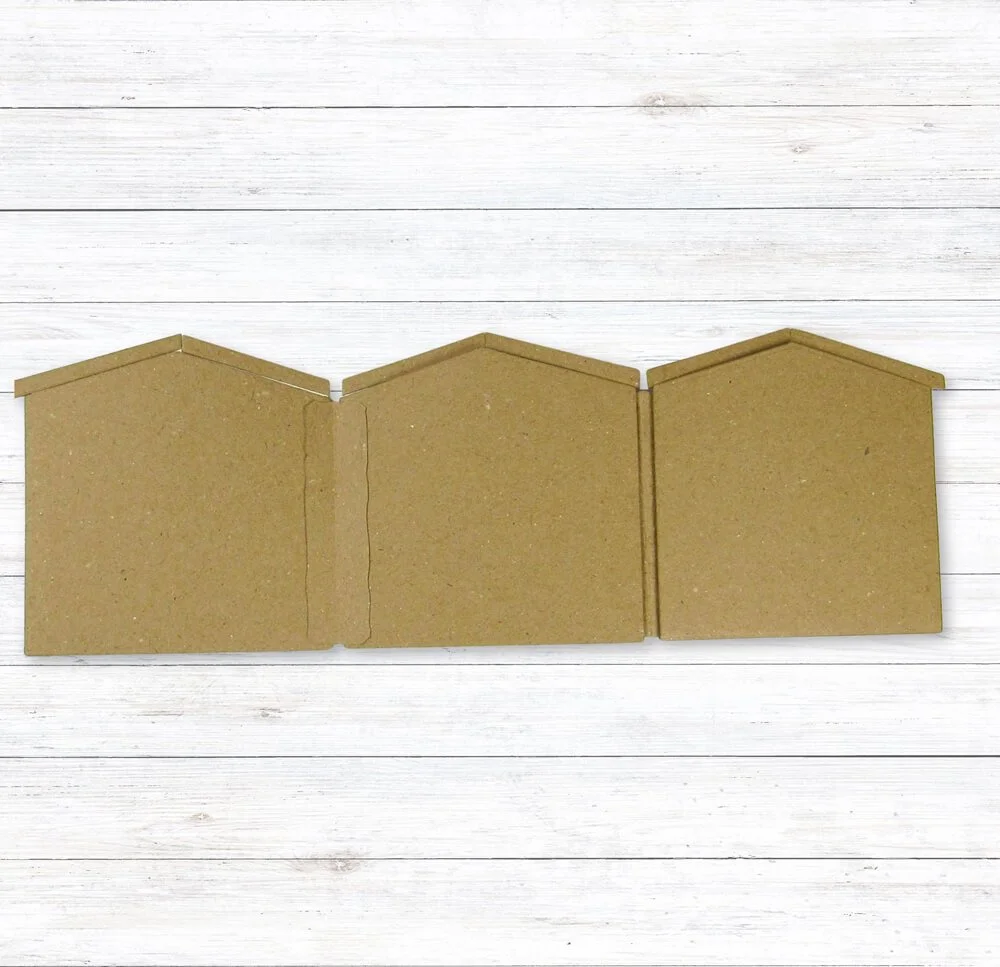
Step 5: Once you have assembled all of your pages, you will want to connect them. For this, you will need two connector pieces. One for the front side of the shed and one for the back side of the shed. Gluing them this way will make an accordion fold and allow you to add on and expand your Garden Shed Journal. I have found that it lays nicer if you place the connector on the inside between the two pages, versus on the outside like a book spine. I also leave about a 1mm overhang, which adds a small gap between each shed pocket. This also helps it lay flat. You do not have to do that, and instead, line the connector up with the edge like you did to form the pocket. I also find that leaving a 1mm overhang on the connector lets you add your cover paper without trimming it. Always adjust it according to what you like. Next, you will need to trim one side of the roof strips. You will see that when you open your pages, the roof strip will catch on the next page. Trim the roof strip flush with the edge, and it will solve the problem.
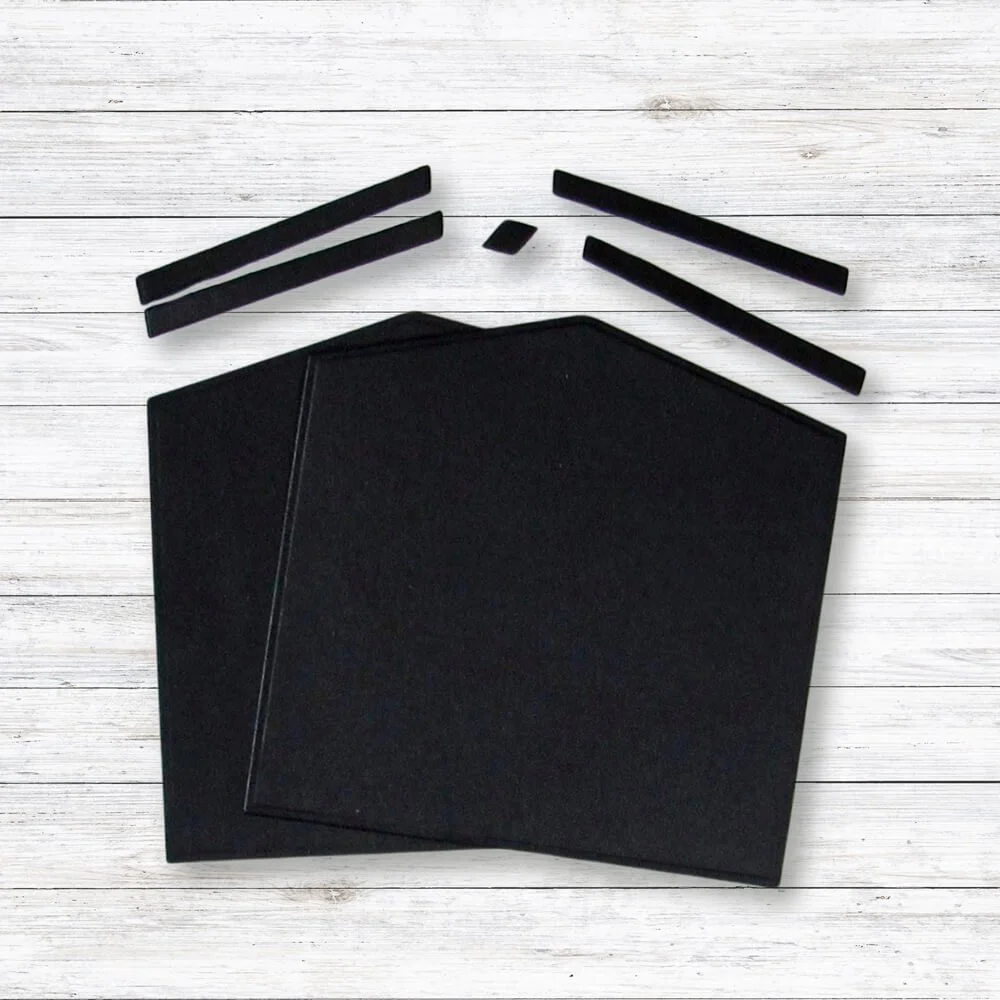
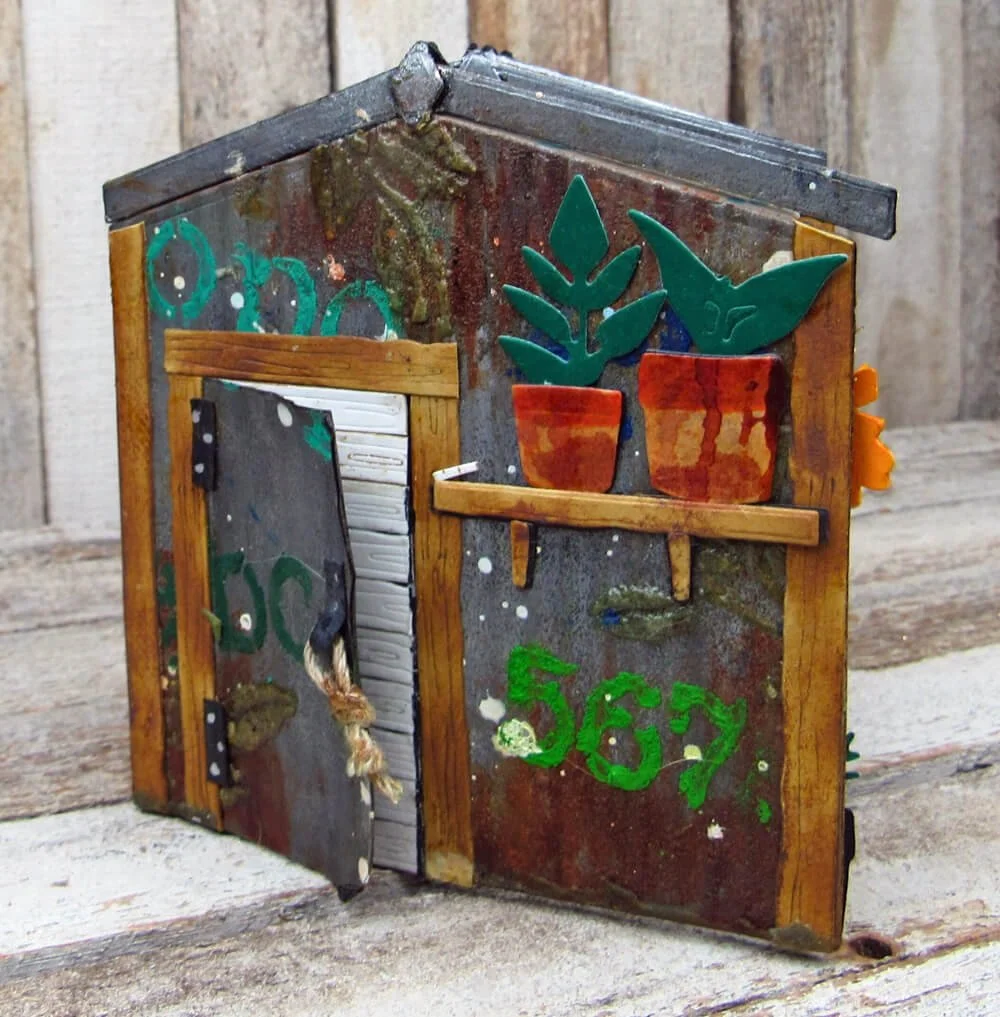
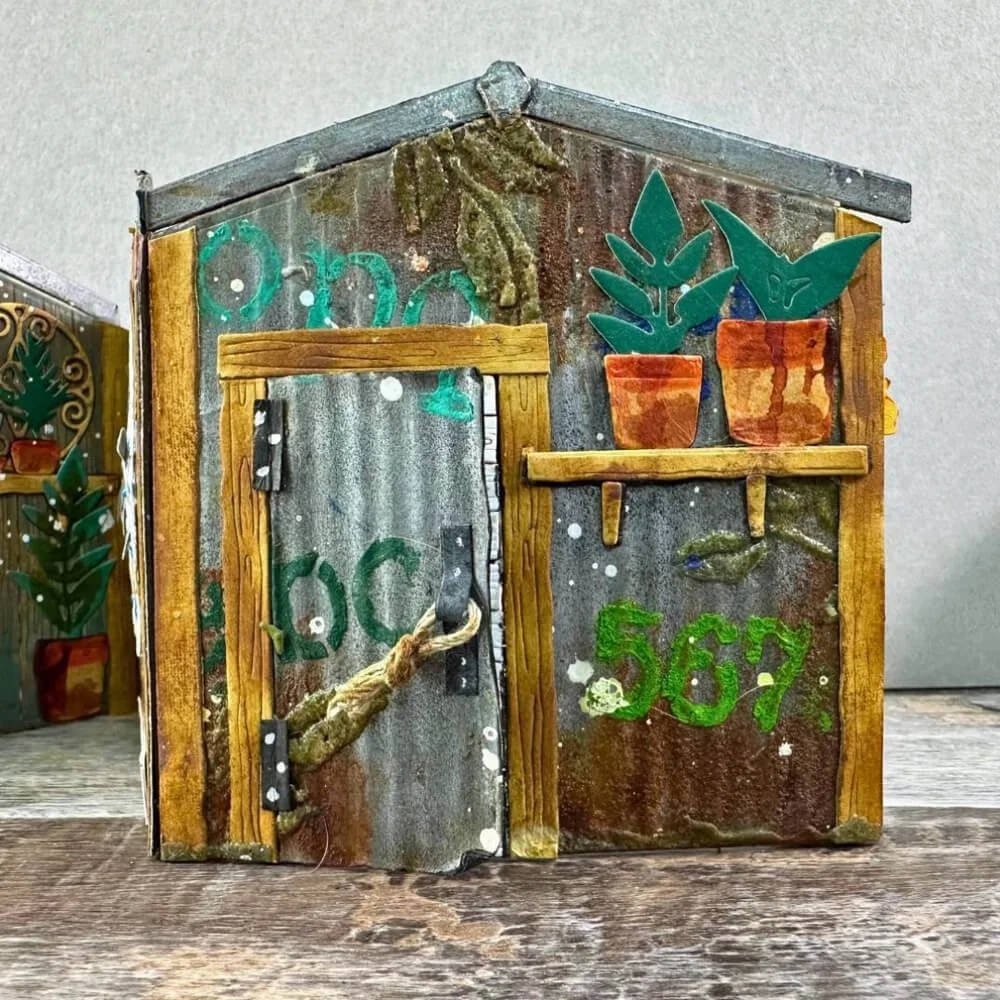
Step 6: To decorate it to look like a tin shed, you will need two solid shed pieces, four roof pieces, and four diamond pieces cut out of black paper. To make them silver, I used a mix of Sizzix Silver Luster Wax, Black Soot, Hickory Smoke, and Brushed Pewter Distress Crayons. There are many great products on the market to make your black paper silver. Use what you have on hand or your favorite products. Once you have your piece the color you want, run it through the corrugating tool (mine is by Fiskars). Glue it down to the solid shed base. I think you could use grey/gray paper, silver paper or whichever paper you would like.
Tip: I glued the silver roof pieces(strips) down before I glued any of the diamond pieces down (see Step 4). Glue the base paper diamond on top of the silver roof pieces (strips). Once that is glued down, you can place your silver-colored black diamond on top of it.
Thank you for following along. I hope you are inspired to create a Garden Shed Art Journal.
Be Well - J
Looking for a little more inspiration? Here are some bonus ideas:
Idea 1: You can use your pocket on one of the pages of your art journal. You do not have to make a journal with it.
Idea 2: You can also use it as a gift card holder. Use double stick tape to the card and the insert.
Idea 3: You can make your garden shed pocket into a card. Decorate the front and back and put the sentiment on the insert.
Idea 4: Similar to the gift card holder. You can make a belly band from the connector and attach it to the insert. Fold up the cash and place it under the belly band, and put the insert page back in the pocket.
Other products used: Glue, scissors, Kraft Cardstock, black Cardstock, watercolor Paper or Heavy Weight Cardstock, and Silver wax, crayons, or acrylic paint