How to Make a Shaped Card with the Dog Days Collection
Are you a crafter who loves making shaped cards with fun scenes? Or maybe you’re looking for creative ways to use characters in your card-making? In this tutorial, you’ll learn how to create a shaped card with two adorable dogs sitting behind a wall to make a playful scene. With simple layering and a clever card shape, this project is a fun way to add a touch of storytelling and adventure to your projects.

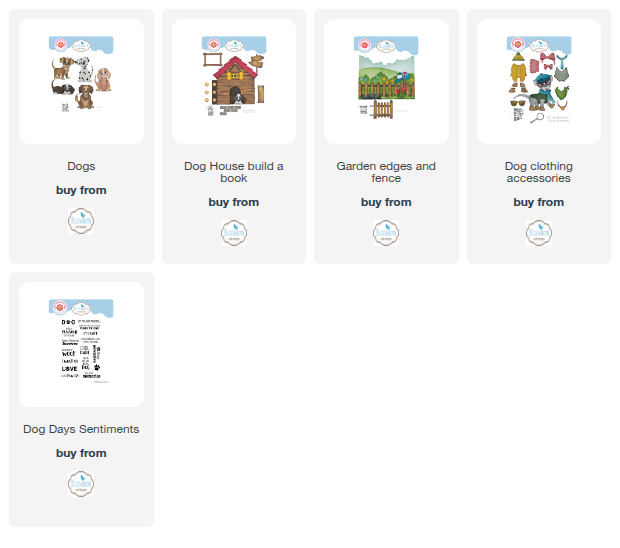
Hello there, it’s Kate. I’m so excited to share my project using the Dog Days Collection. This month’s project features two of our furry friends. It also features a different shape card base, which, as you will see, can be quite versatile.
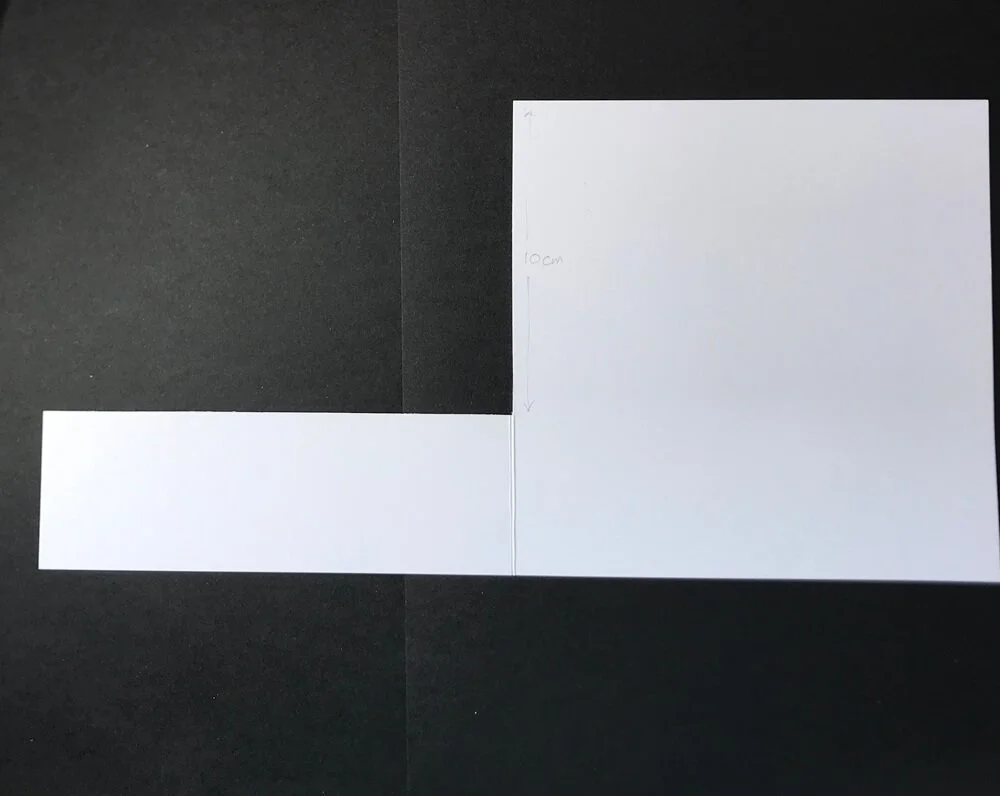
Step 1: Take a piece of white cardstock measuring 30x15cm, score along the long edge at 15cm, to make a 15x15cm card base. Open the card out and on the left-hand side, measure 10cm from the top and make a mark. Down the fold line, do the same. Draw a horizontal line to link your two marks. Cut down from the top edge (along the fold line) and along the horizontal line, and remove this piece. Set aside for now.
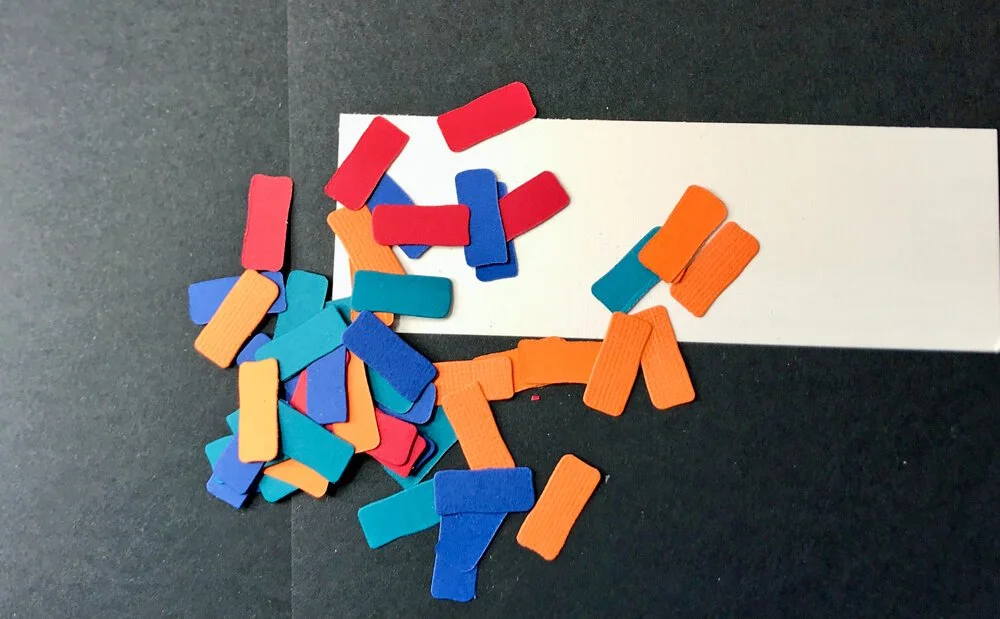
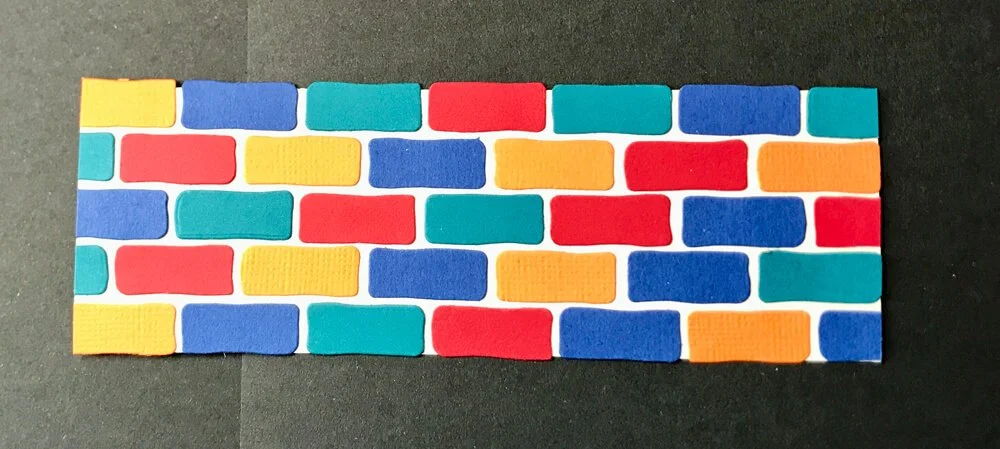
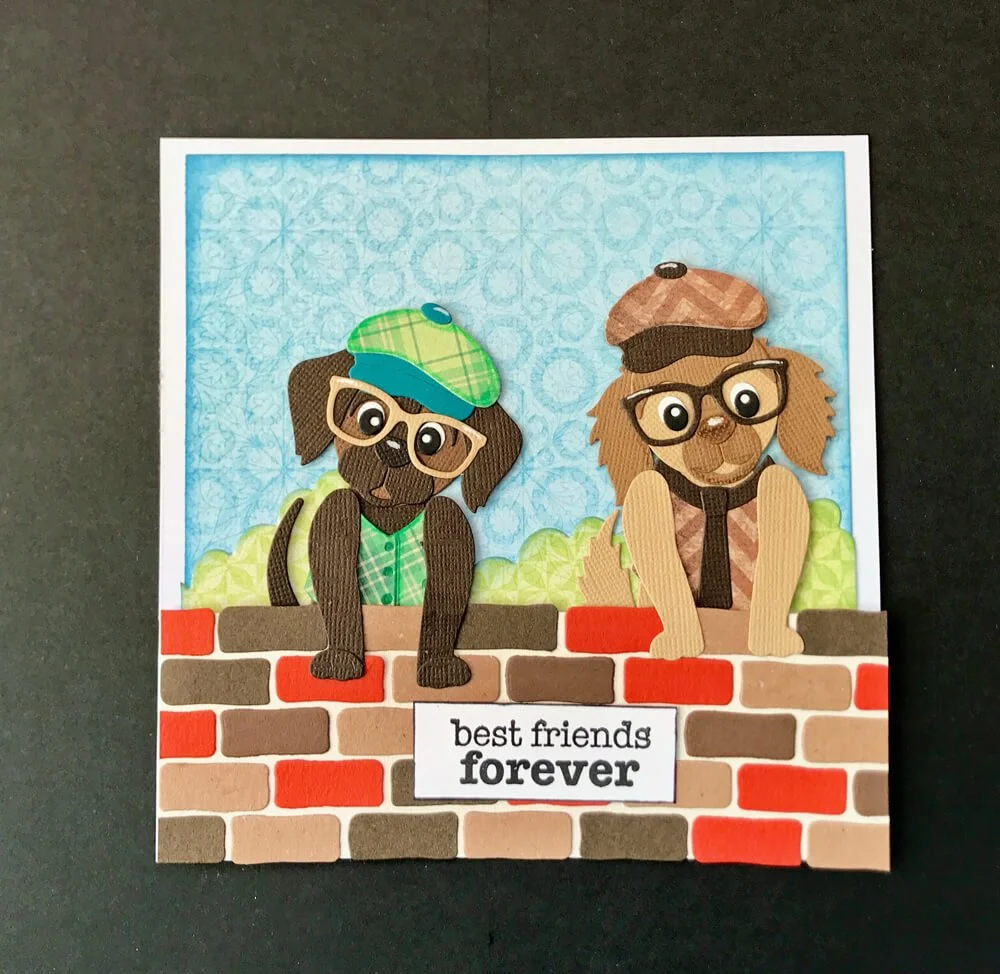
Step 2: Cut a piece of cream card measuring 5x15cm. Using the brick die from the Dog House, build a book set and die-cut some bricks in your chosen colors. Starting on the bottom of the cream card, glue your bricks in place, staggering the joins and leaving small gaps for the cream “mortar” to show. Glue this to the front of your card base.
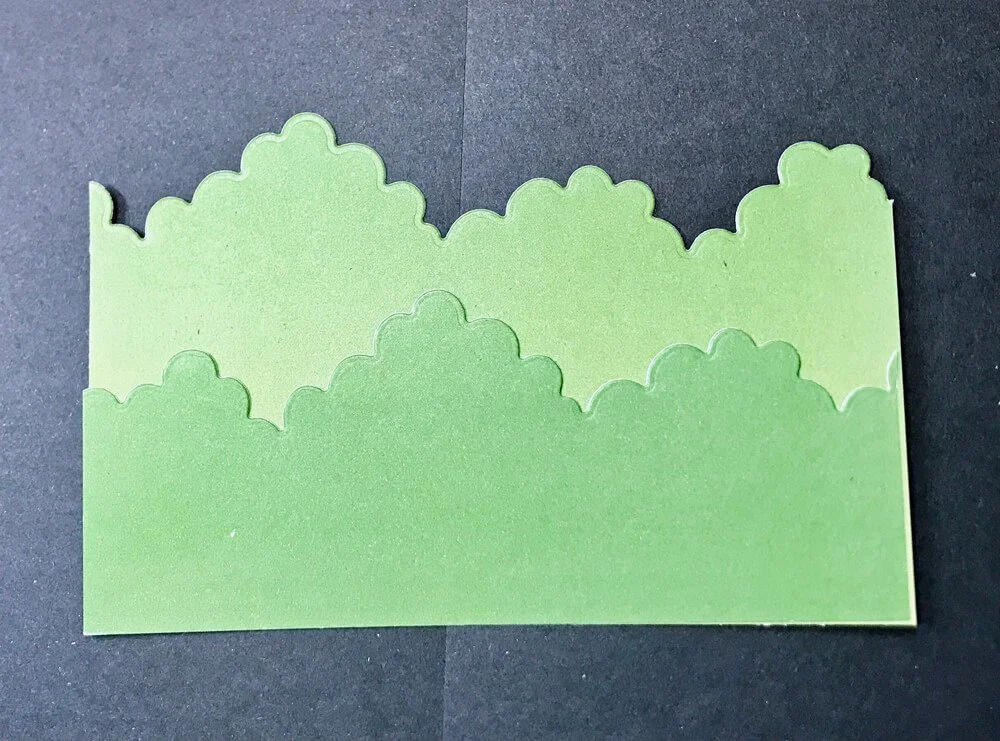
(NOTE: you could also use the garden fence or the bushes instead of the bricks on the card front- it really is a versatile style of card.)
Step 3: Make some dogs! At this point, you can decide what breed/color of dog you want to make. You can also decide how many dogs you want to make. For my card, I decided to make a spotted dog and a brown one. The special feature of this collection is that you can customise the dogs however you want.


Step 4: Once the dogs are made, you can adhere them to the inside of the card base. So they are on the back of the wall.
Here are several ways to do this, and they all look great; it’s just a matter of preference.
1- Make the complete dog and glue it in place.
2- Make the top half of the dogs (as I have done )
3- Make only the top half of the dog and then once secured in place , adhere a piece of card ( measuring 5x15cm ) over the top to conceal your workings.
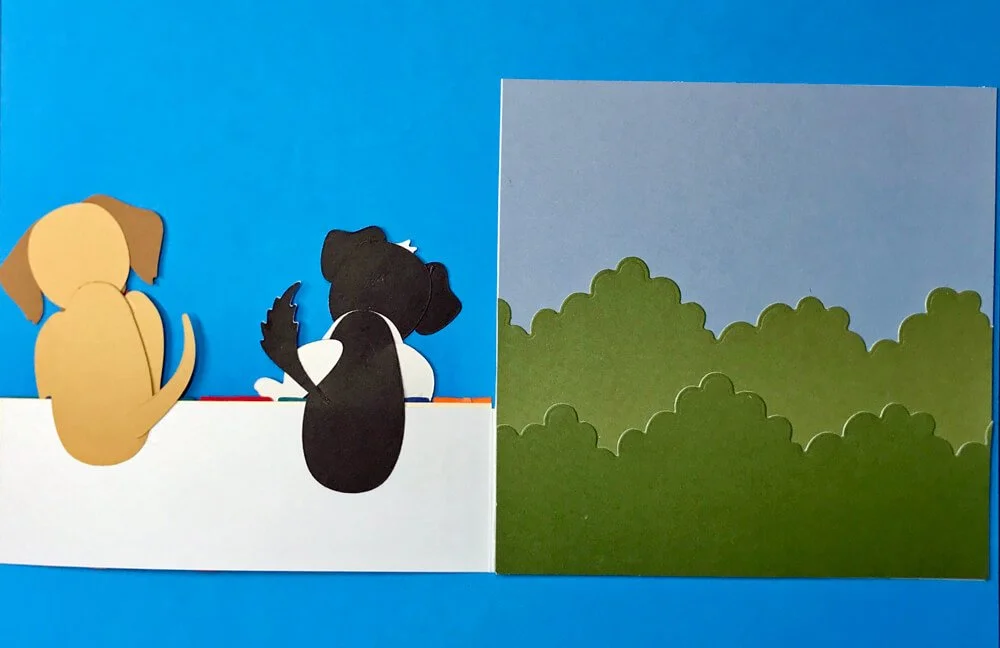
Step 5: For the inside of the card, you can make any background. I have kept it simple by cutting a piece of blue card 15x15cm and adhering it to the card base. I used the dies from the garden edges to create some bushes and adhered them in position.
Step 6: You could further embellish the dogs with accessories, and flowers, etc. Once you’re happy with how your dog looks, you can add a sentiment. Take a small piece of black card, stamp the sentiment with white ink, and heat emboss with white embossing powder. Trim to size and add to your card base.
I really like this style of card as it is versatile. I have made another card which is similar, but I changed the colours and added some clothing to the dogs. Doesn’t it make it look so different?
I hope this has inspired you to make this shape of card. Please share them on the Elizabeth Craft Designs Family page on Facebook if you do , it would be lovely to see what you make.
Keep an eye out, as I will be sharing some more cards in this style too.