Fun Inky Backgrounds for Slow the Sloth!
Hi everyone, my name is Rebecca, and I'm part of the Cute and Whimsical design team. I live in the Netherlands. Today I want to show you how I made my backgrounds for all your favorite cute and whimsical characters.
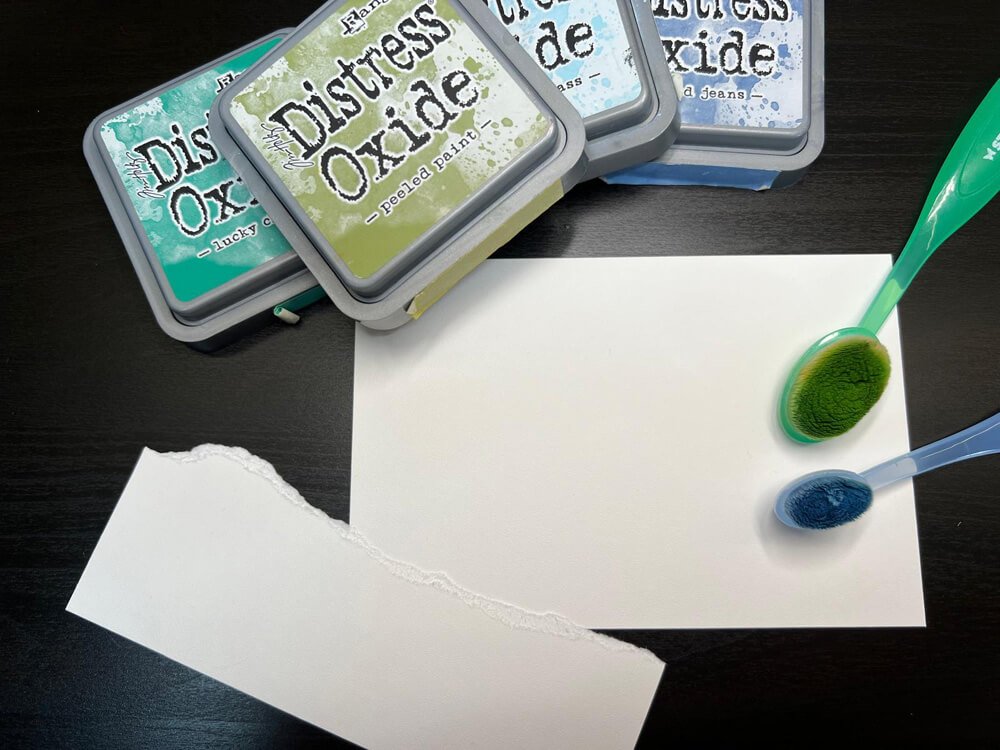
Step 1: To start I cut a panel 6x4” with the soft finish cardstock. I tear by hand a piece of cardstock that I later use as a mask. I use two colors of green for the grass and two colors of blue for the sky.
Step 2: With the dark green color, I apply it to the bottom part of my cardstock to form the grass layer.
Step 3: With the lighter green color, I go over my dark green to create more depth.
Step 4: Now we will start with the sky. In the middle, I use the lightest blue color, and around it, I apply my darker blue, so that the colors in the sky vary nicely. For more depth, you can use black ink in the corners.
Step 5: Now, place the cardstock that you previously made as a mask on the green part of your card at the bottom. Then, using the darkest blue color, go over the edge of your stencil with your brush in circular motions.
Step 6: Now comes the most fun part. Remove the mask and see the beautiful creation you’ve made.
Step 7: You can leave the background as it is, but you can also choose to create a starry sky like I did here. You do that with paint splatters. It's also fun to create rain with water droplets.
Step 8: Now it’s time to put your favorite character on your card. I choose Slow the sloth. You can further decorate the card with all kinds of fun things. Keep scrolling to see my finished card!
Have lots of crafty fun creating your own backgrounds!
Make sure you share your projects with us in our Facebook Group HERE. We love to see what you create!
Never miss a tutorial and sign up here for our emails today HERE.
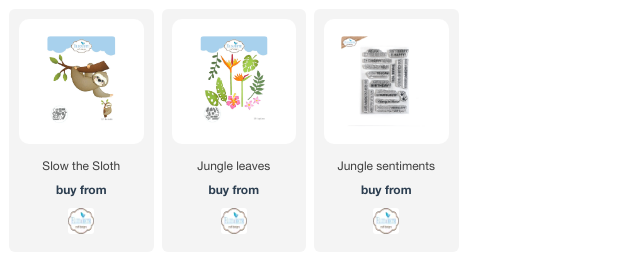
Elizabeth Craft Designs Products Used:


