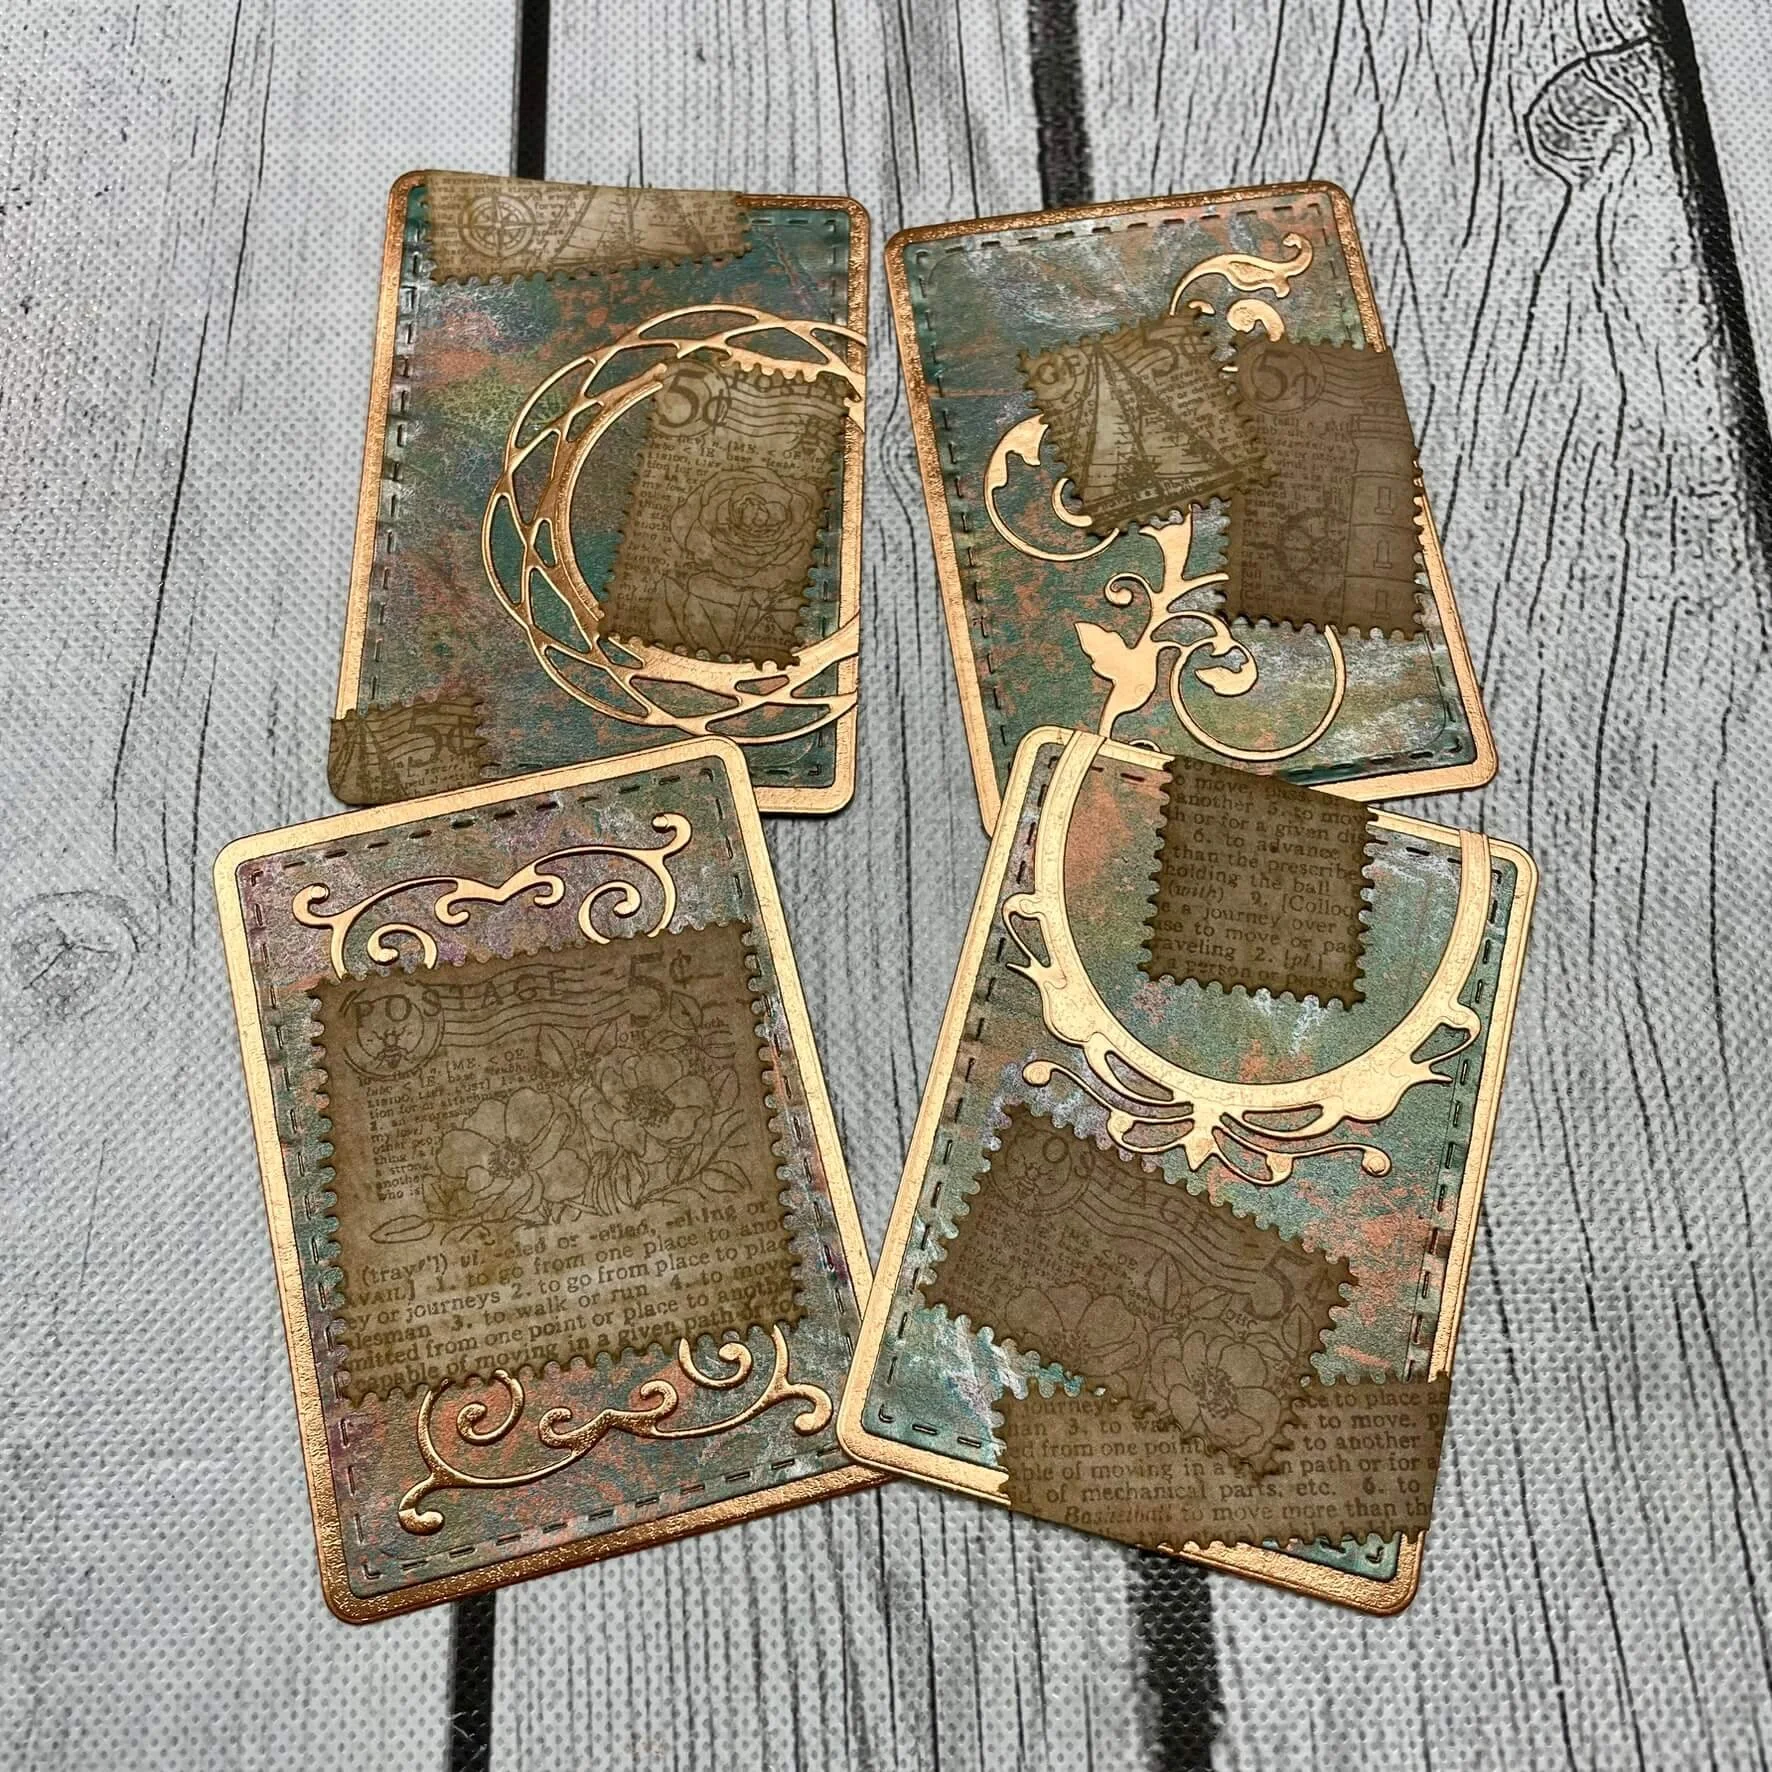
Fun ATC’s with inky backgrounds!
Hi everyone, Heather here to share some fun Artist Trading Cards I created with paper I printed on my Gelli plate.
Step 1: I started by creating the paper on plain photocopy paper with some leaves from my backyard. You can watch the video below to see how I printed the paper using my Gelli plate.
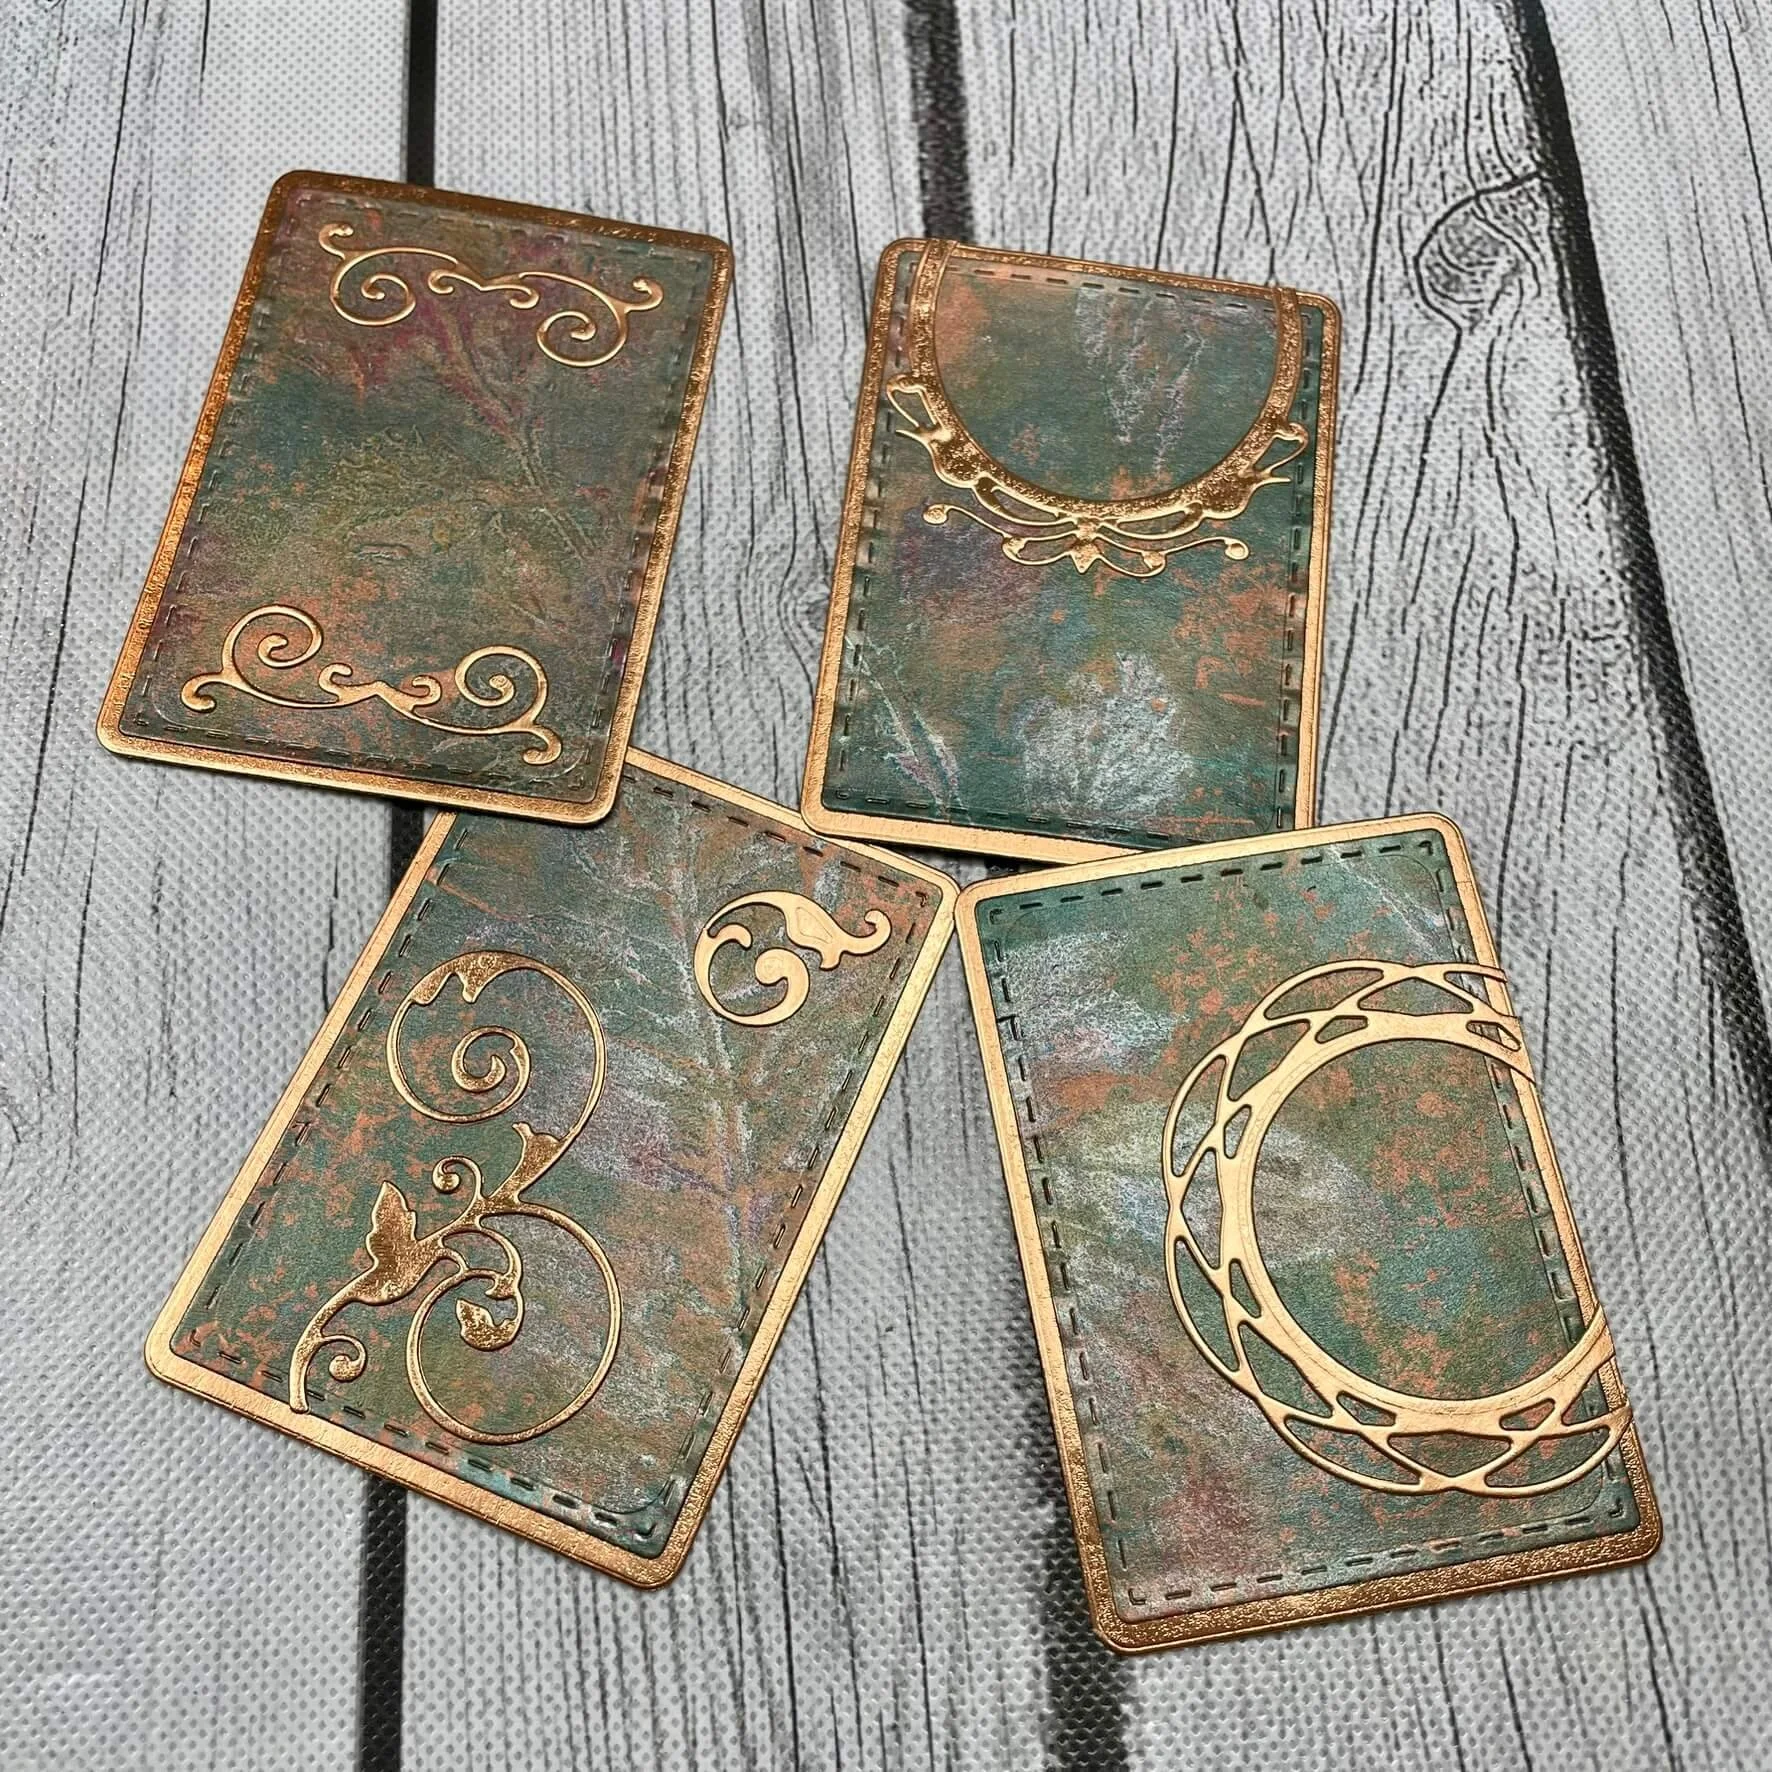
Step 2: Once my paper was fully dried, I cut out the mat layer with the Art Journal specials die and the base from some copper cardstock.
Step 3: I always like to make sets of ATC`s for trading so I decided to make 4 cards.
Step 4: I attached the mat layers to the bases and was sure to stamp my ATC label before decorating the cards! I used the stamp from CS362 Classic ATC for this.
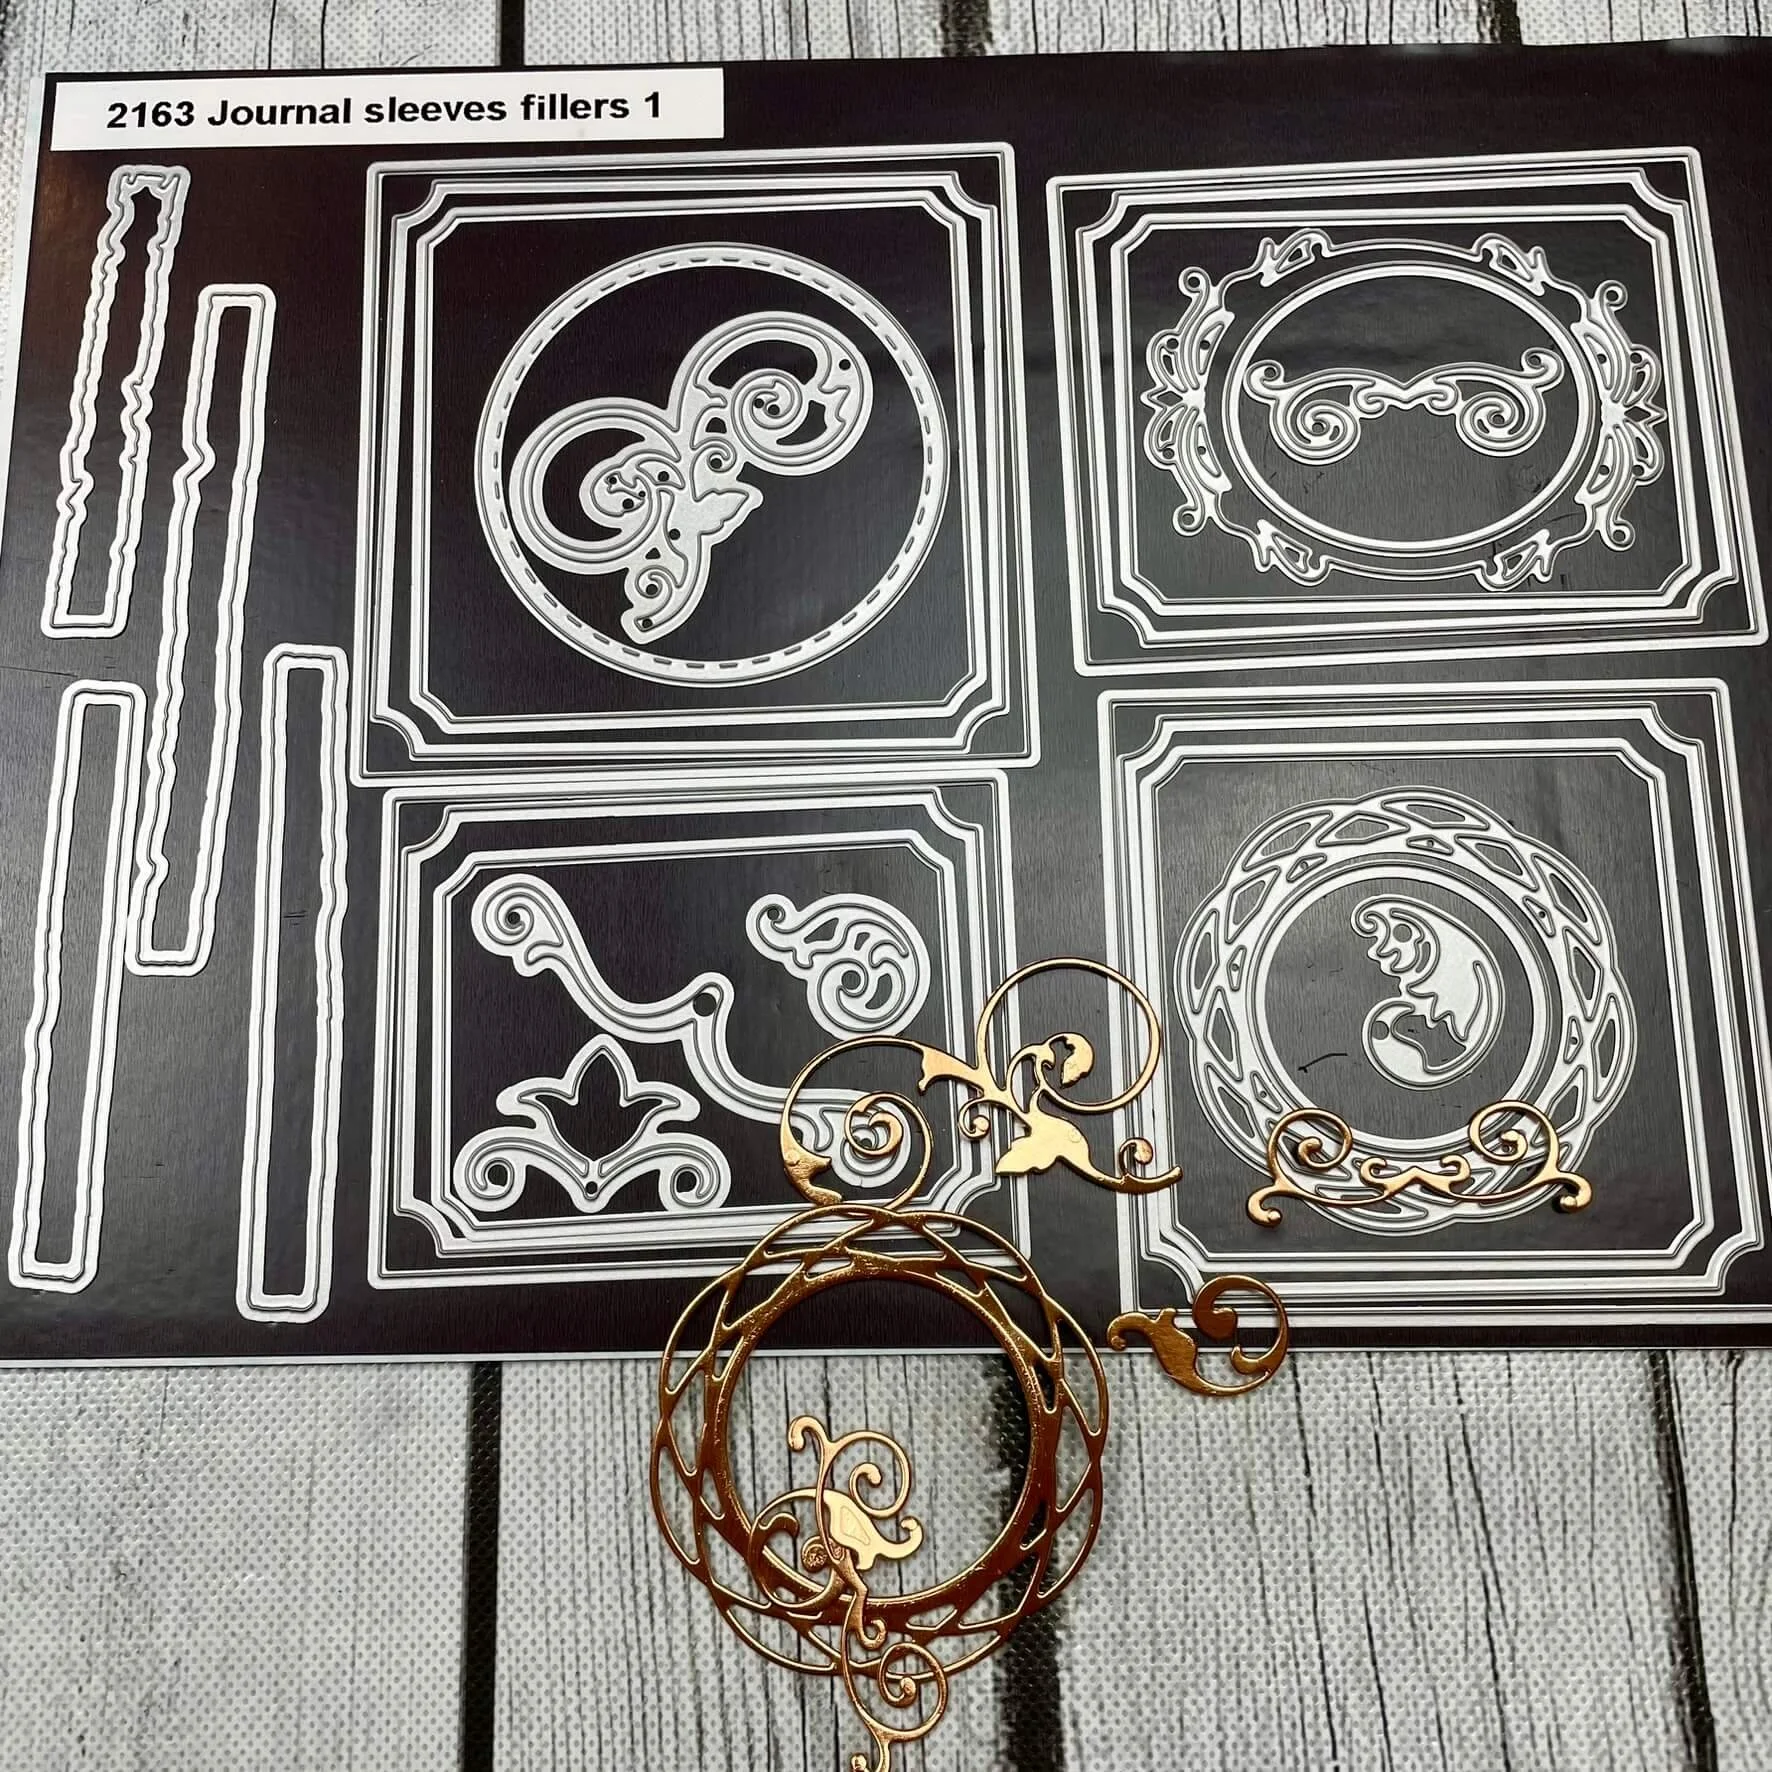
Step 5: Next I die cut some embellishments from the copper card stock using some dies from the Journal Sleeves Fillers 1 set.
Step 6: No to attach my embellishments onto each card.
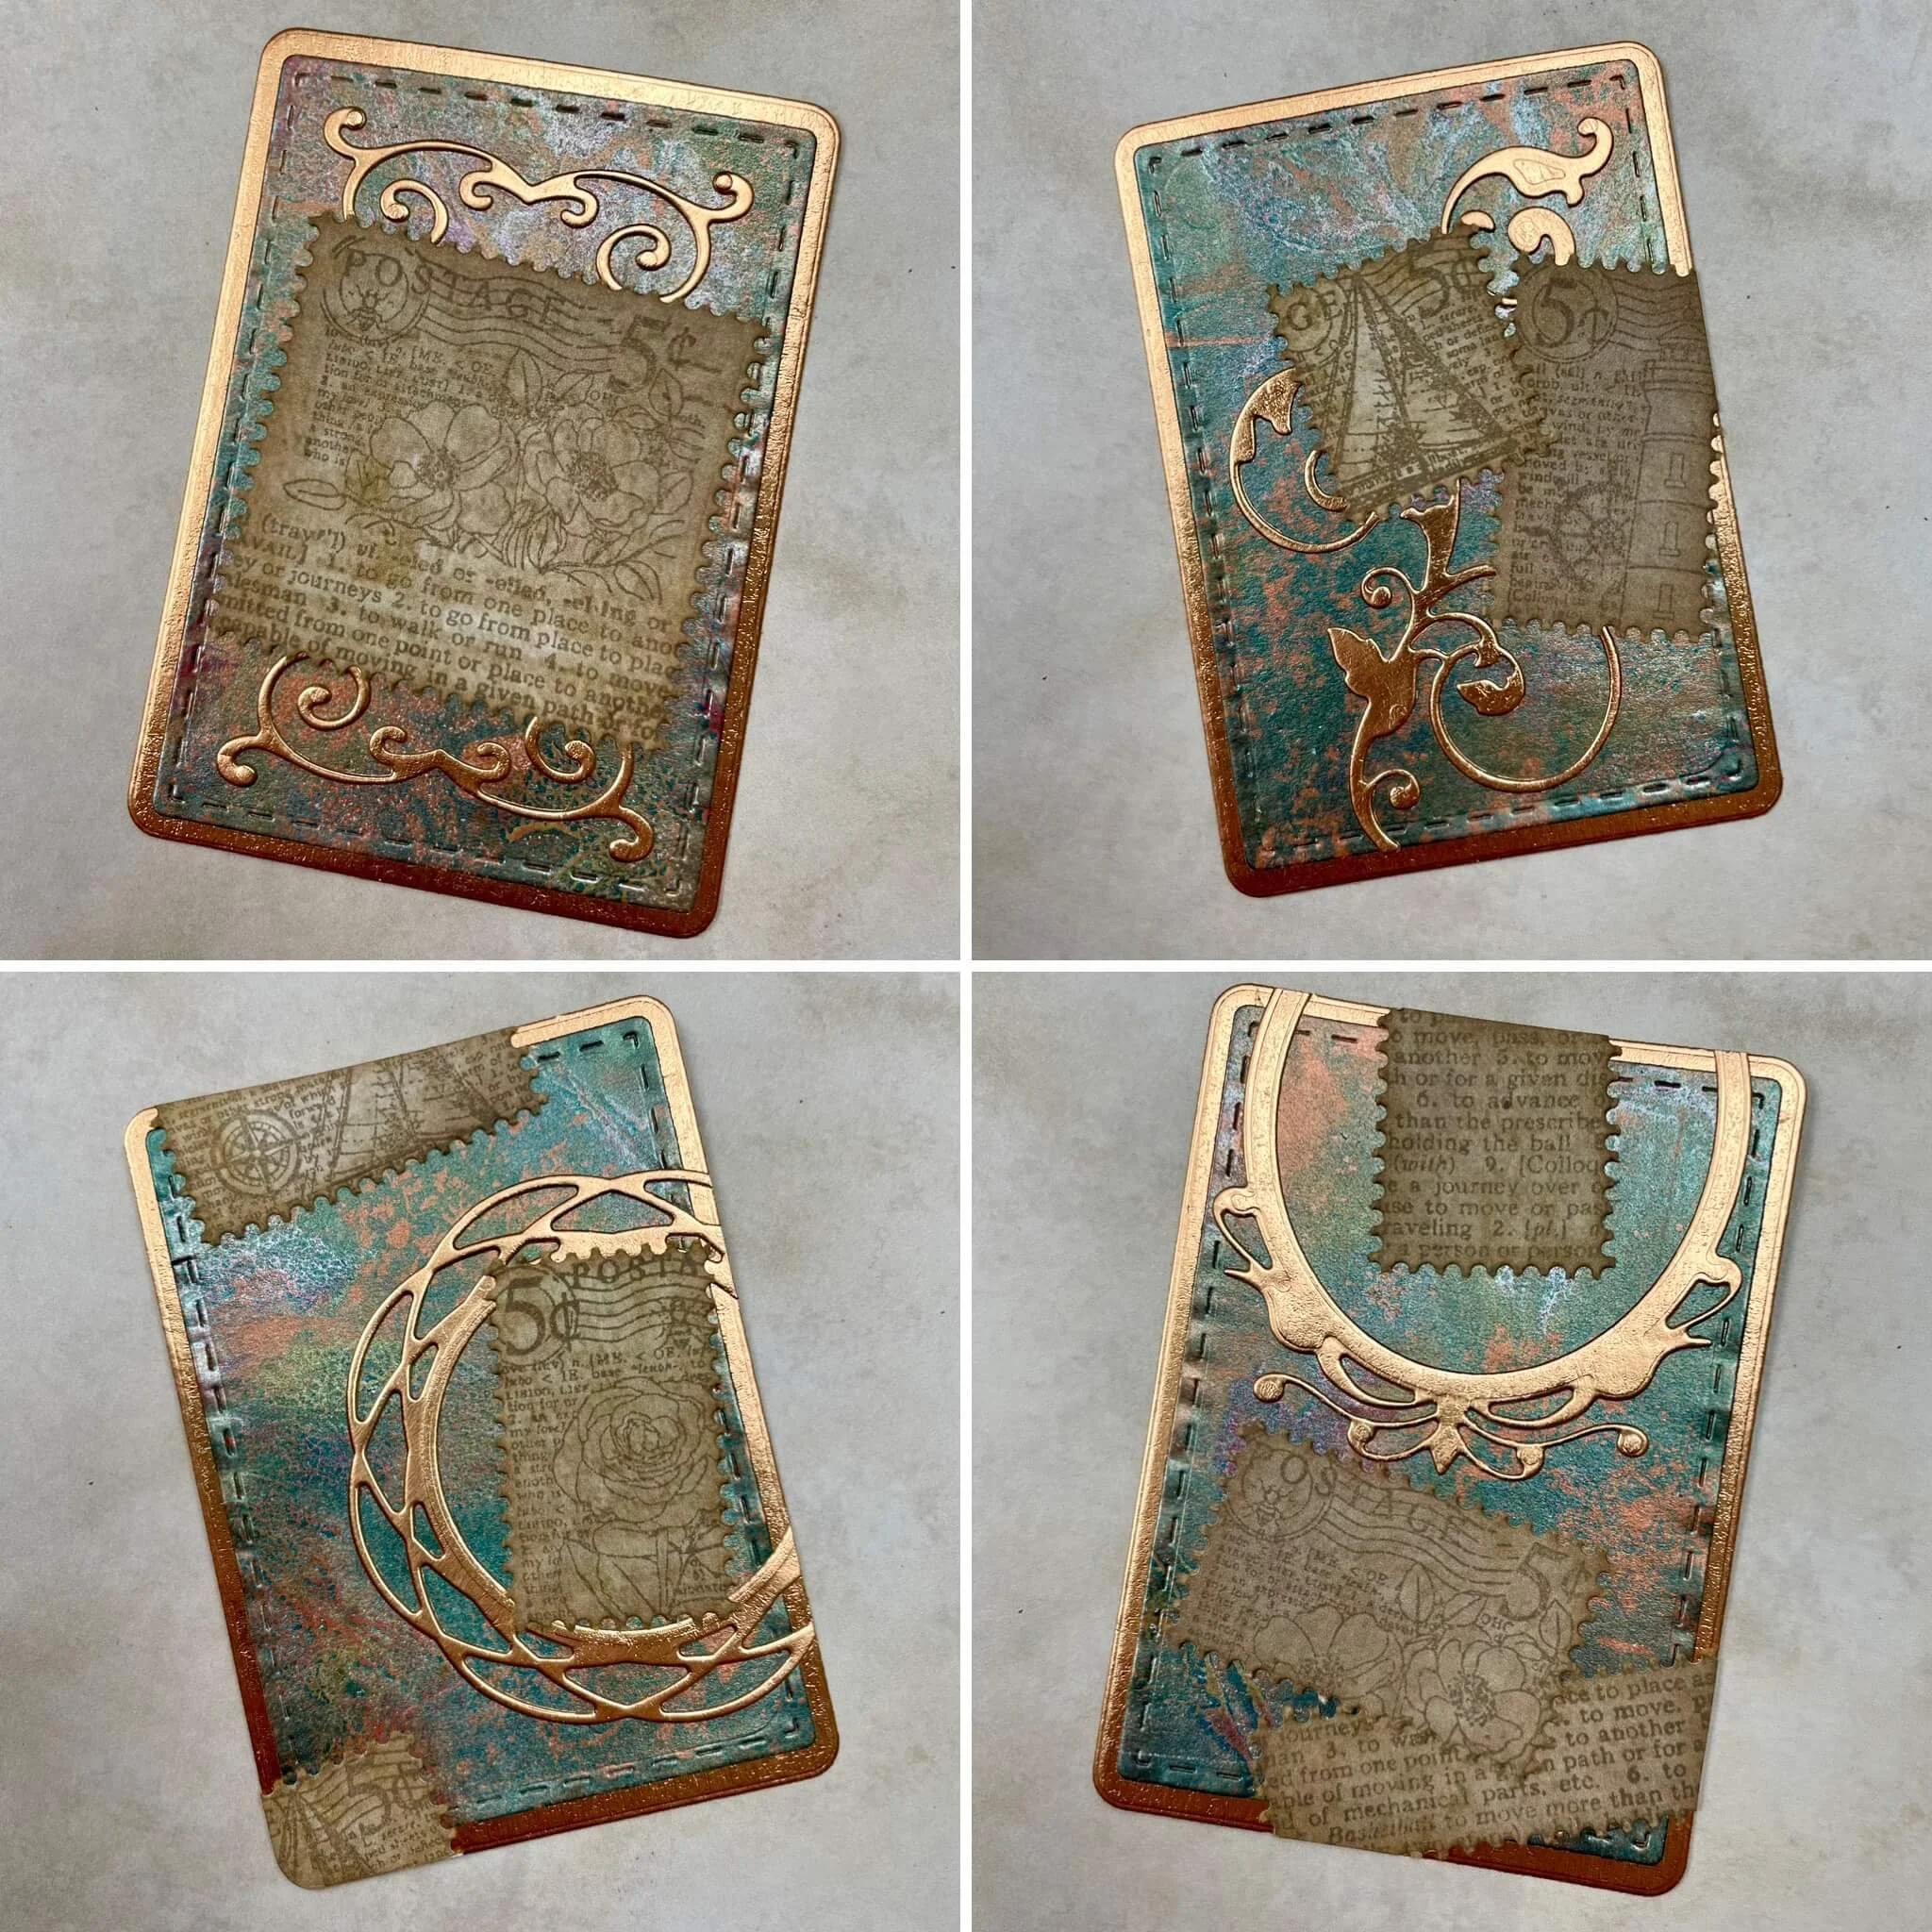
Step 7: I decided to create some little stamp embellishments, so I grabbed the Planner Essentials Postage Stamps page and cut out a piece of Coffee Dyed paper.
Step 8: I tore the pieces apart, stamped them with images from CS352 Travel & Postage and ink distress the edges. Then I added them to my cards.
Have lots of crafty fun creating your own ATC’s!
Make sure you share your projects with us in our Facebook Group HERE. We love to see what you create!
Never miss a tutorial and sign up for our emails today HERE.
Elizabeth Craft Designs Products Used:


