
Easy Pop Up Cube Cards for Kids
Are you a crafter who loves making cute cards that are just a little bit different? Or maybe you’ve always wanted to make 3D pop-up cards but weren’t sure where to start? In this tutorial, you’ll learn how to create a fun pop-up card built from squares that you can decorate with different elements for any occasion that are perfect for kids.
Hello everyone! José here with a fun, unique Pop Up card that is very easy to make. I tried to describe it as clearly as possible. Have fun!
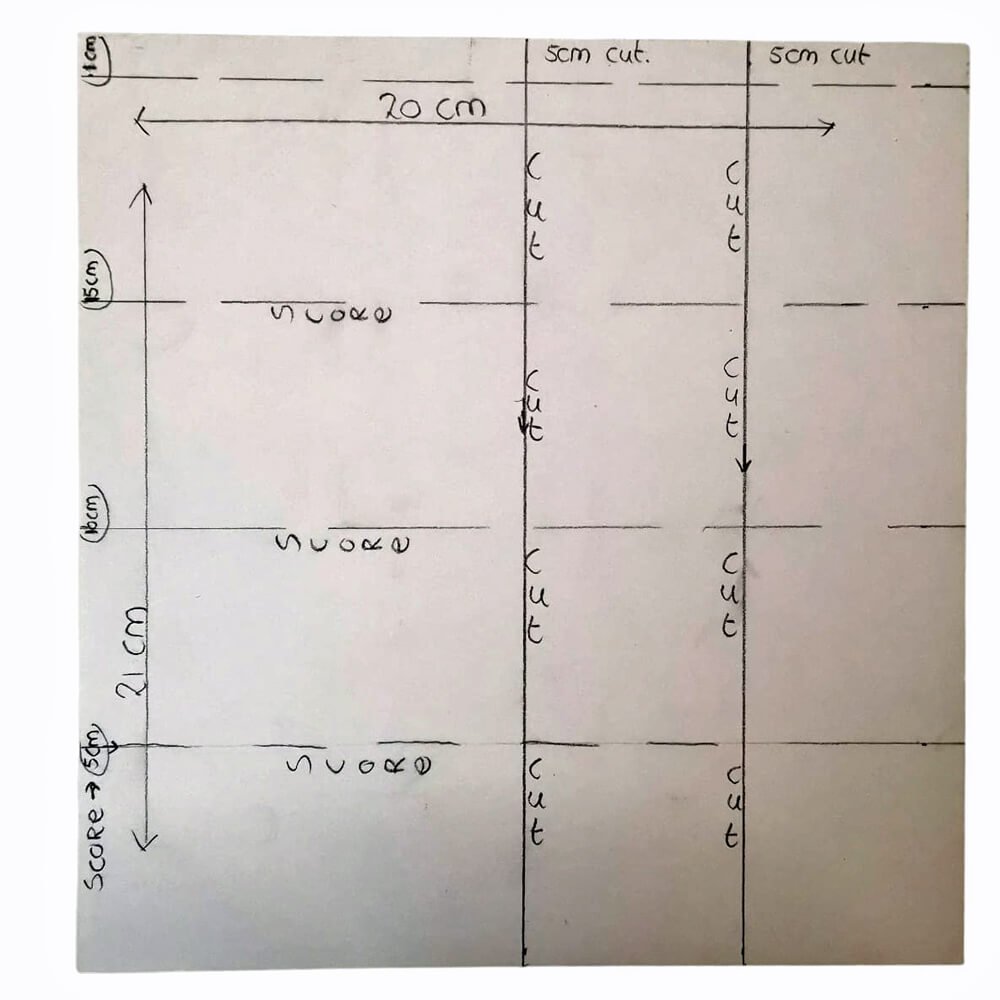
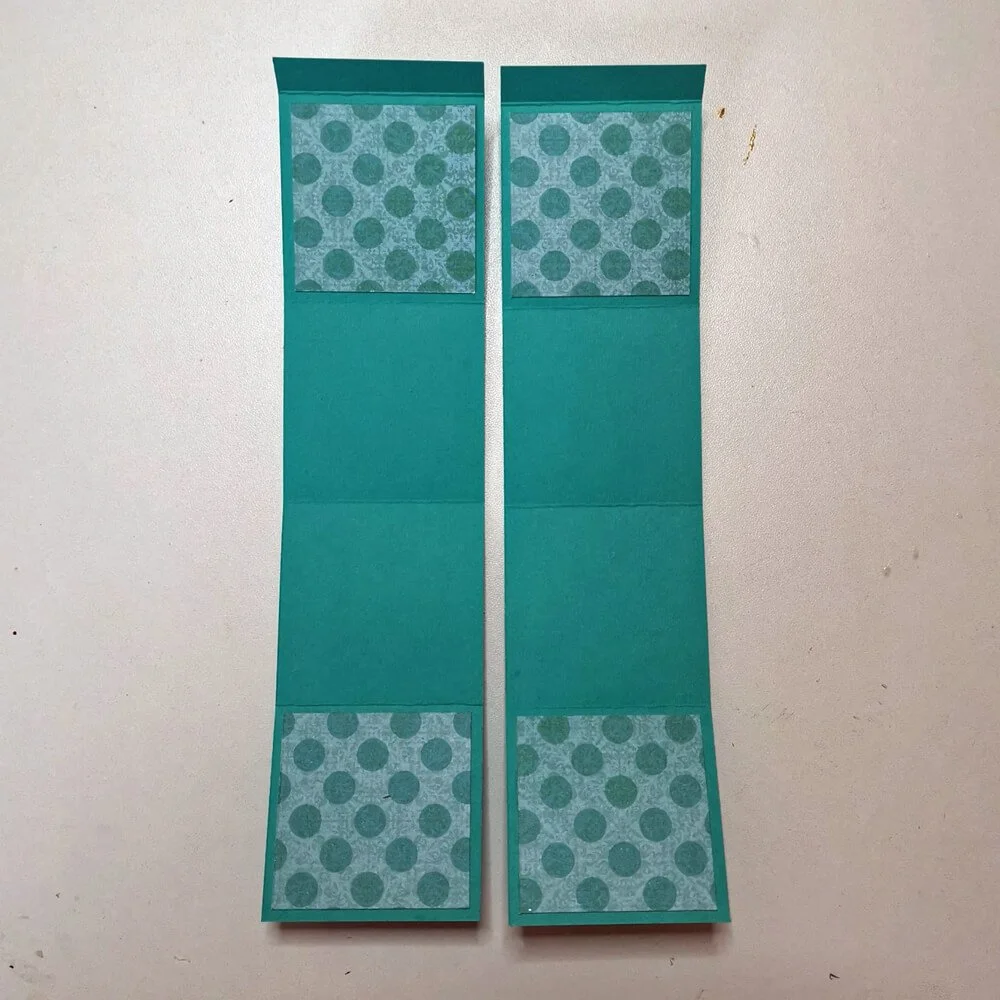
Step 1: Start with the base of the card. The paper dimensions are 21 x 20 cm. I used colored cardstock for this. In the photo below, you can also see a template with the dimensions and where to cut and score. On the long side (21 cm), make four score lines at 5 cm, 10 cm, 15 cm, and 20 cm. This will leave a 1 cm border. Score all these lines. Turn your paper a quarter turn and instead of scoring, cut two lines at 5 cm and 10 cm. You will then have two strips of 5 cm wide and one strip of 10 cm. You will then have the result you see in the photo.
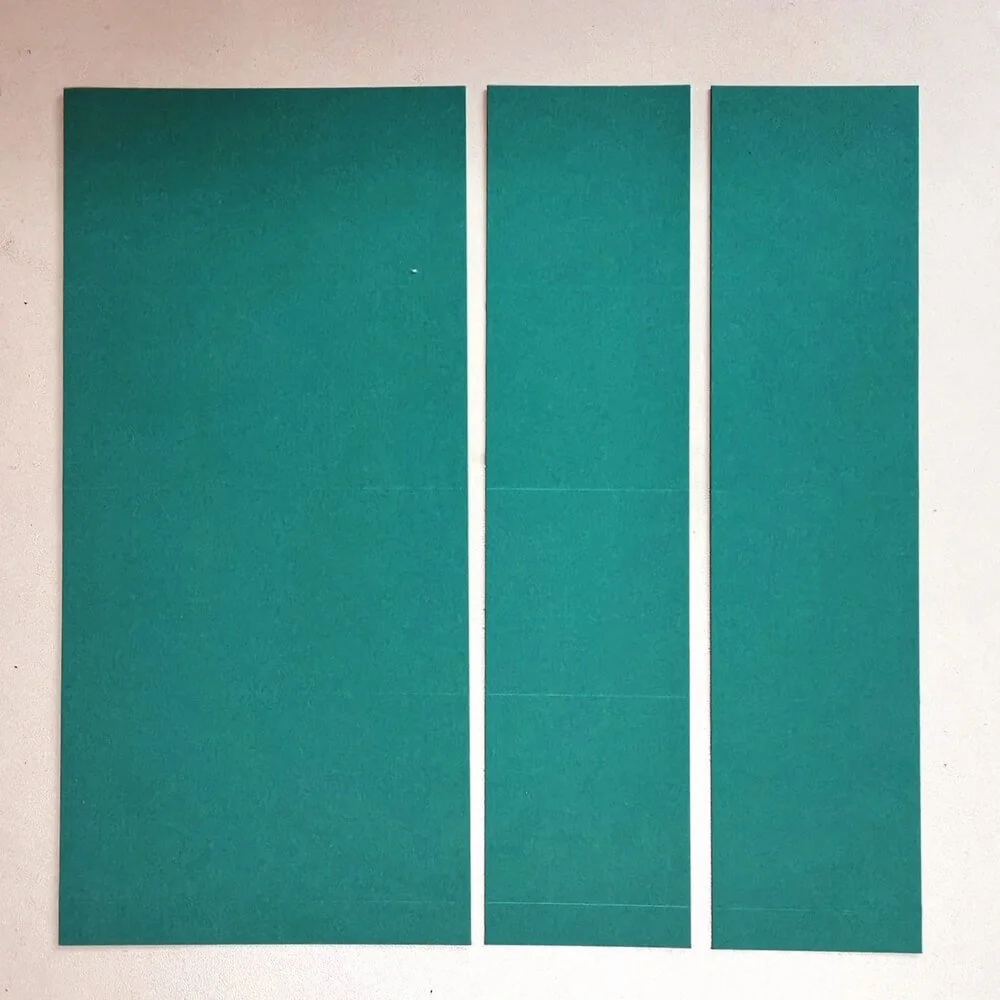
Step 2: Fold all the lines on each strip so you can fold the cubes more easily later.
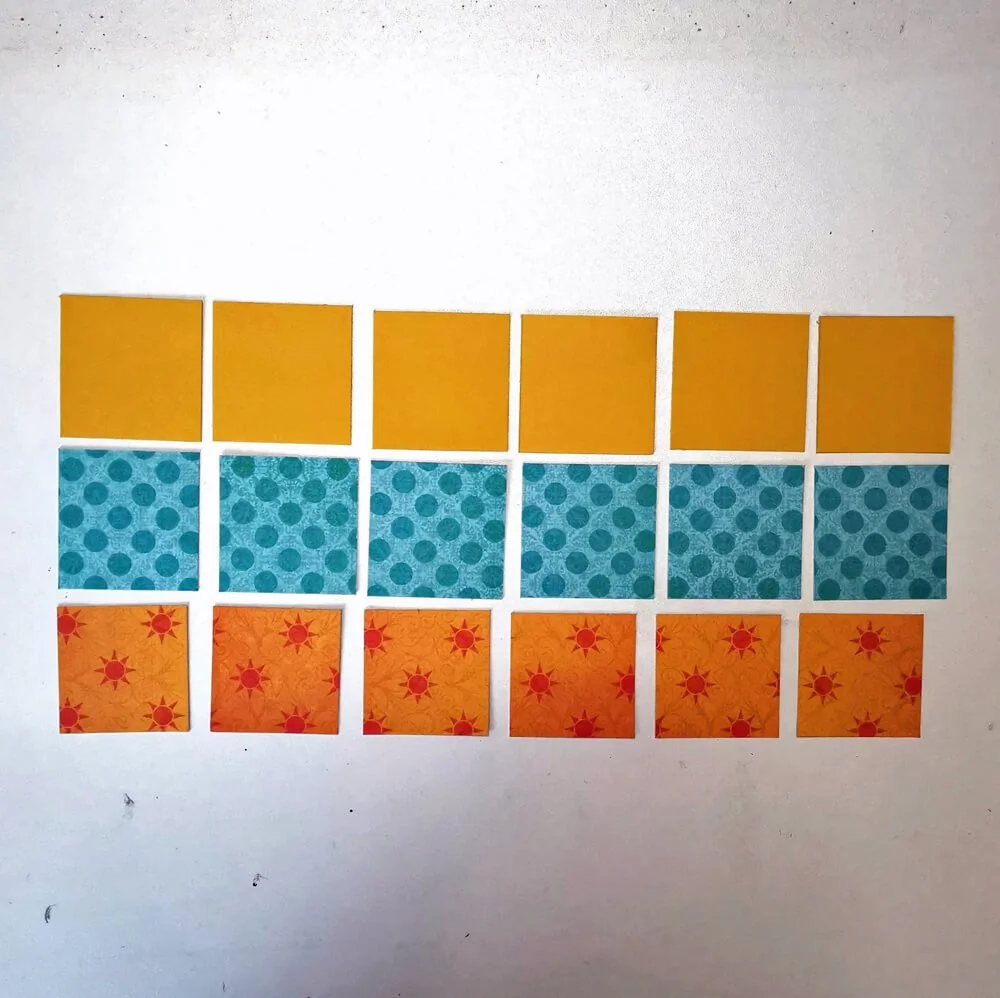
Step 3: Now lets cut some squares. You need:
6 squares of 4.5 cm x 4.5 cm (Colored Cardstock)
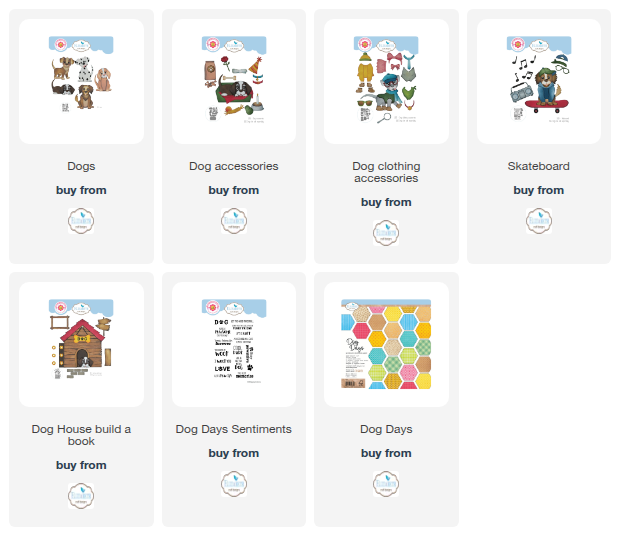
6 squares of 4.2 cm x 4.2 cm (Dog Days Design Paper)
6 squares of 4.5 cm x 4.5 cm (Dog Days Design Paper)
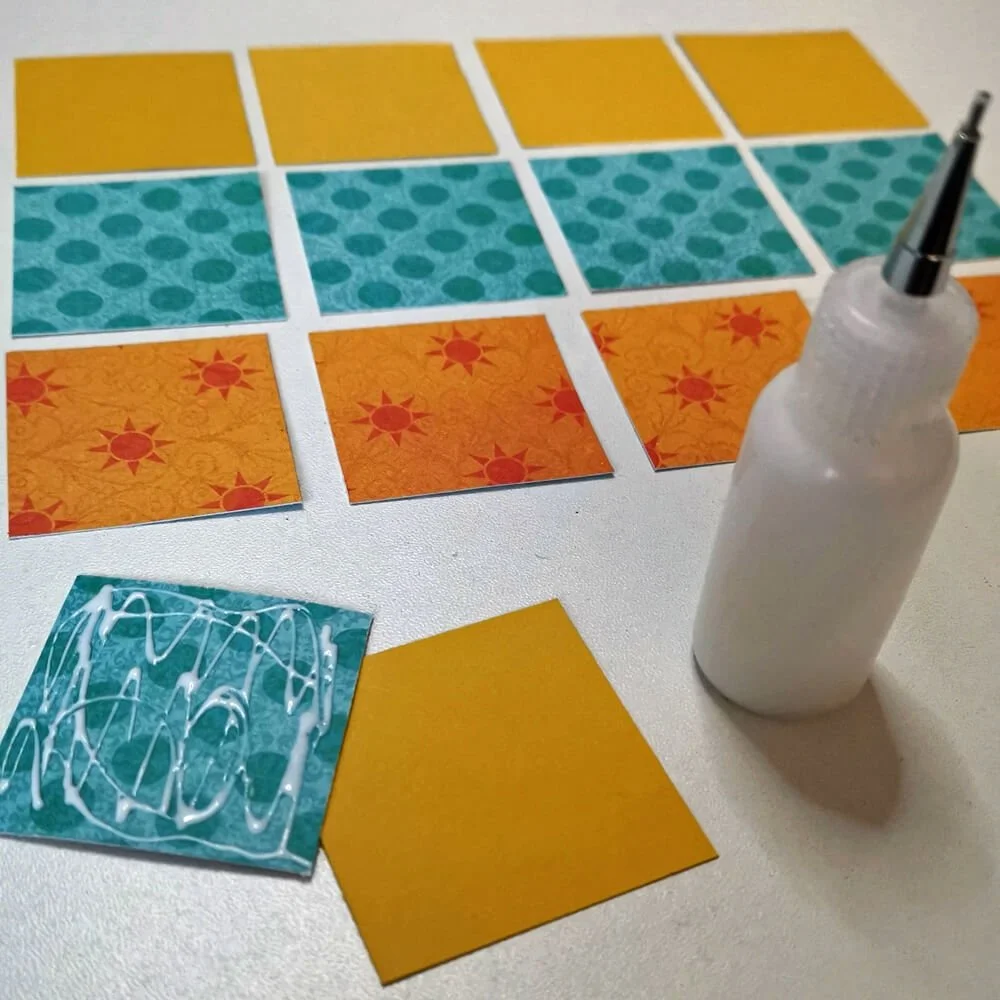
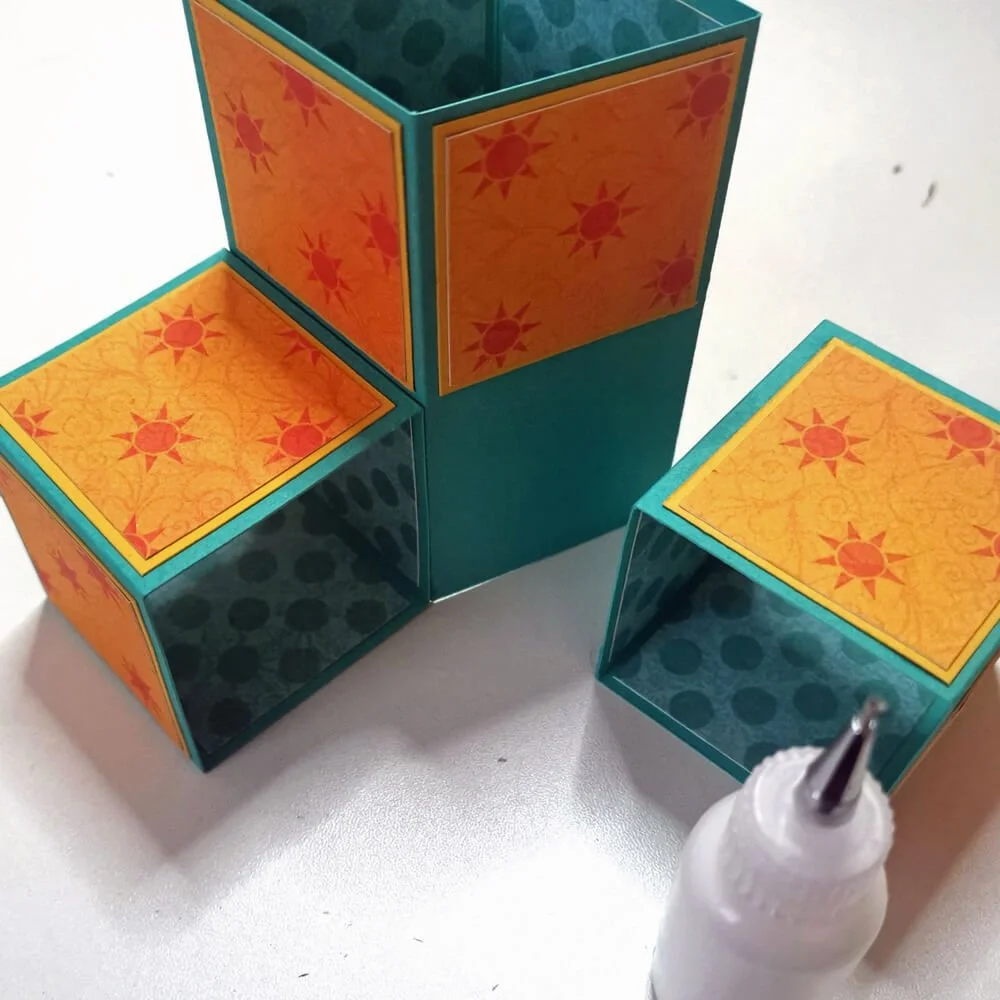
Step 4: Glue the 4.2 cm squares of Design Paper onto your 4.5 cm squares of Colored Cardstock, then glue these to the front sides of your three cubes. I only glued the paper where it will be visible when the cube is in place. For the inside, use the other 4.5 cm x 4.5 cm squares of Design Paper. Here too, I only glued it where it will be visible. Leave the inside of the largest cube until the next step.
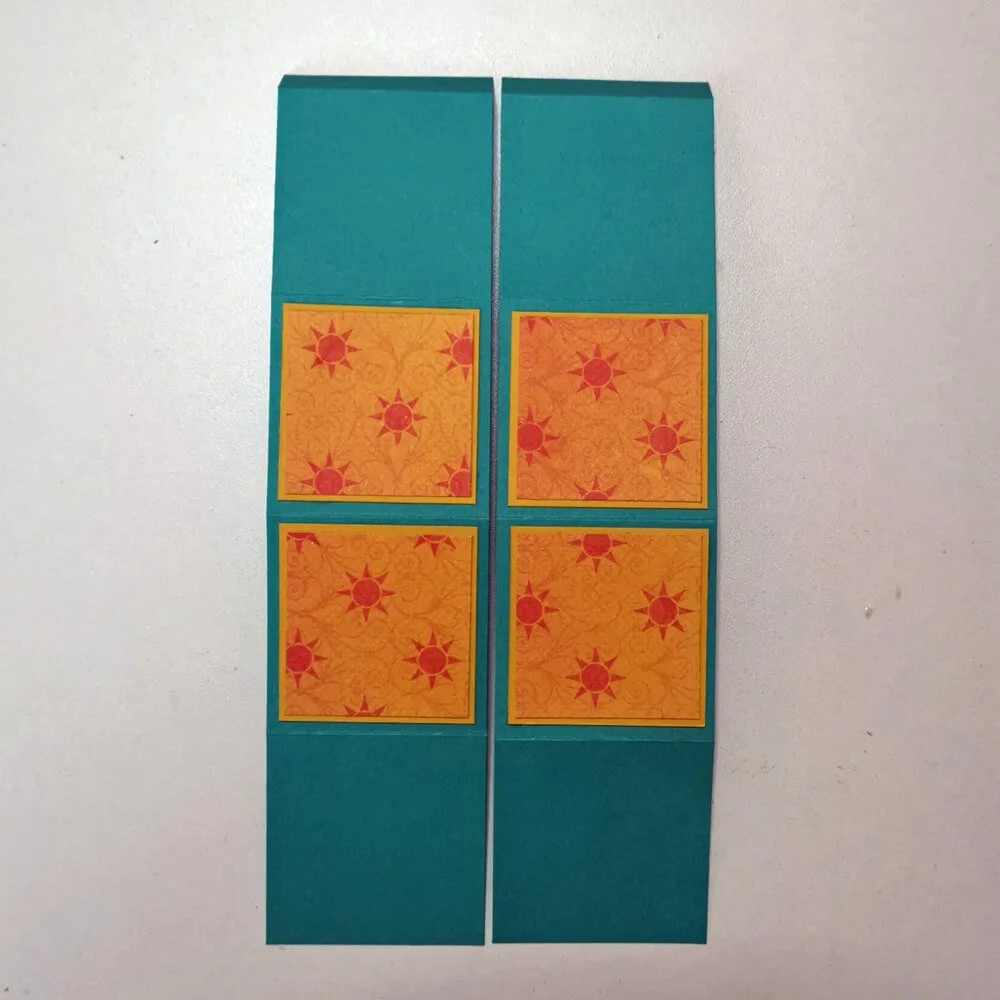
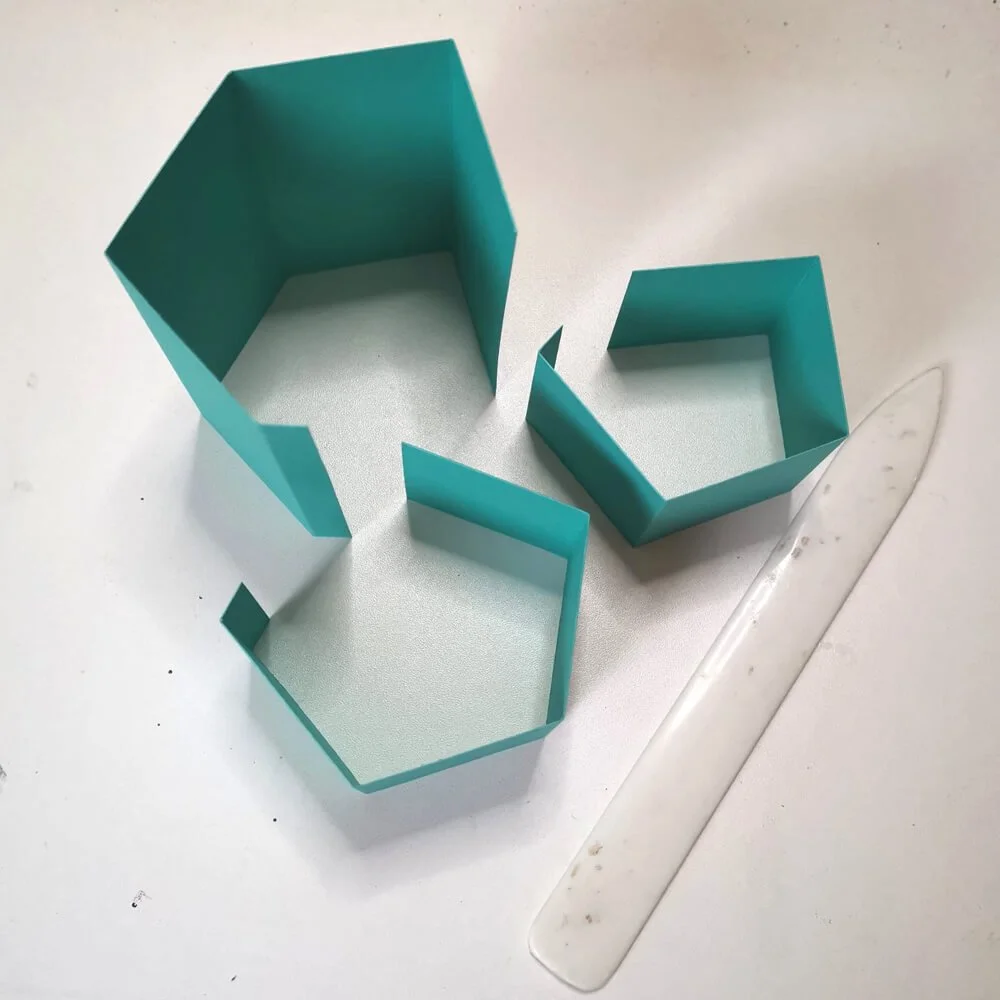
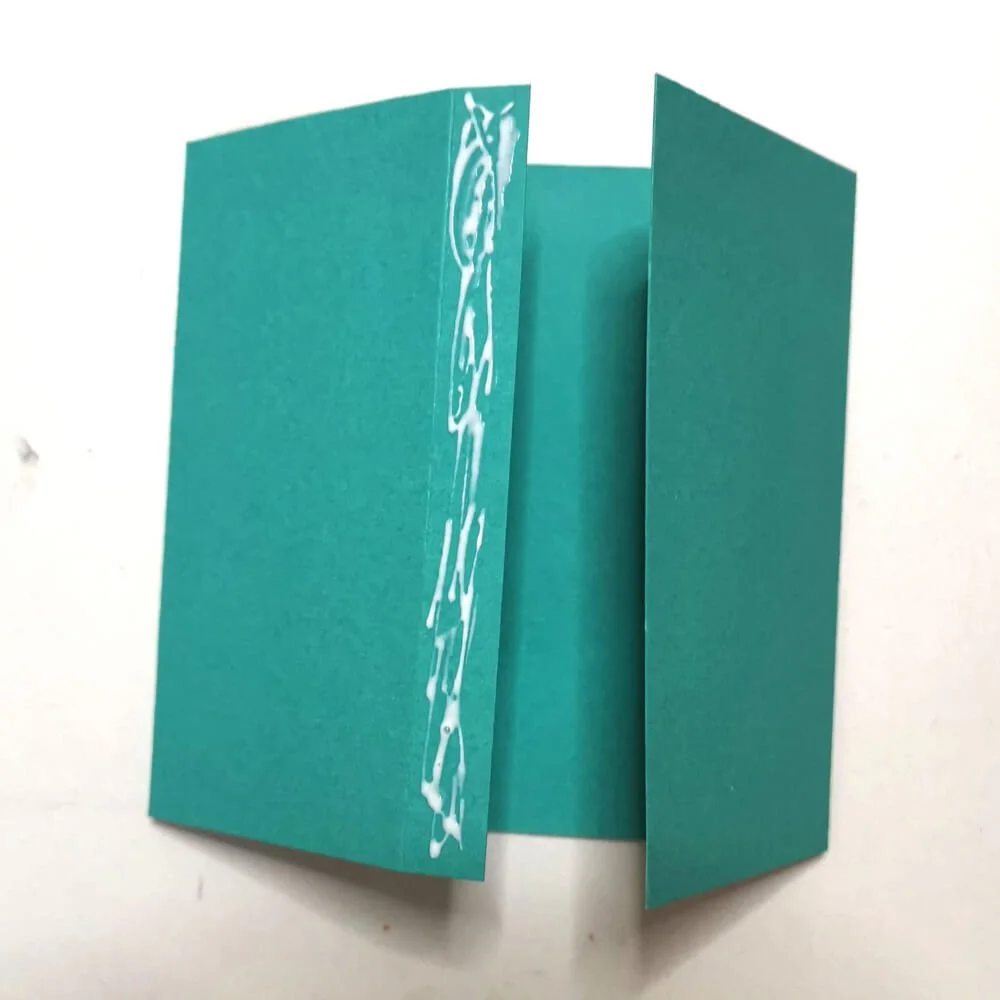
Step 5: Now close the largest cube, with the 1 cm flap on the inside. Then cover the inside with the remaining two 4.5 cm squares. The flap will now be less noticeable. Close the two smaller cubes as well, but the flap can be on the outside, as these sides will be attached to the large cube.
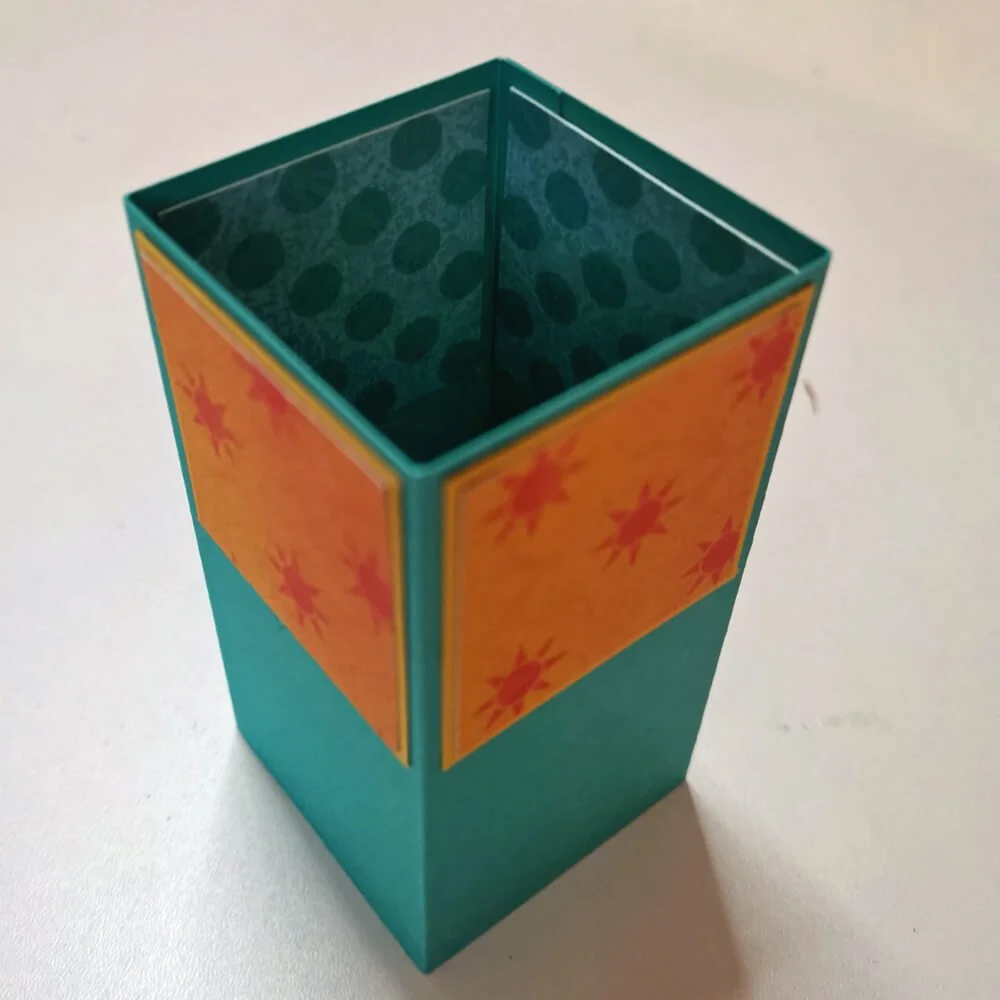
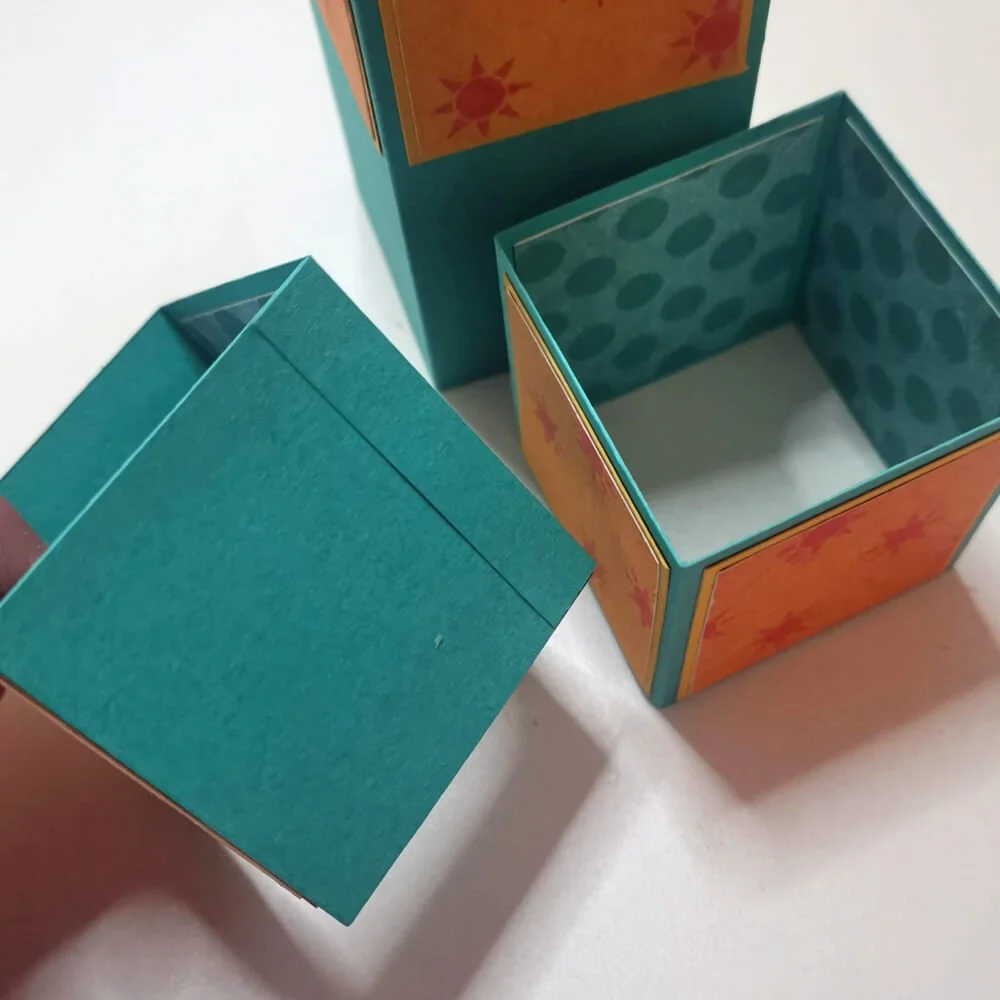
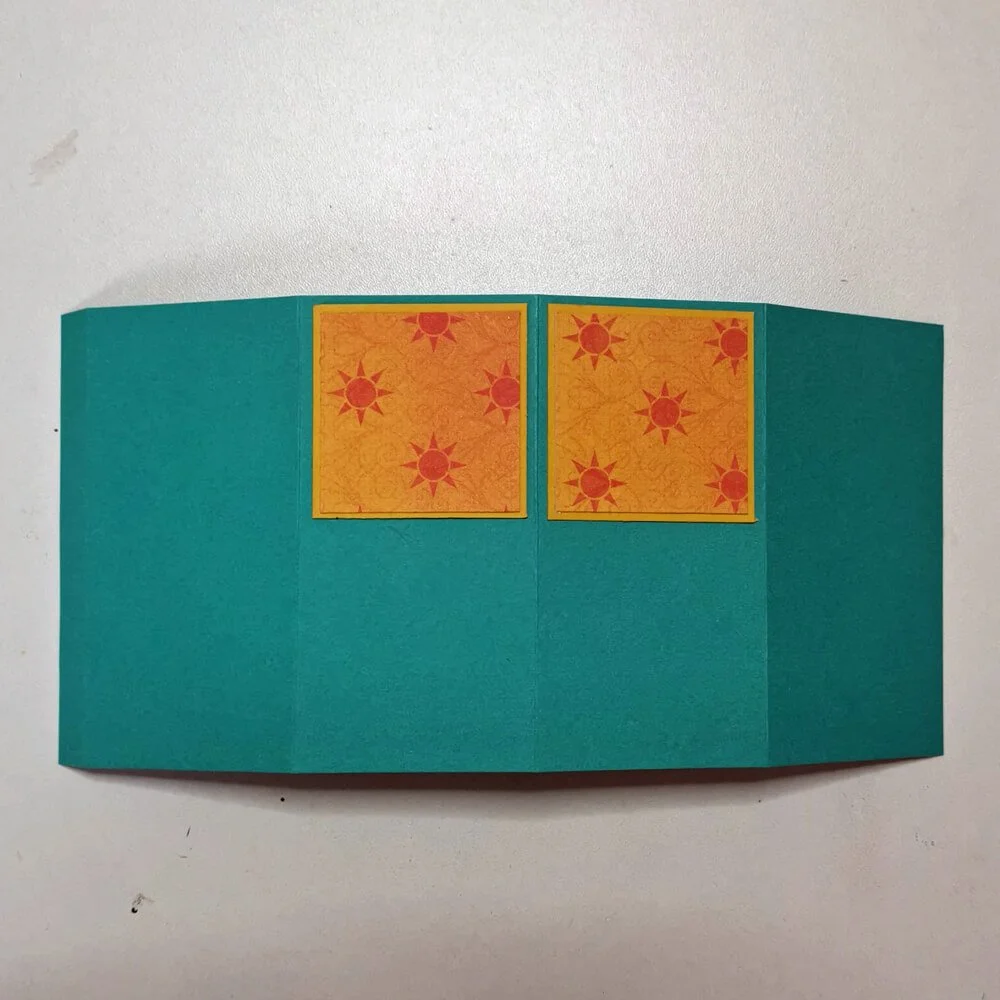
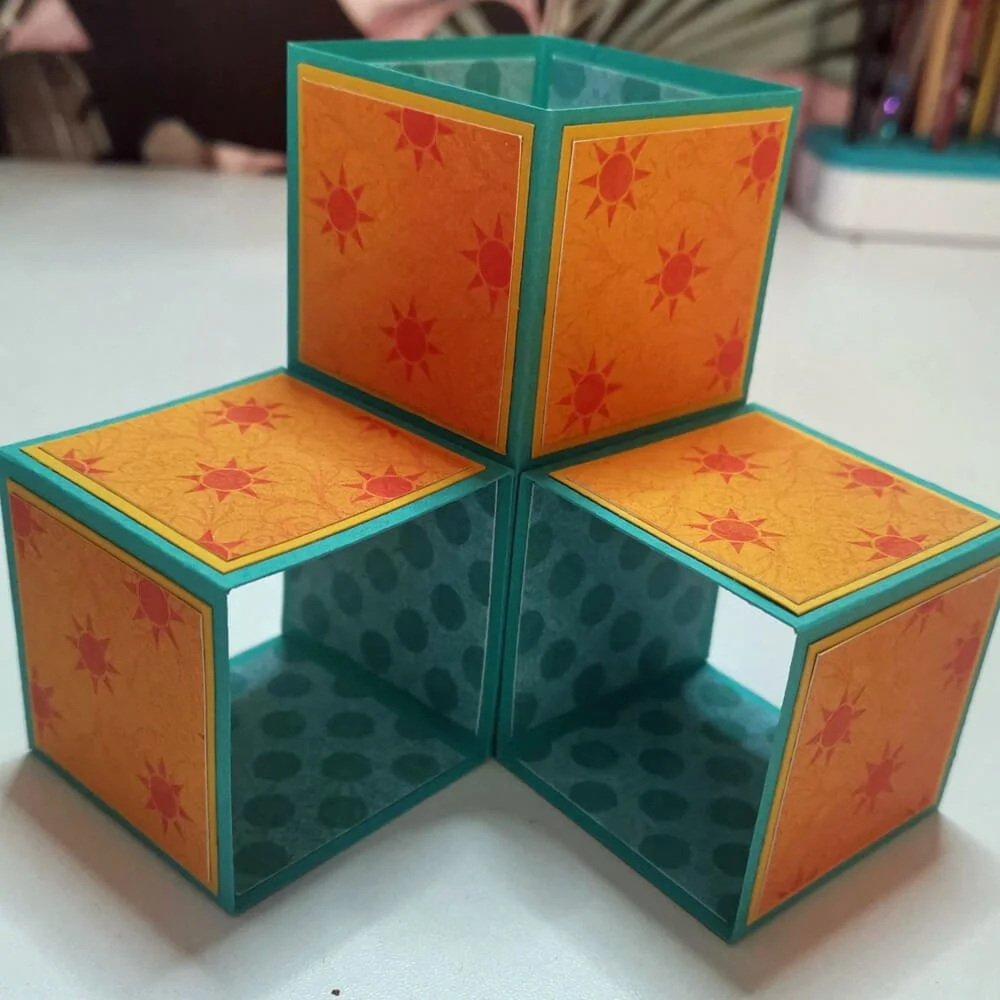
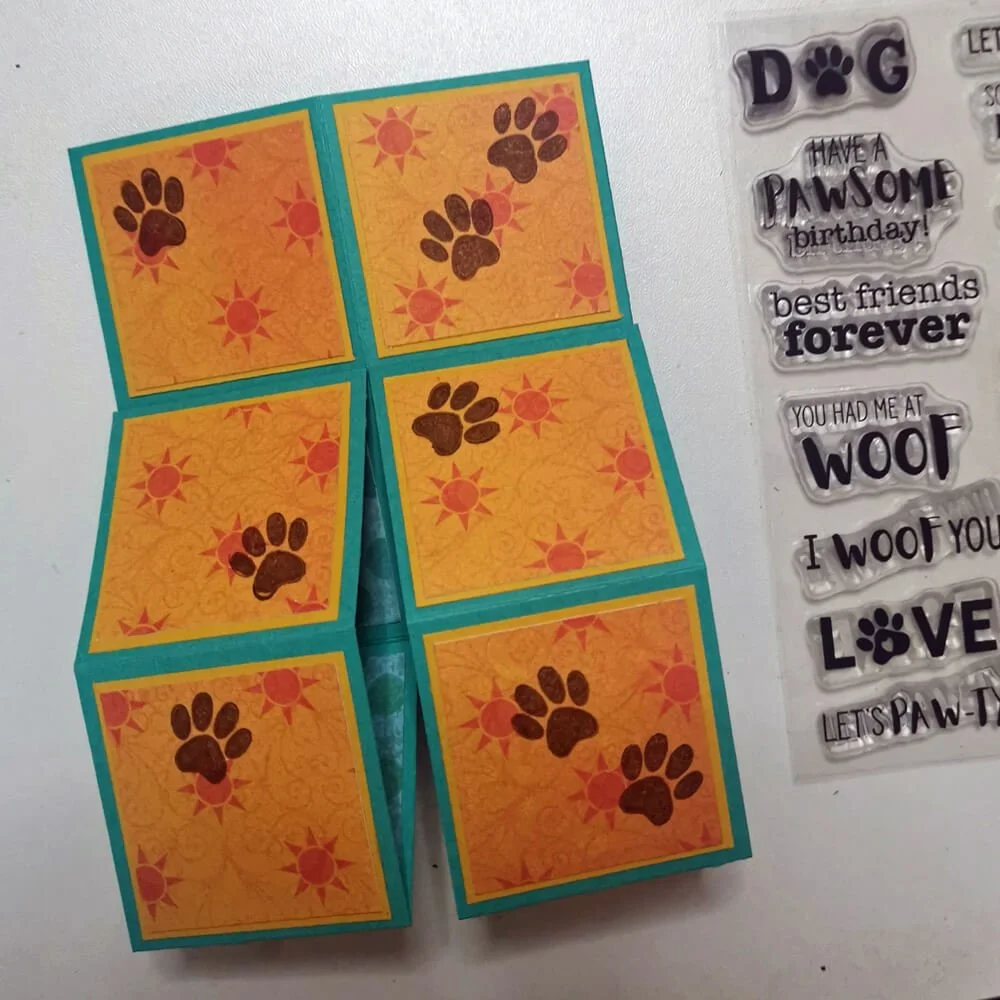
Step 6: Now glue the small cubes to the larger cube to create the look shown in the photo. I'm laying the card flat for now because I still want to stamp dog paws on it. (CS442 Dog Days sentiments).
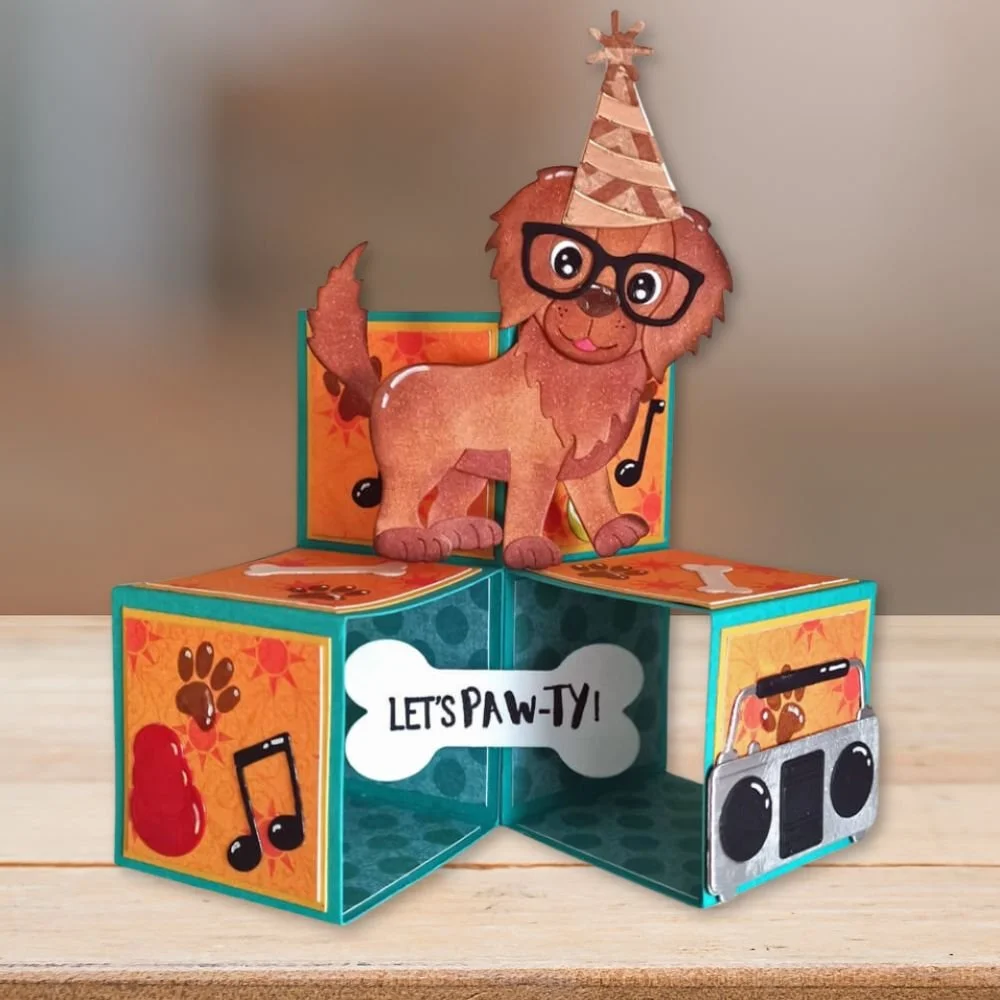
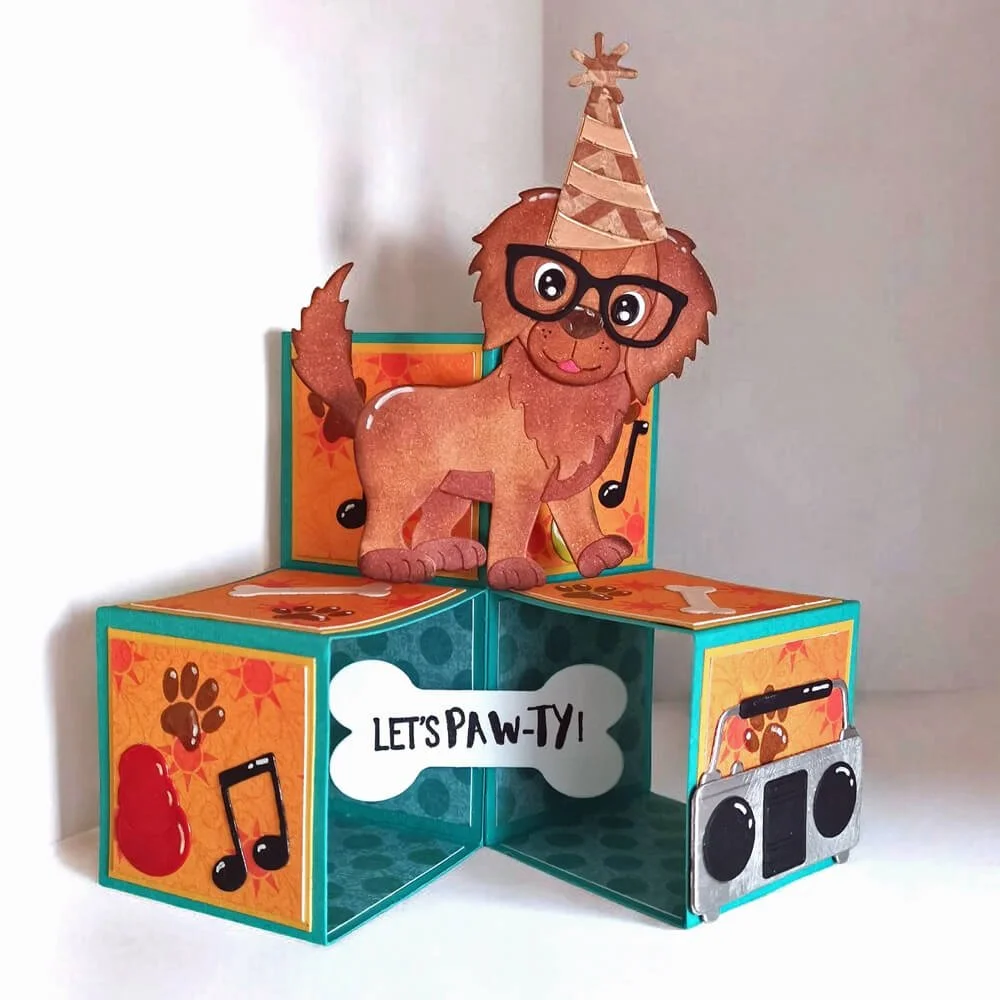
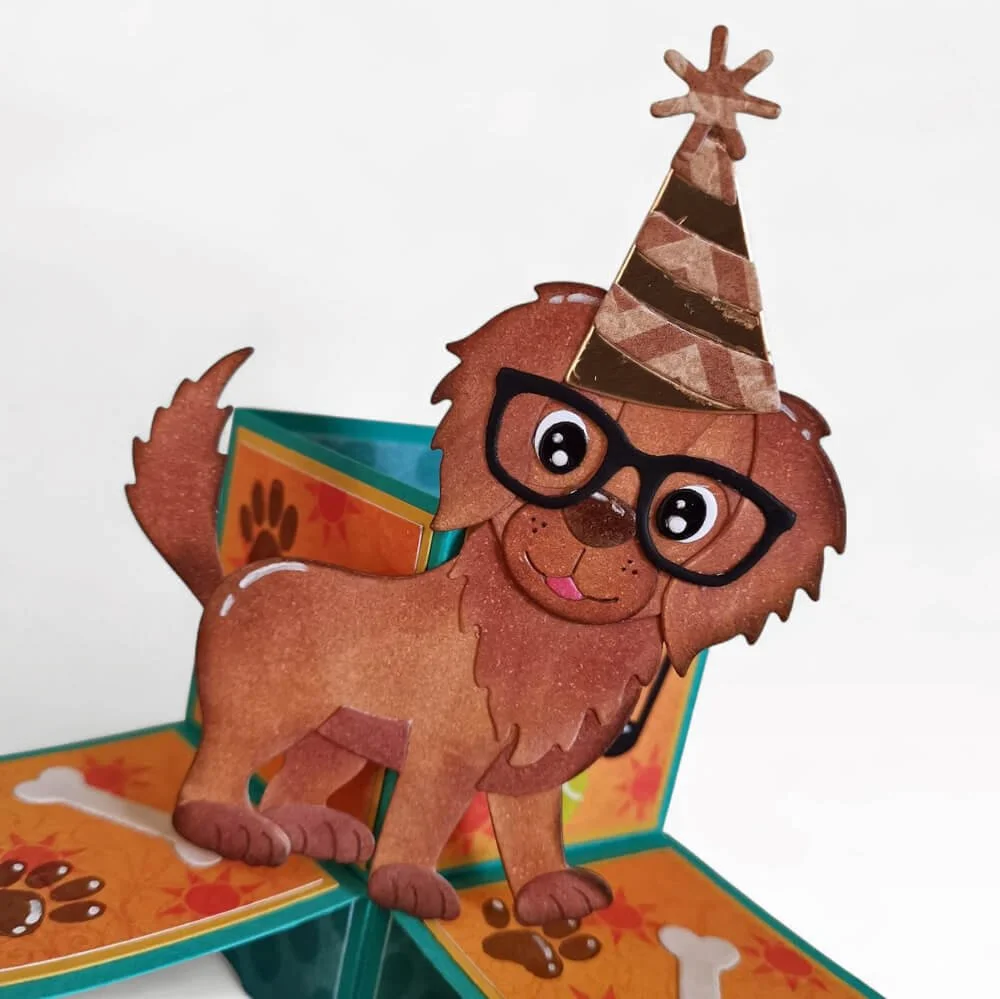
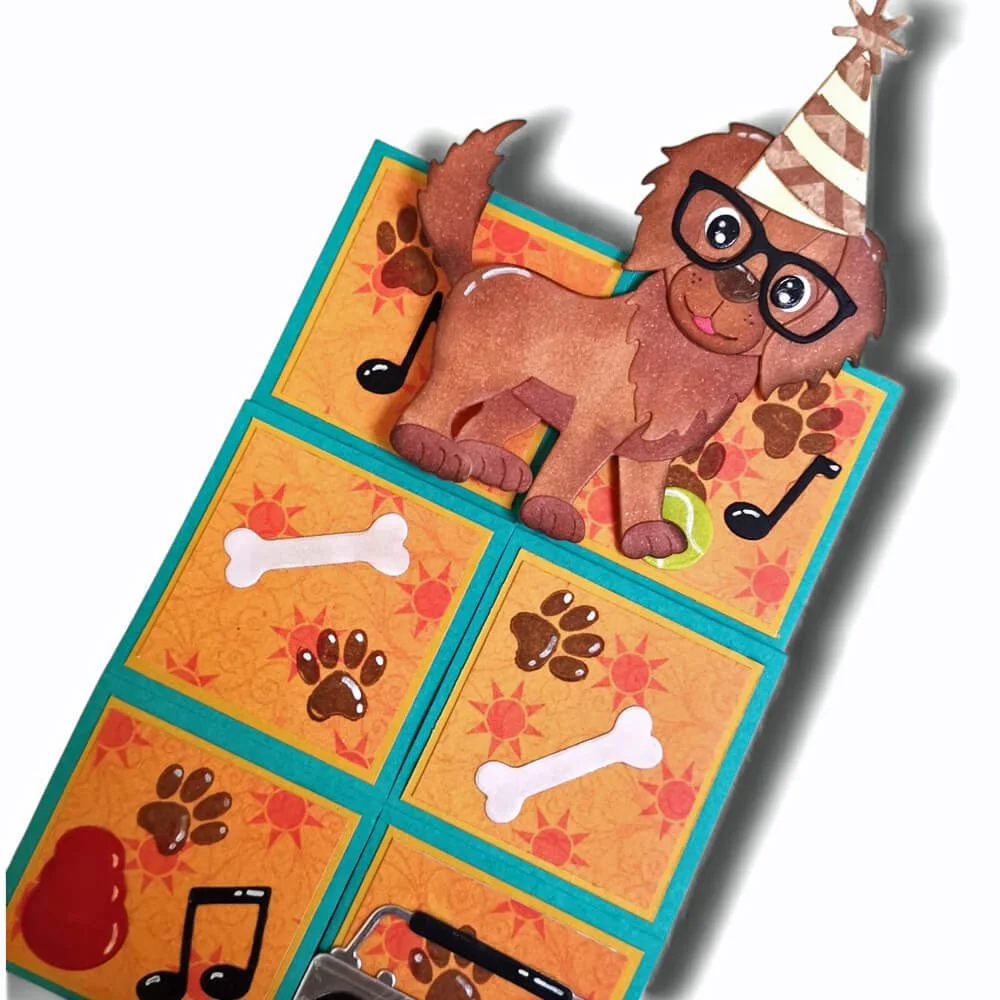
Step 7: Now the card base is ready, let's decorate it! I used elements from the Dog Days collection, with a dog as the centerpiece, of course! Use whatever you like on your card. I didn't overfill the card because it also needs to lie flat.
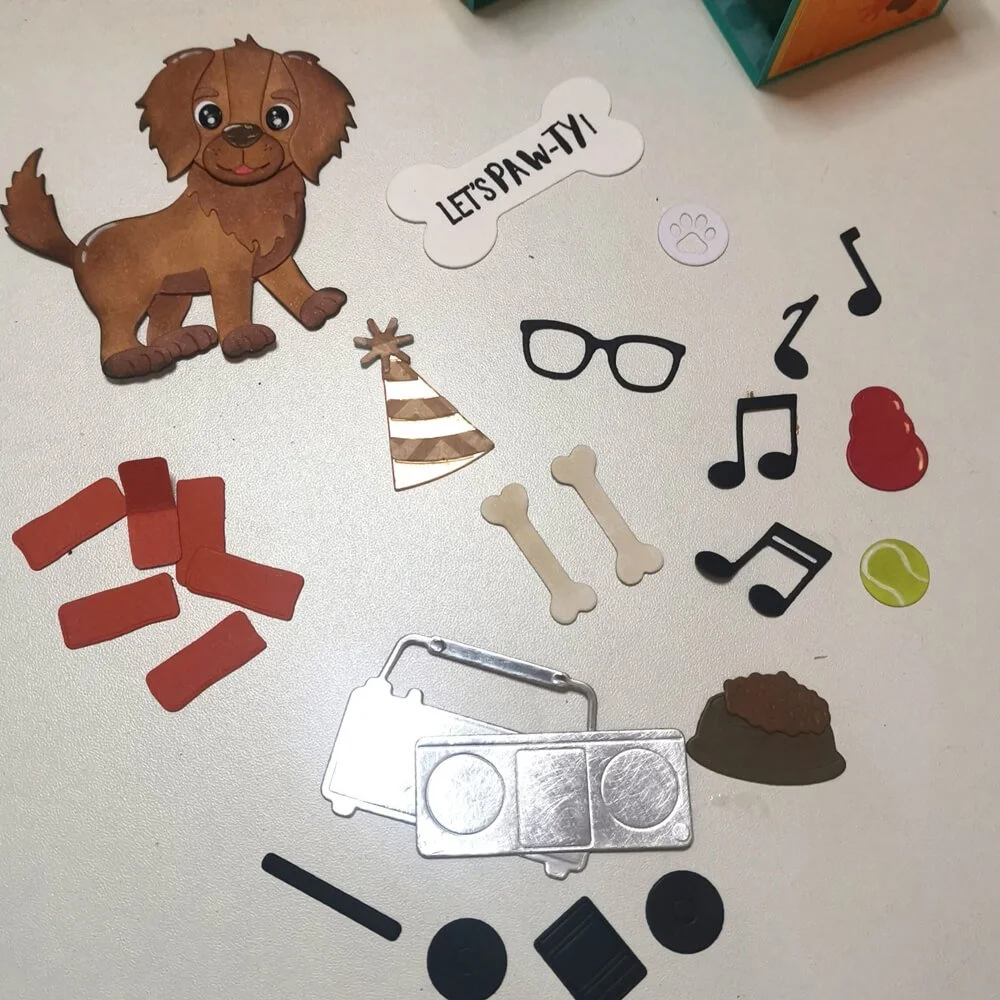
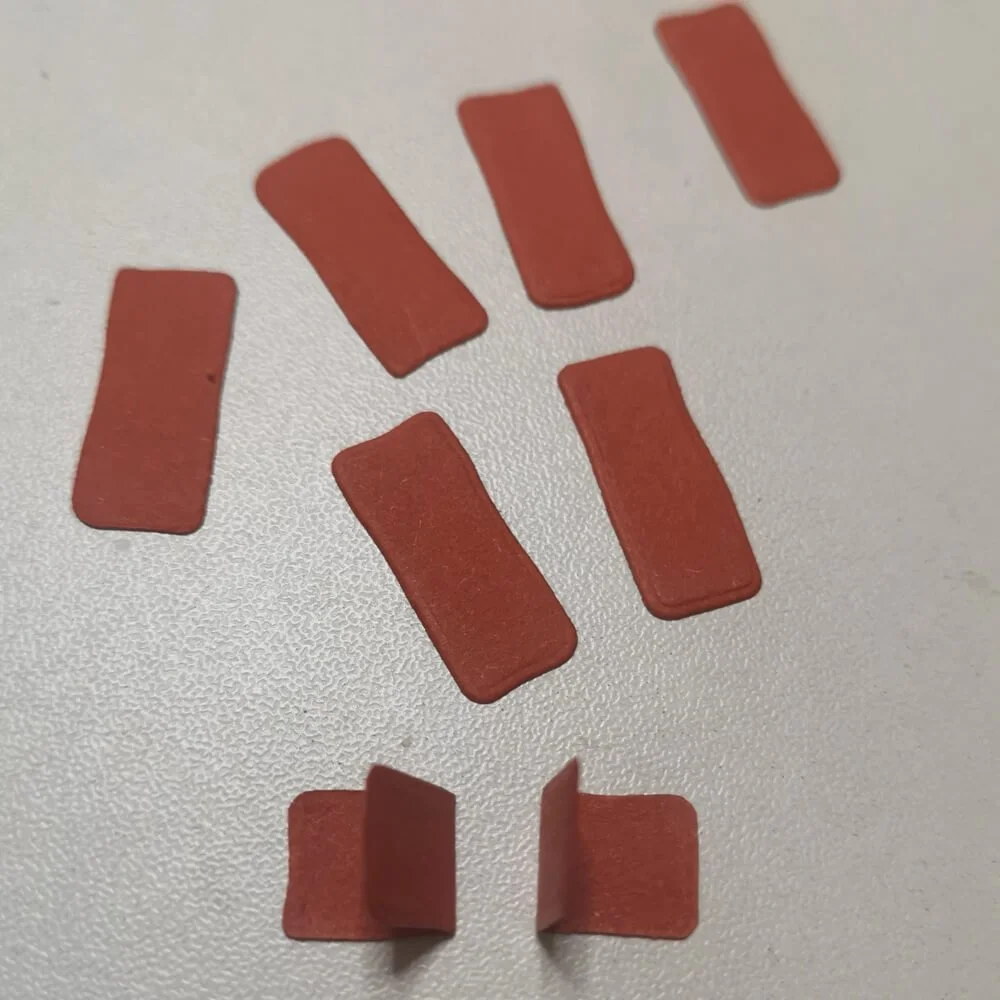
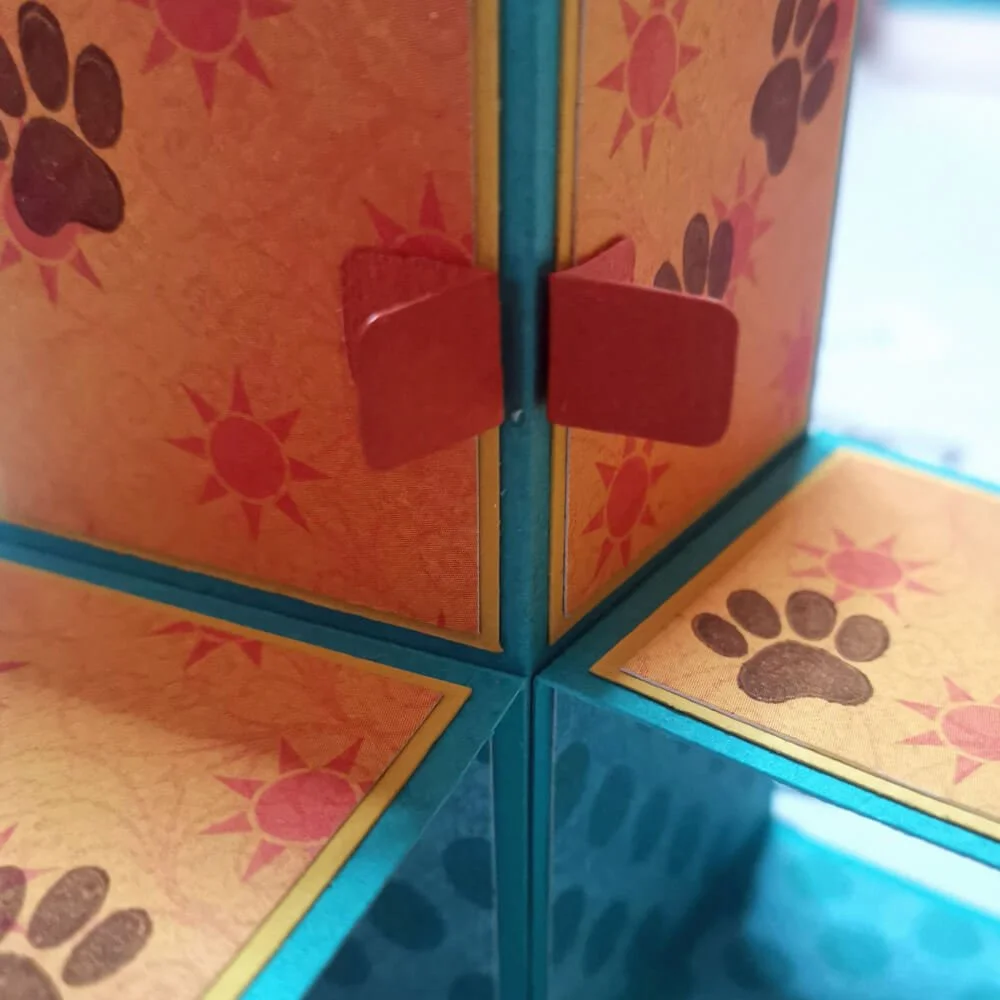
Step 8: I use the bricks (2332 – Dog House Build a Book) as ''wings'' to attach objects like the dog. This way, the card can simply be folded flat, creating a pop-up effect. I also attached the dog bone with sentiment this way. You can attach the other items on the card without the "wings." This way, you can create a really fun card. It's something different from the standard card, and super fun to give and receive!
I hope you enjoy creating this fun pop-up card!
Other products used: Florence Cardstock paper, Ohuhu Markers, Posca Pen White, Versafine Ink Pad- Tuxedo Black.