Create Easy Ephemera Pockets for Your Journal
Hello there! Janet Schmitz here.
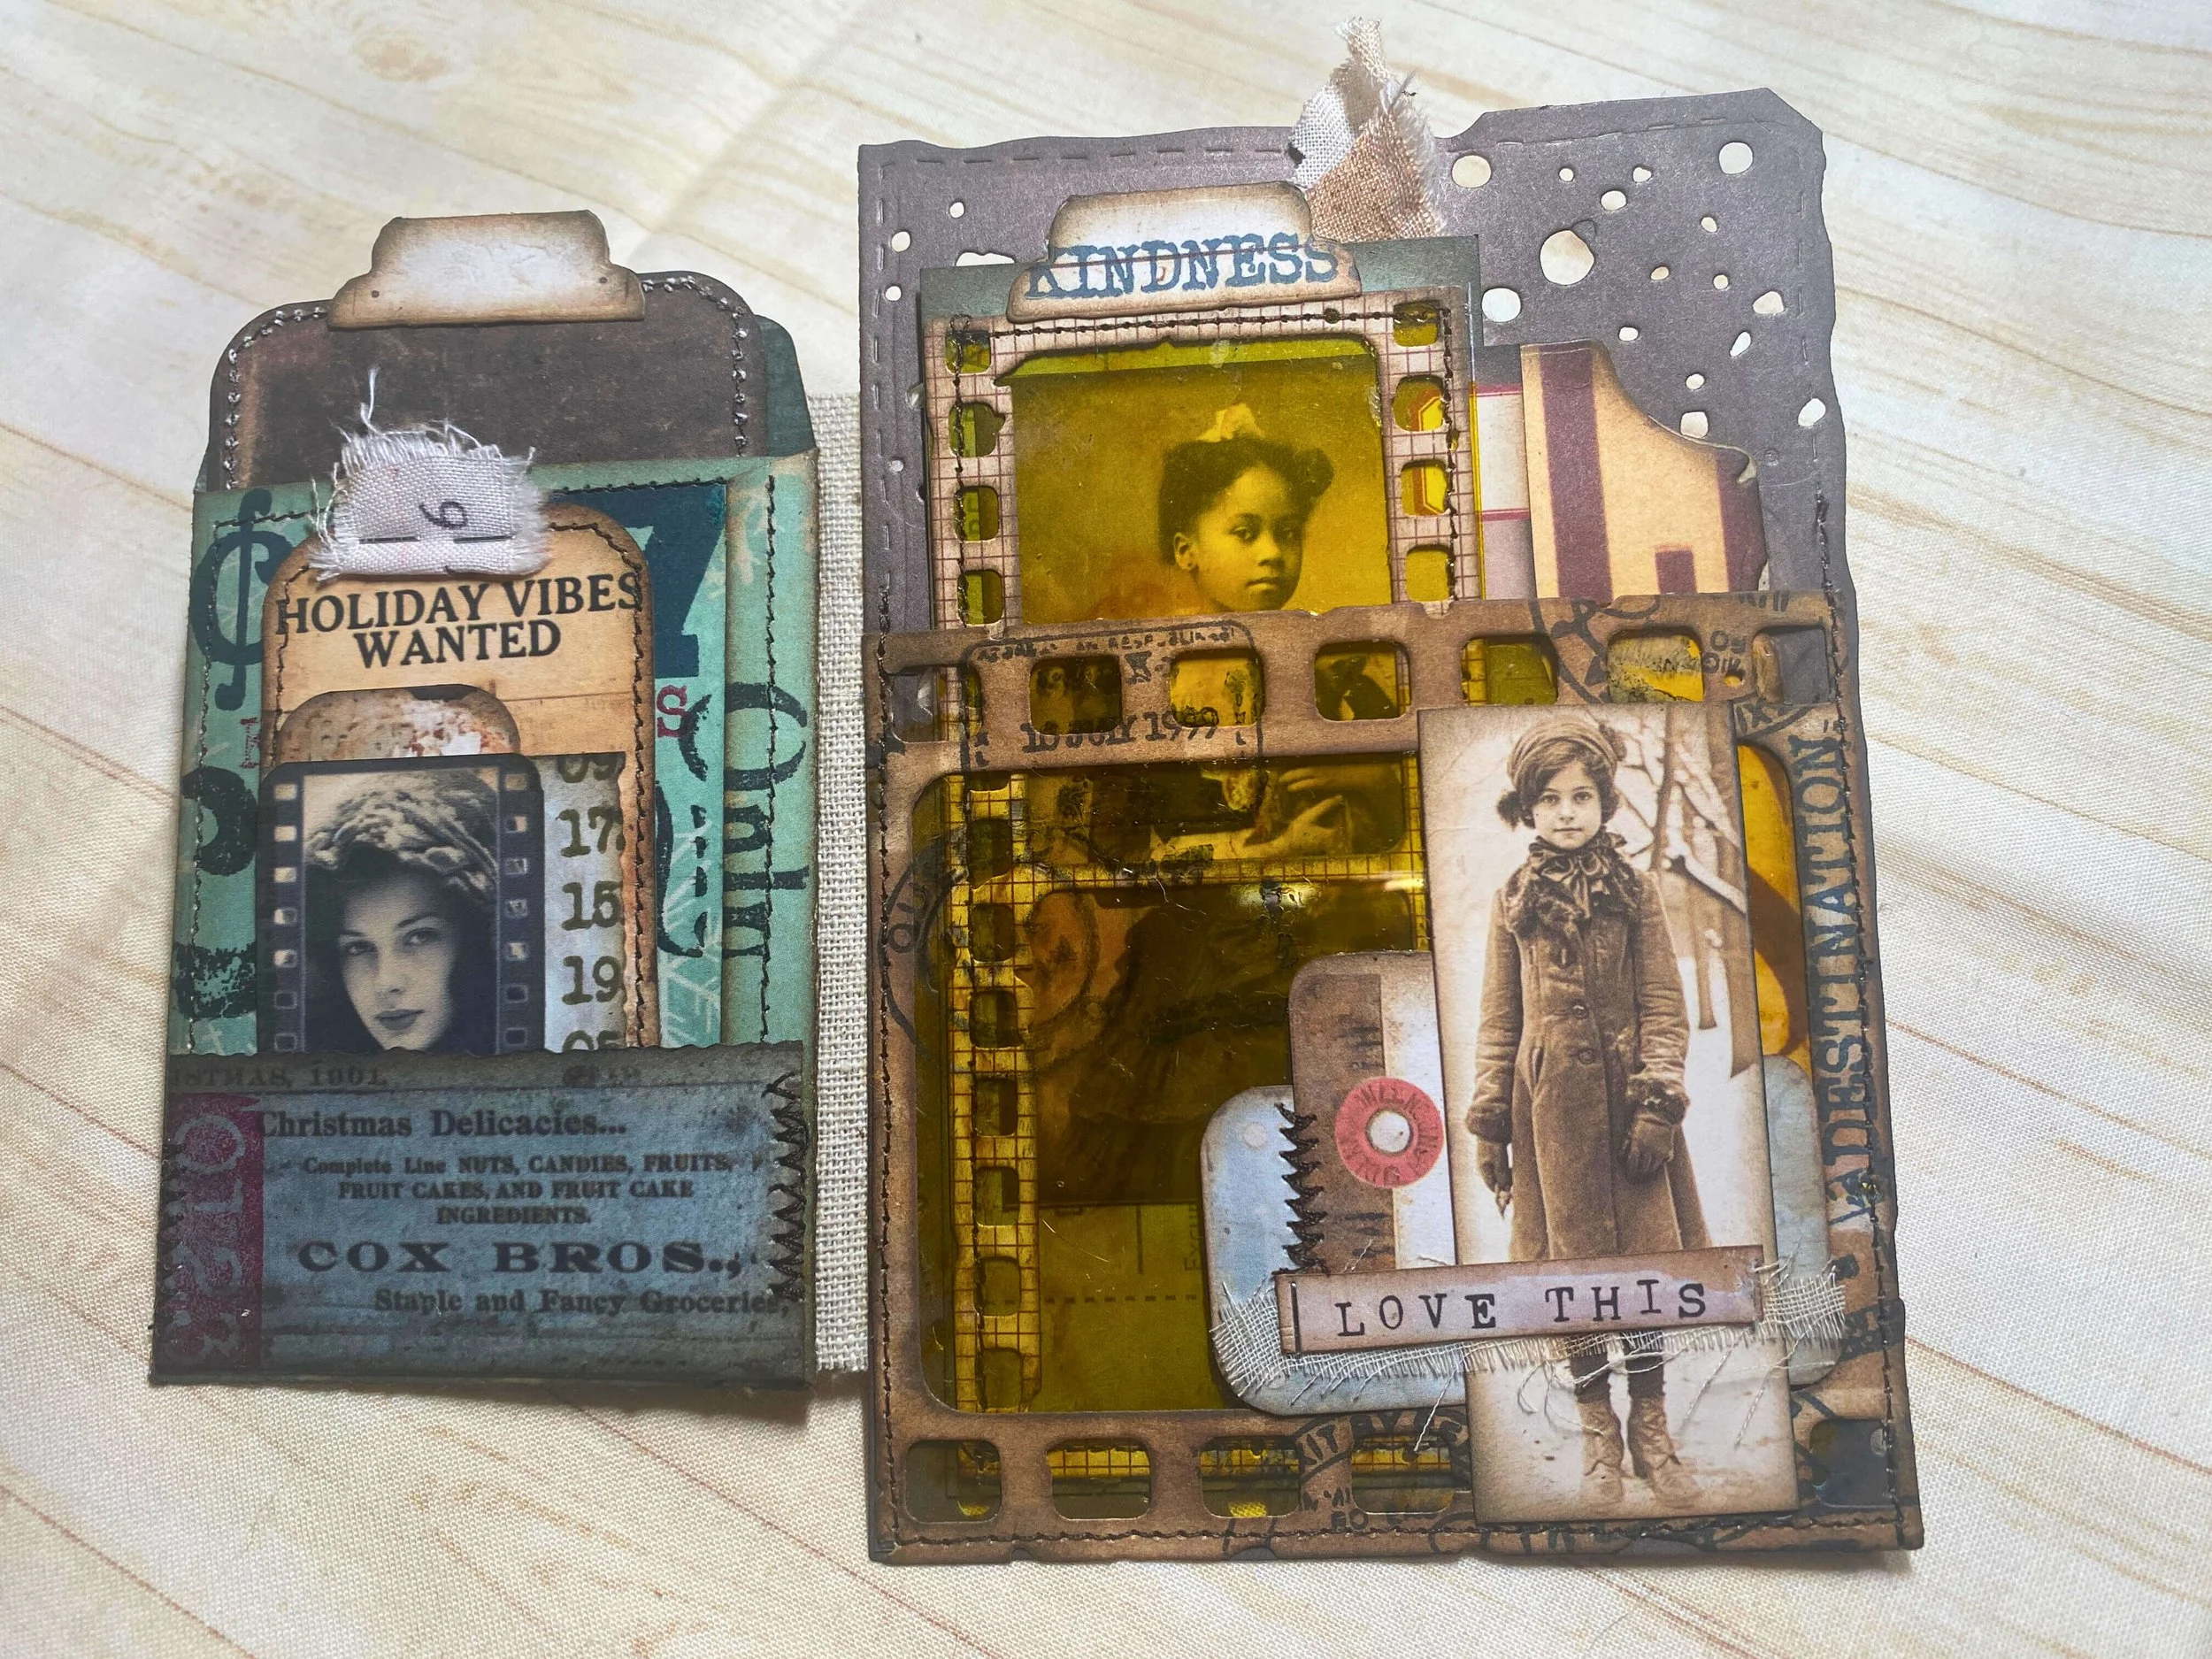
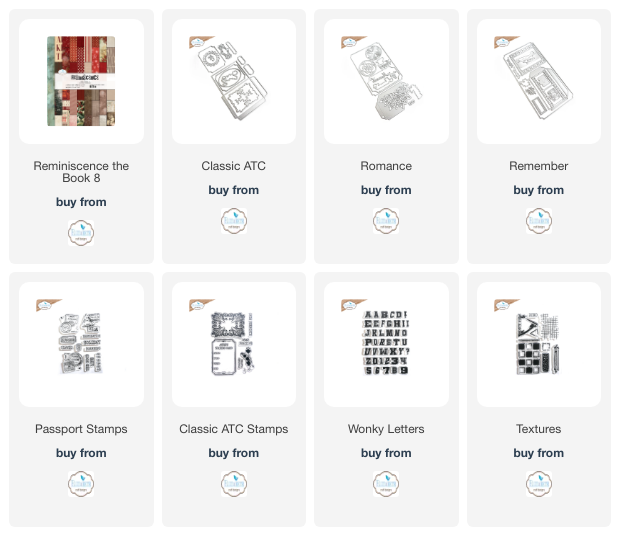
Today I’m going to show how easy it is to make ephemera pockets for your journal or planner. I even thought this may make a simple but cute gift card for someone special. I’m using the fabulous papers of Esther’s Book 8. It will be your choice either to use the thinner or thicker papers and ephemera. Also the dies of Devid’s, Journal Romance Special 2164 Locket of Memories; 2161 Classic ATC; 2160 Romance; and 2159 Remember; . Stamps - CS363 Passport Stamps; CS362 Classic ATC; CS360 Wonky Letters; CS364 Textures, and stencil S053. Now you may use any stamps or stencils of ECD that you may have on hand. As always, my go to inks to stamp are a Christmas Red, a dark blue, black and brown. So let’s get started
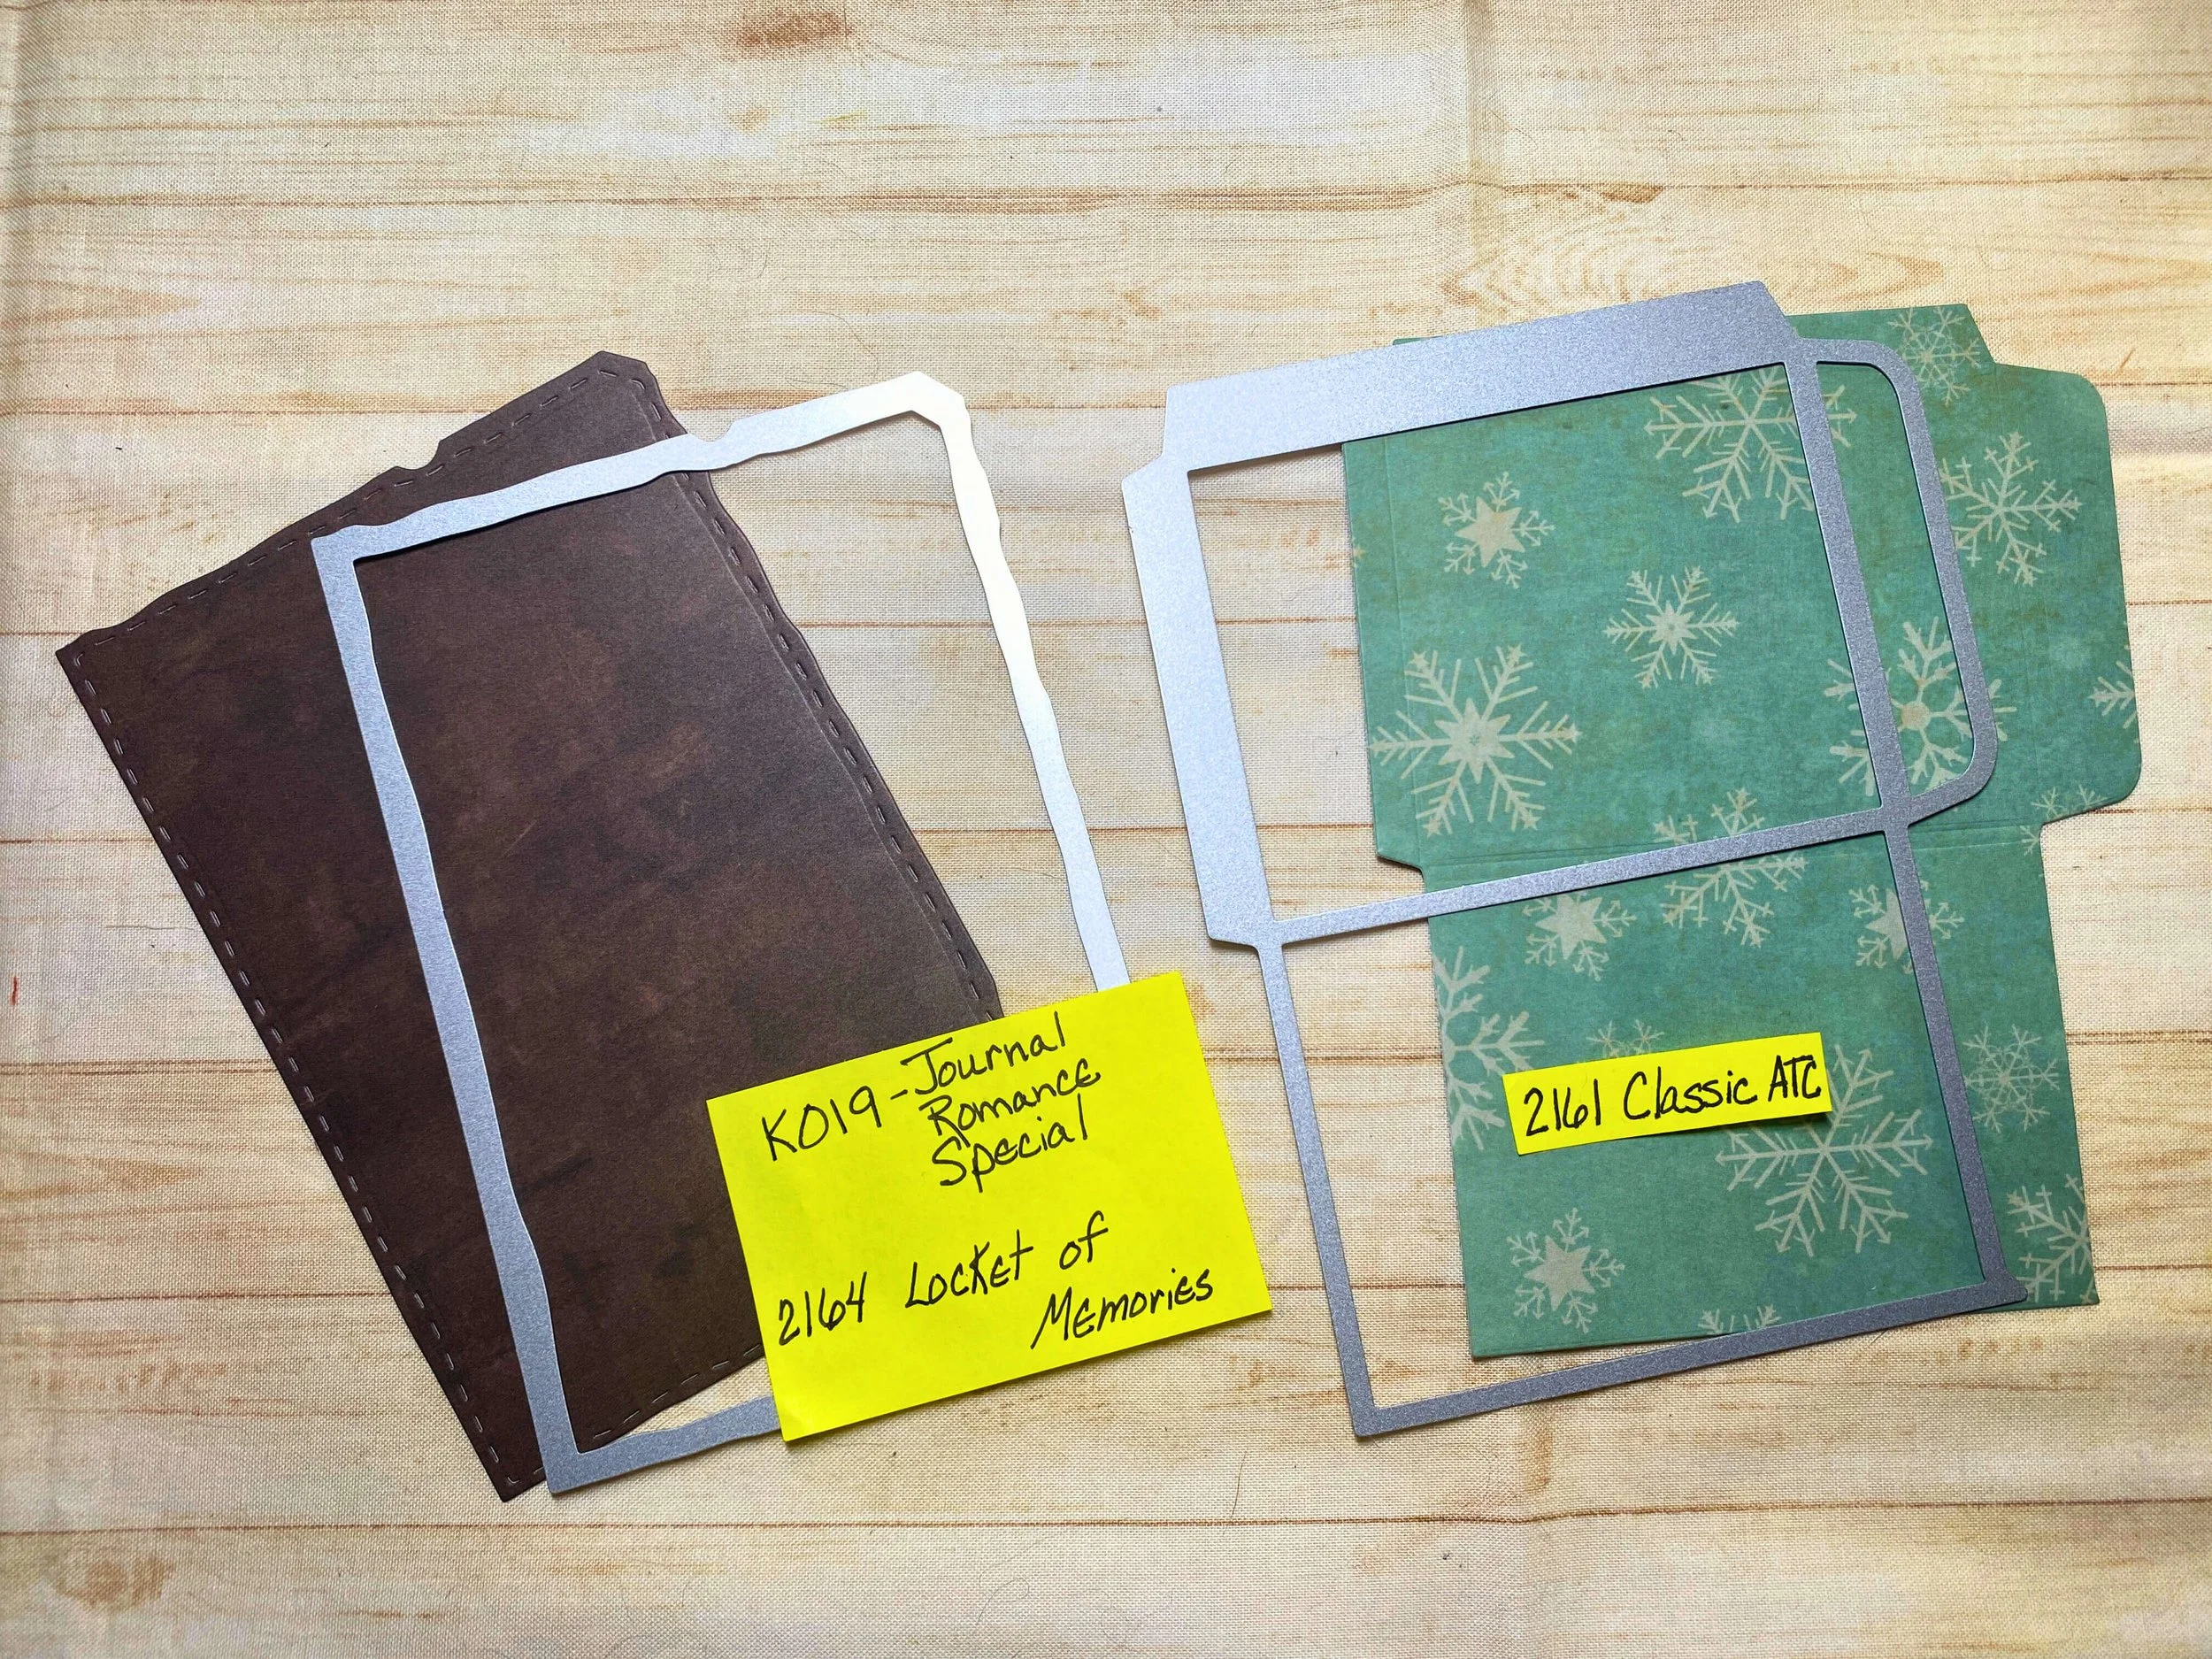
Step 1: Die cut your base pages Using Devid’s page die from his Journal Romance Special kit and his 2161 Classic ATC kit envelope pocket from your favorite papers from Esthers Book 8.
Top Tip -You may add your own personal style of inking edges if you wish. You make this your own!
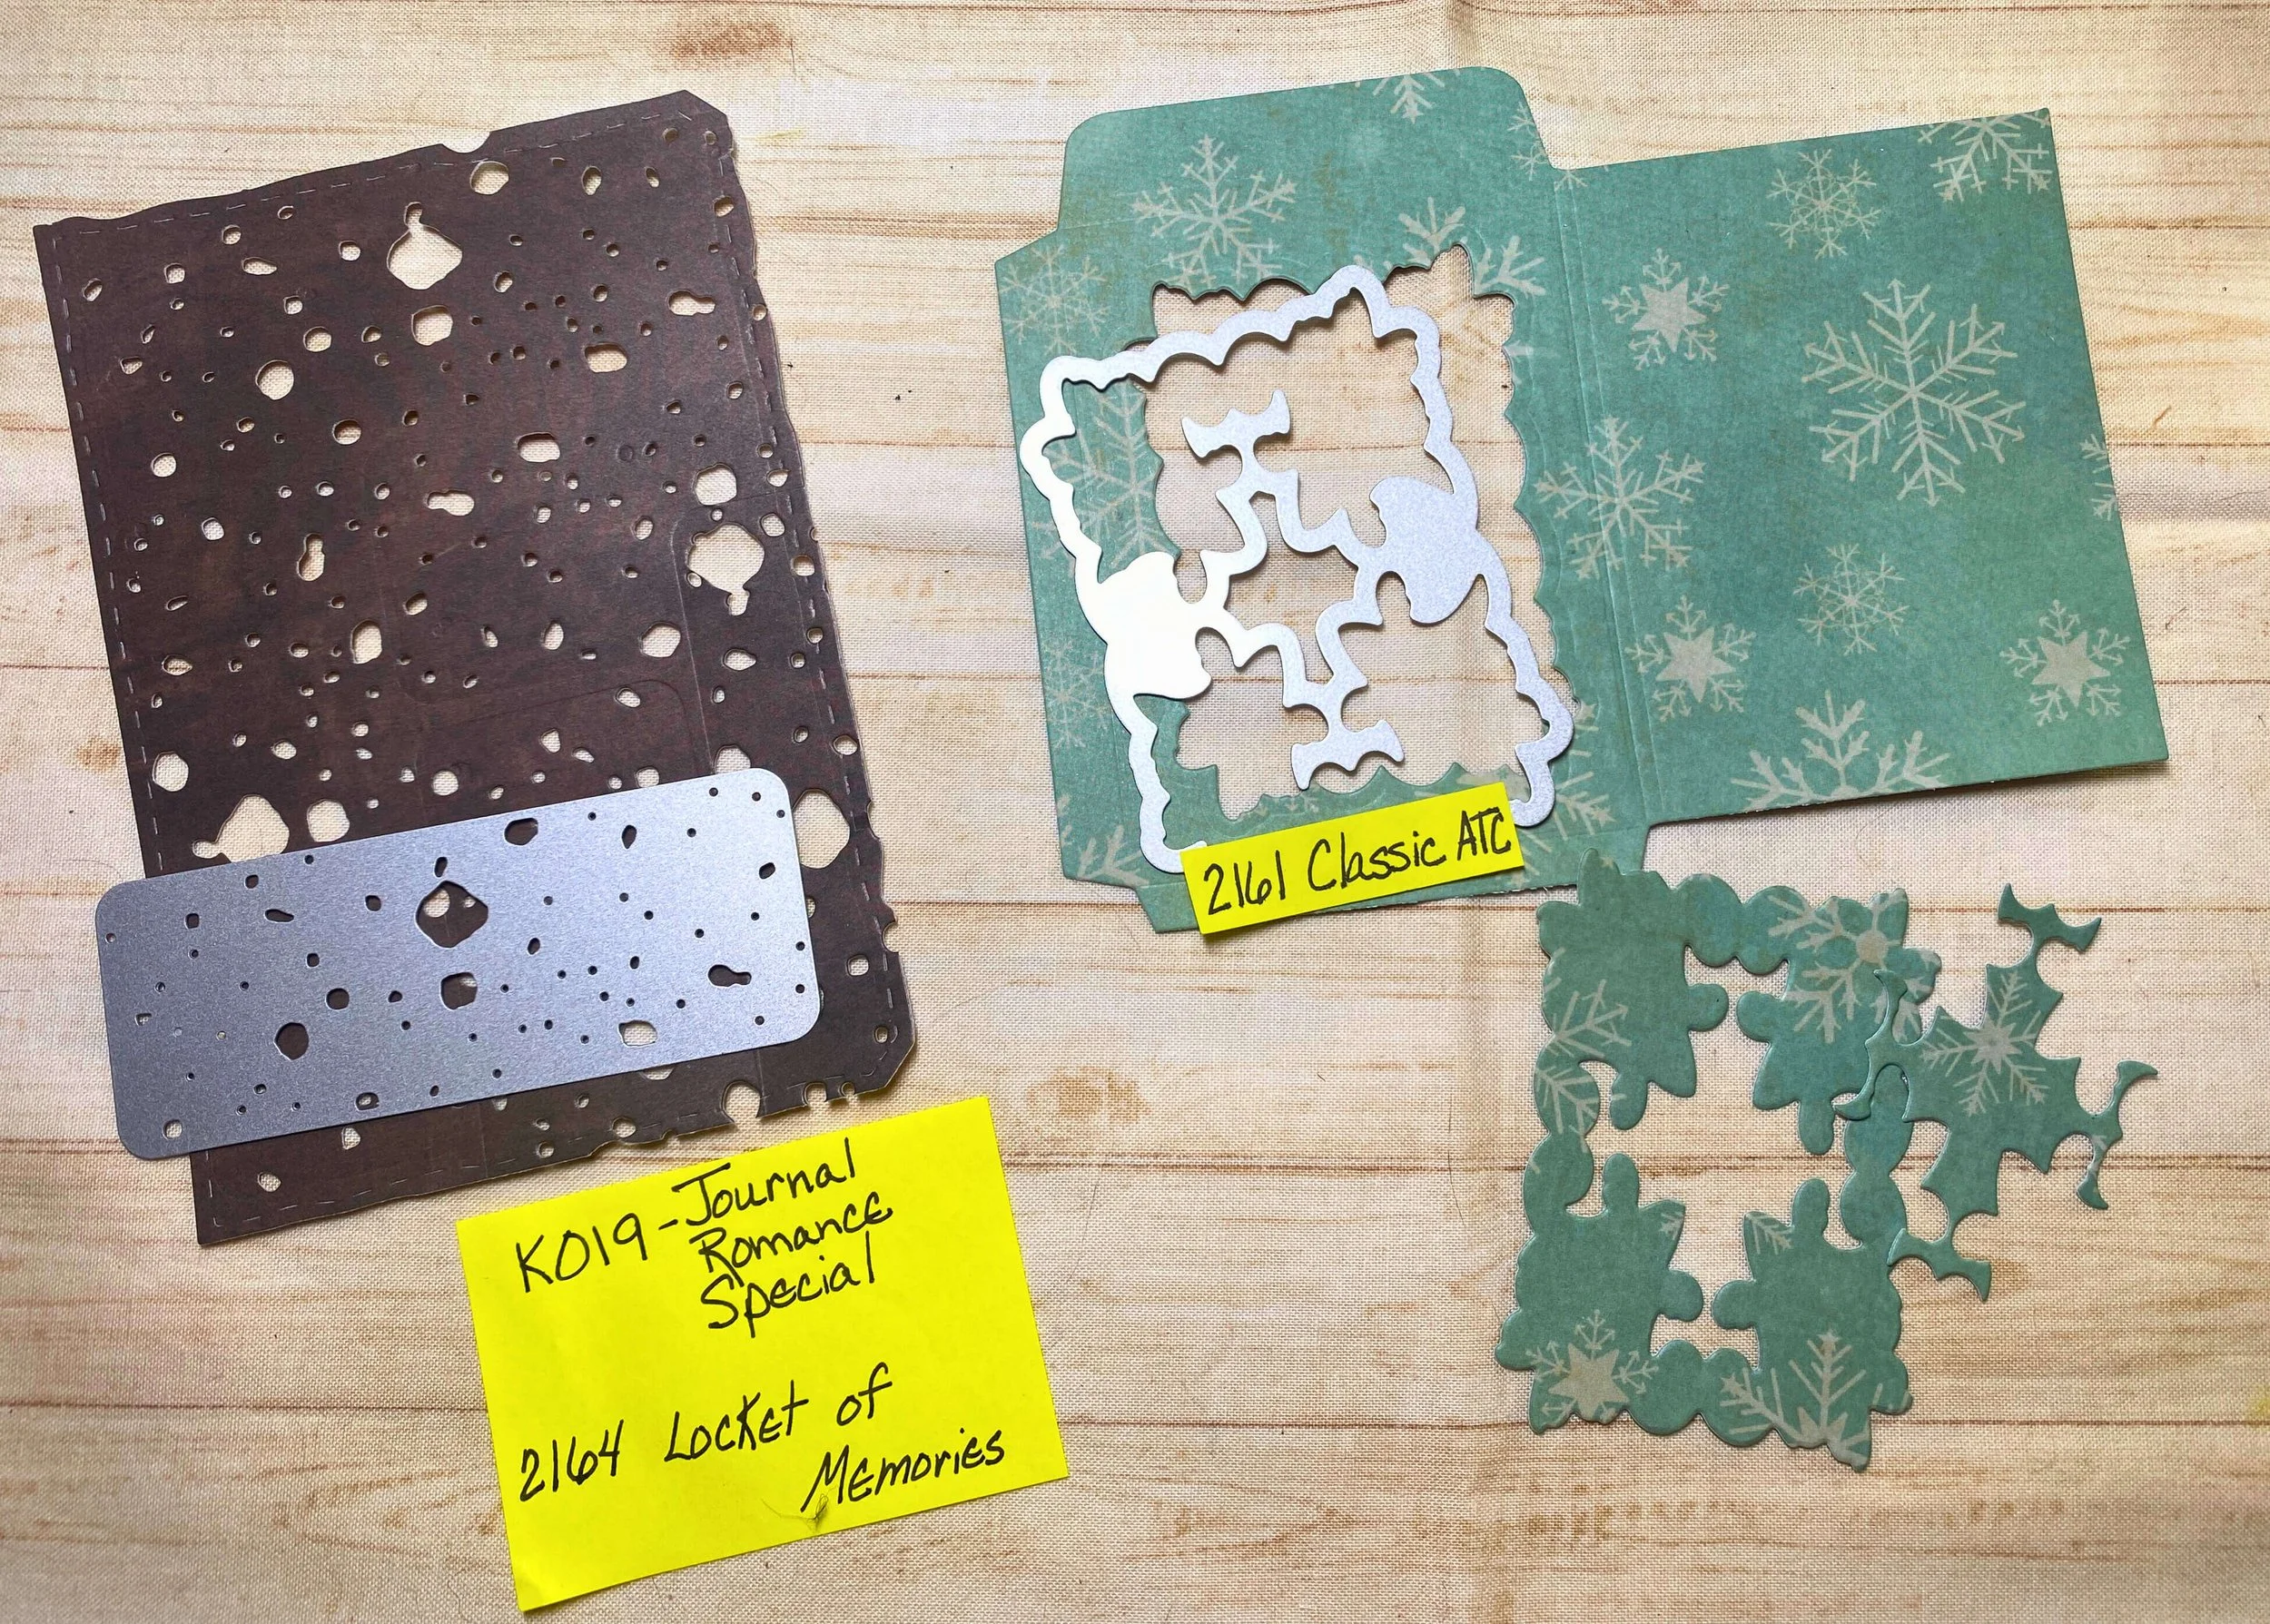
Step 2: Using the shown dies from the same kits, we are adding areas for visual texture and windows. Save the cutouts to be used in another project.
Step 3: Using different papers for pocket and tags, die cut using Devid’s 2159 Remember and 2160 Romance as shown here.
Step 4: Use any plastic packaging or acetate cut pieces to fit the film strips and the front of the little envelope. I used Tim Holtz/Ranger alcohol ink in Dijon, but you may use a color that will coordinate with your chosen papers. Ink them with the felt and dabber and let air dry. Glue to the appropriate die and don’t forget to trim edges of excess plastic. Also, glue the envelope pocket closed, leaving the top flap open.
Step 5: Using the Passport stamps CS363 and black permanent ink, stamp on opposite corners of the large film strip for a bit of visual texture.
Step 6: The pocket envelope can be stamped in red and blue ink with the stamps and sentiments of CS360 Wonky Letters and CS362 Classic ATC. Flip the envelope over and stamp it to accent a bit with the CS364 Textures. I like to stamp 3 times for visual balance.
Step 7: Using the stencil S053 on a leftover piece of paper and your favorite brown ink, color in to make a background. Cut a 2 1/2 x 3 3/8 inch rectangle piece of the stenciled paper. Also cut a 2 1/2 x 4 3/8 inch rectangle piece of a different pattern paper from Book 8. These will be your base for a tag.
Step 8: I have fussy cut all the fabulous ephemera pieces out of Book 8 because I know I will use every scrap. However at this point, you pick out your favorites to collage. You may follow exactly or do you, Either is wonderful!
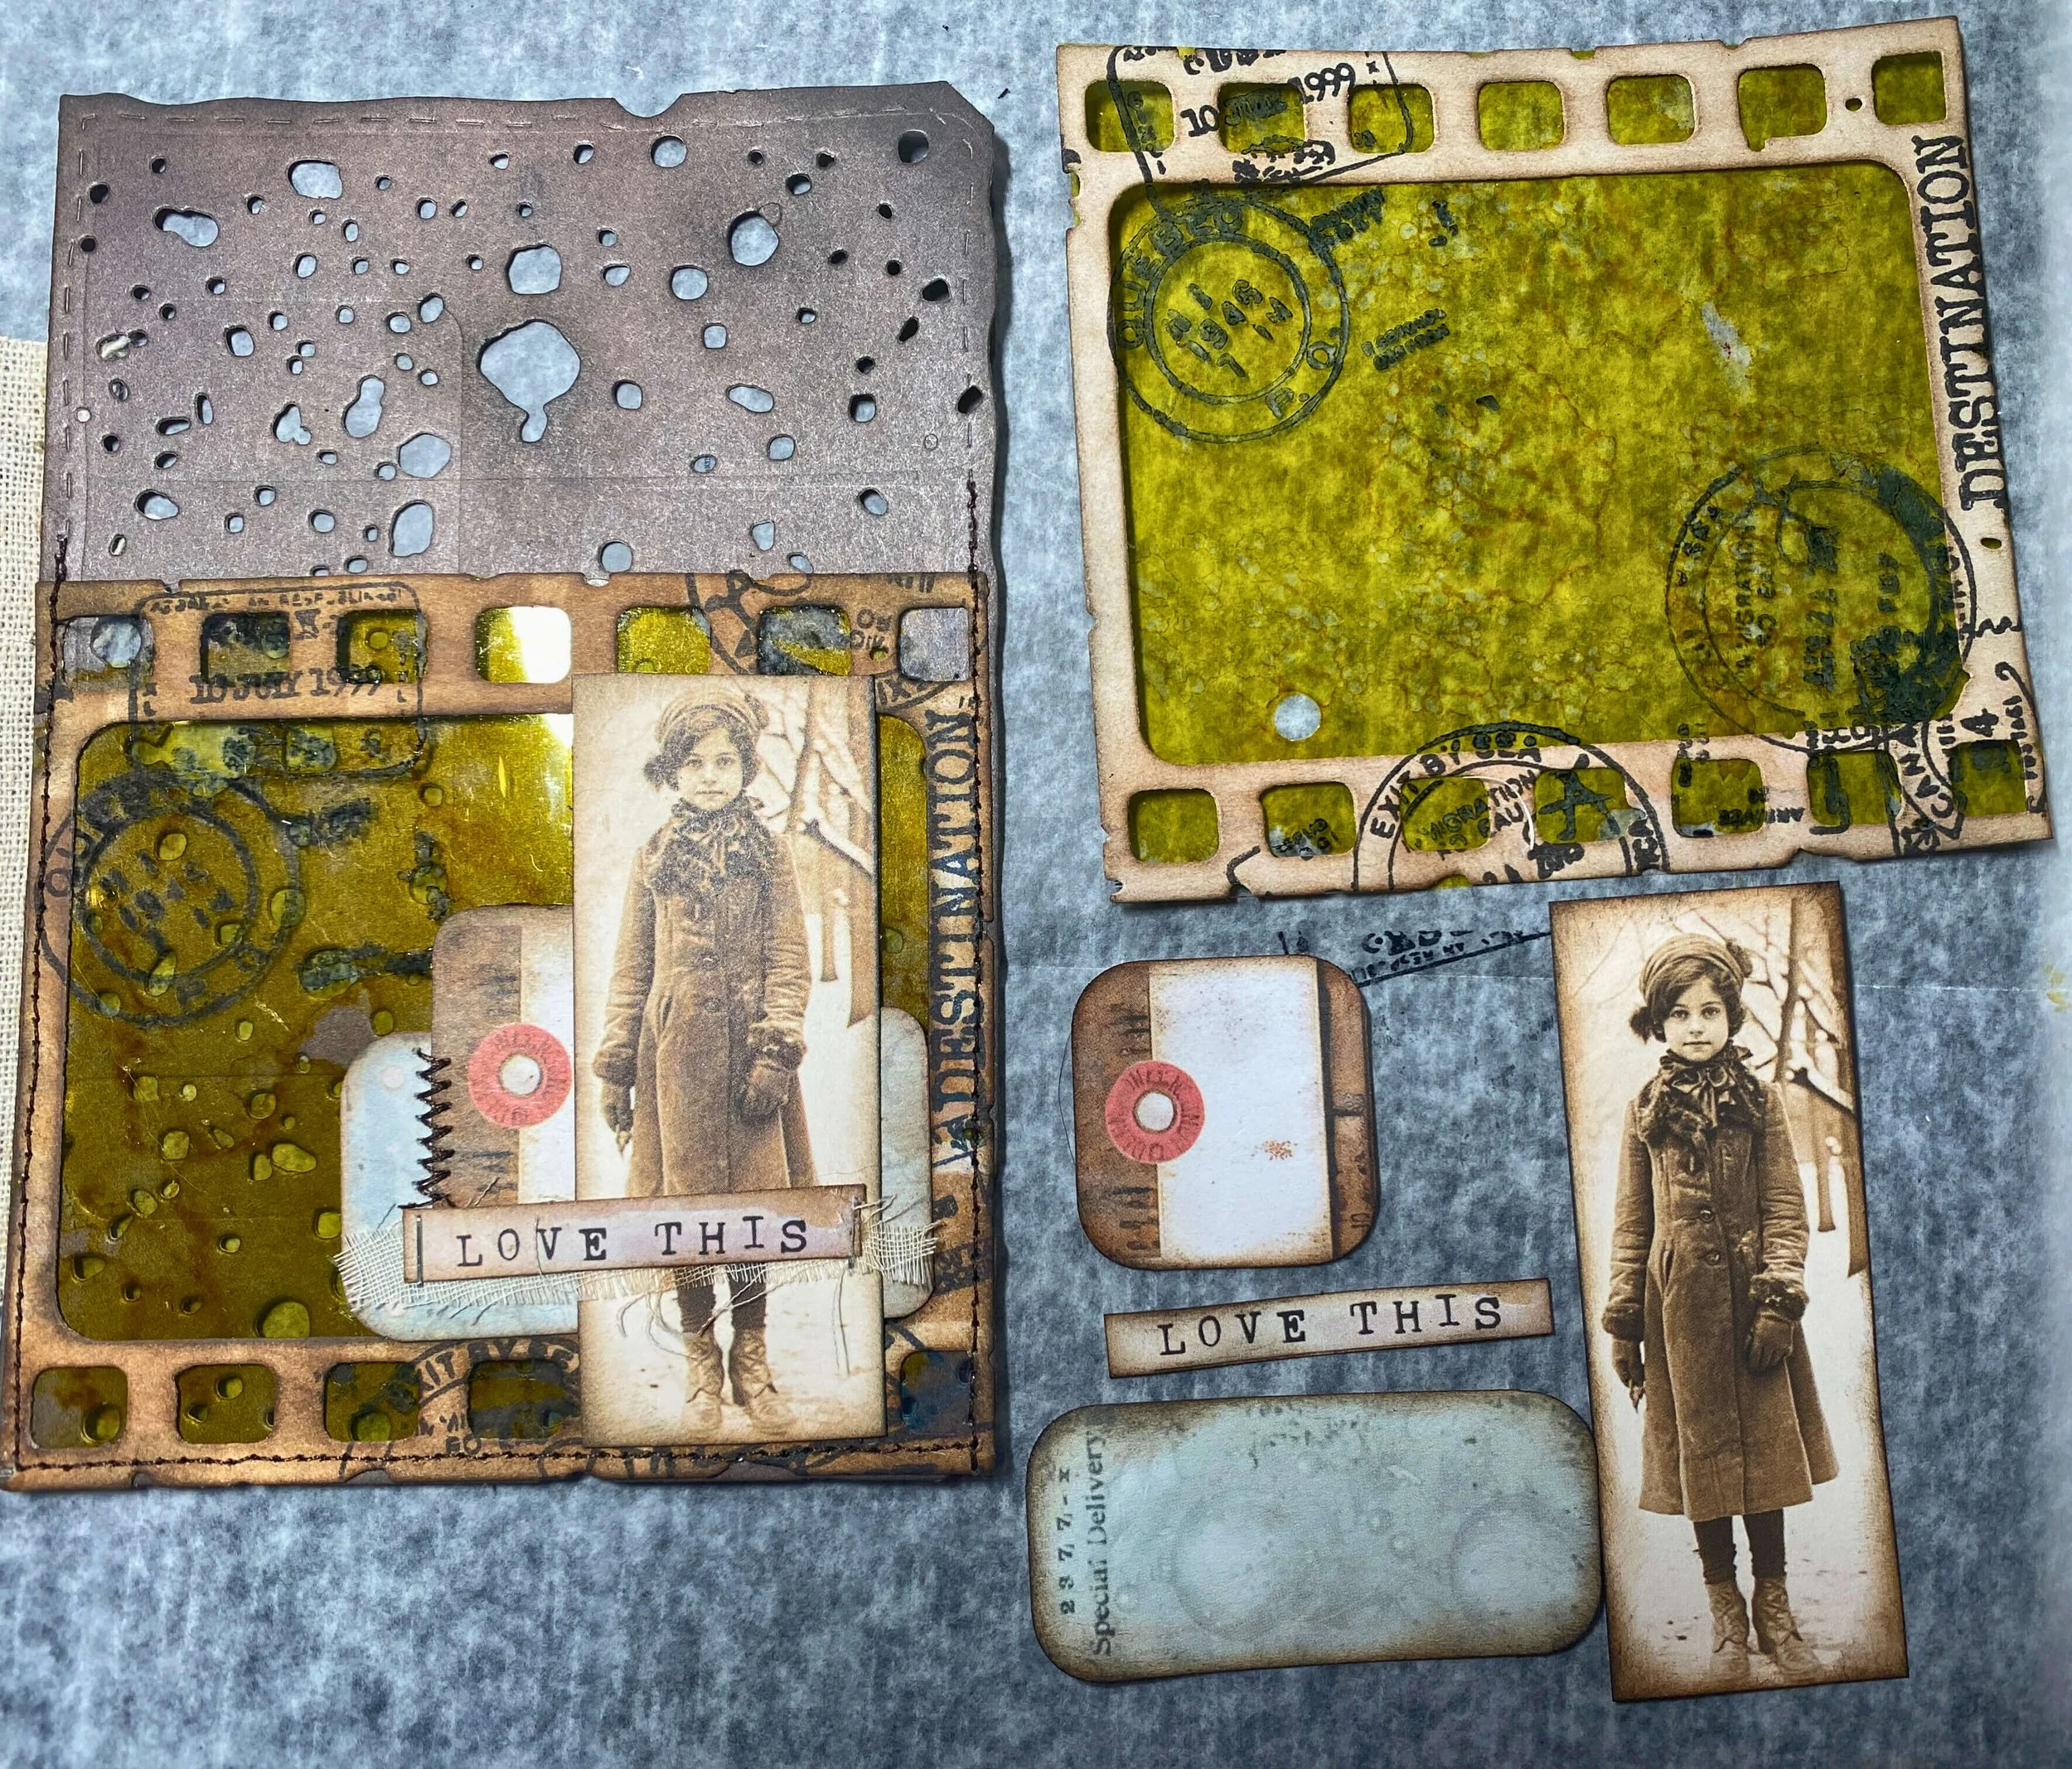
Step 9: The largest tag that will fit into the envelope pocket can now be layered and glued together. The teal blue piece ’No. 24225’ is a leftover piece that will be used behind the smaller filmstrip piece in the last step.
Step 10: For the tuck pocket on the back of the envelope, I cut down a blue piece to fit. I stamped the gorgeous number strip (CS364) using my red ink. Glued it down and am now ready for the small tag that is next.
Step 11: Assemble the smaller tag together as shown. Just added a visual stamp by the ladies face using the numbers (CS363).
Step 12: Assemble this collage onto the large film strip and then glue it onto the background piece as shown.
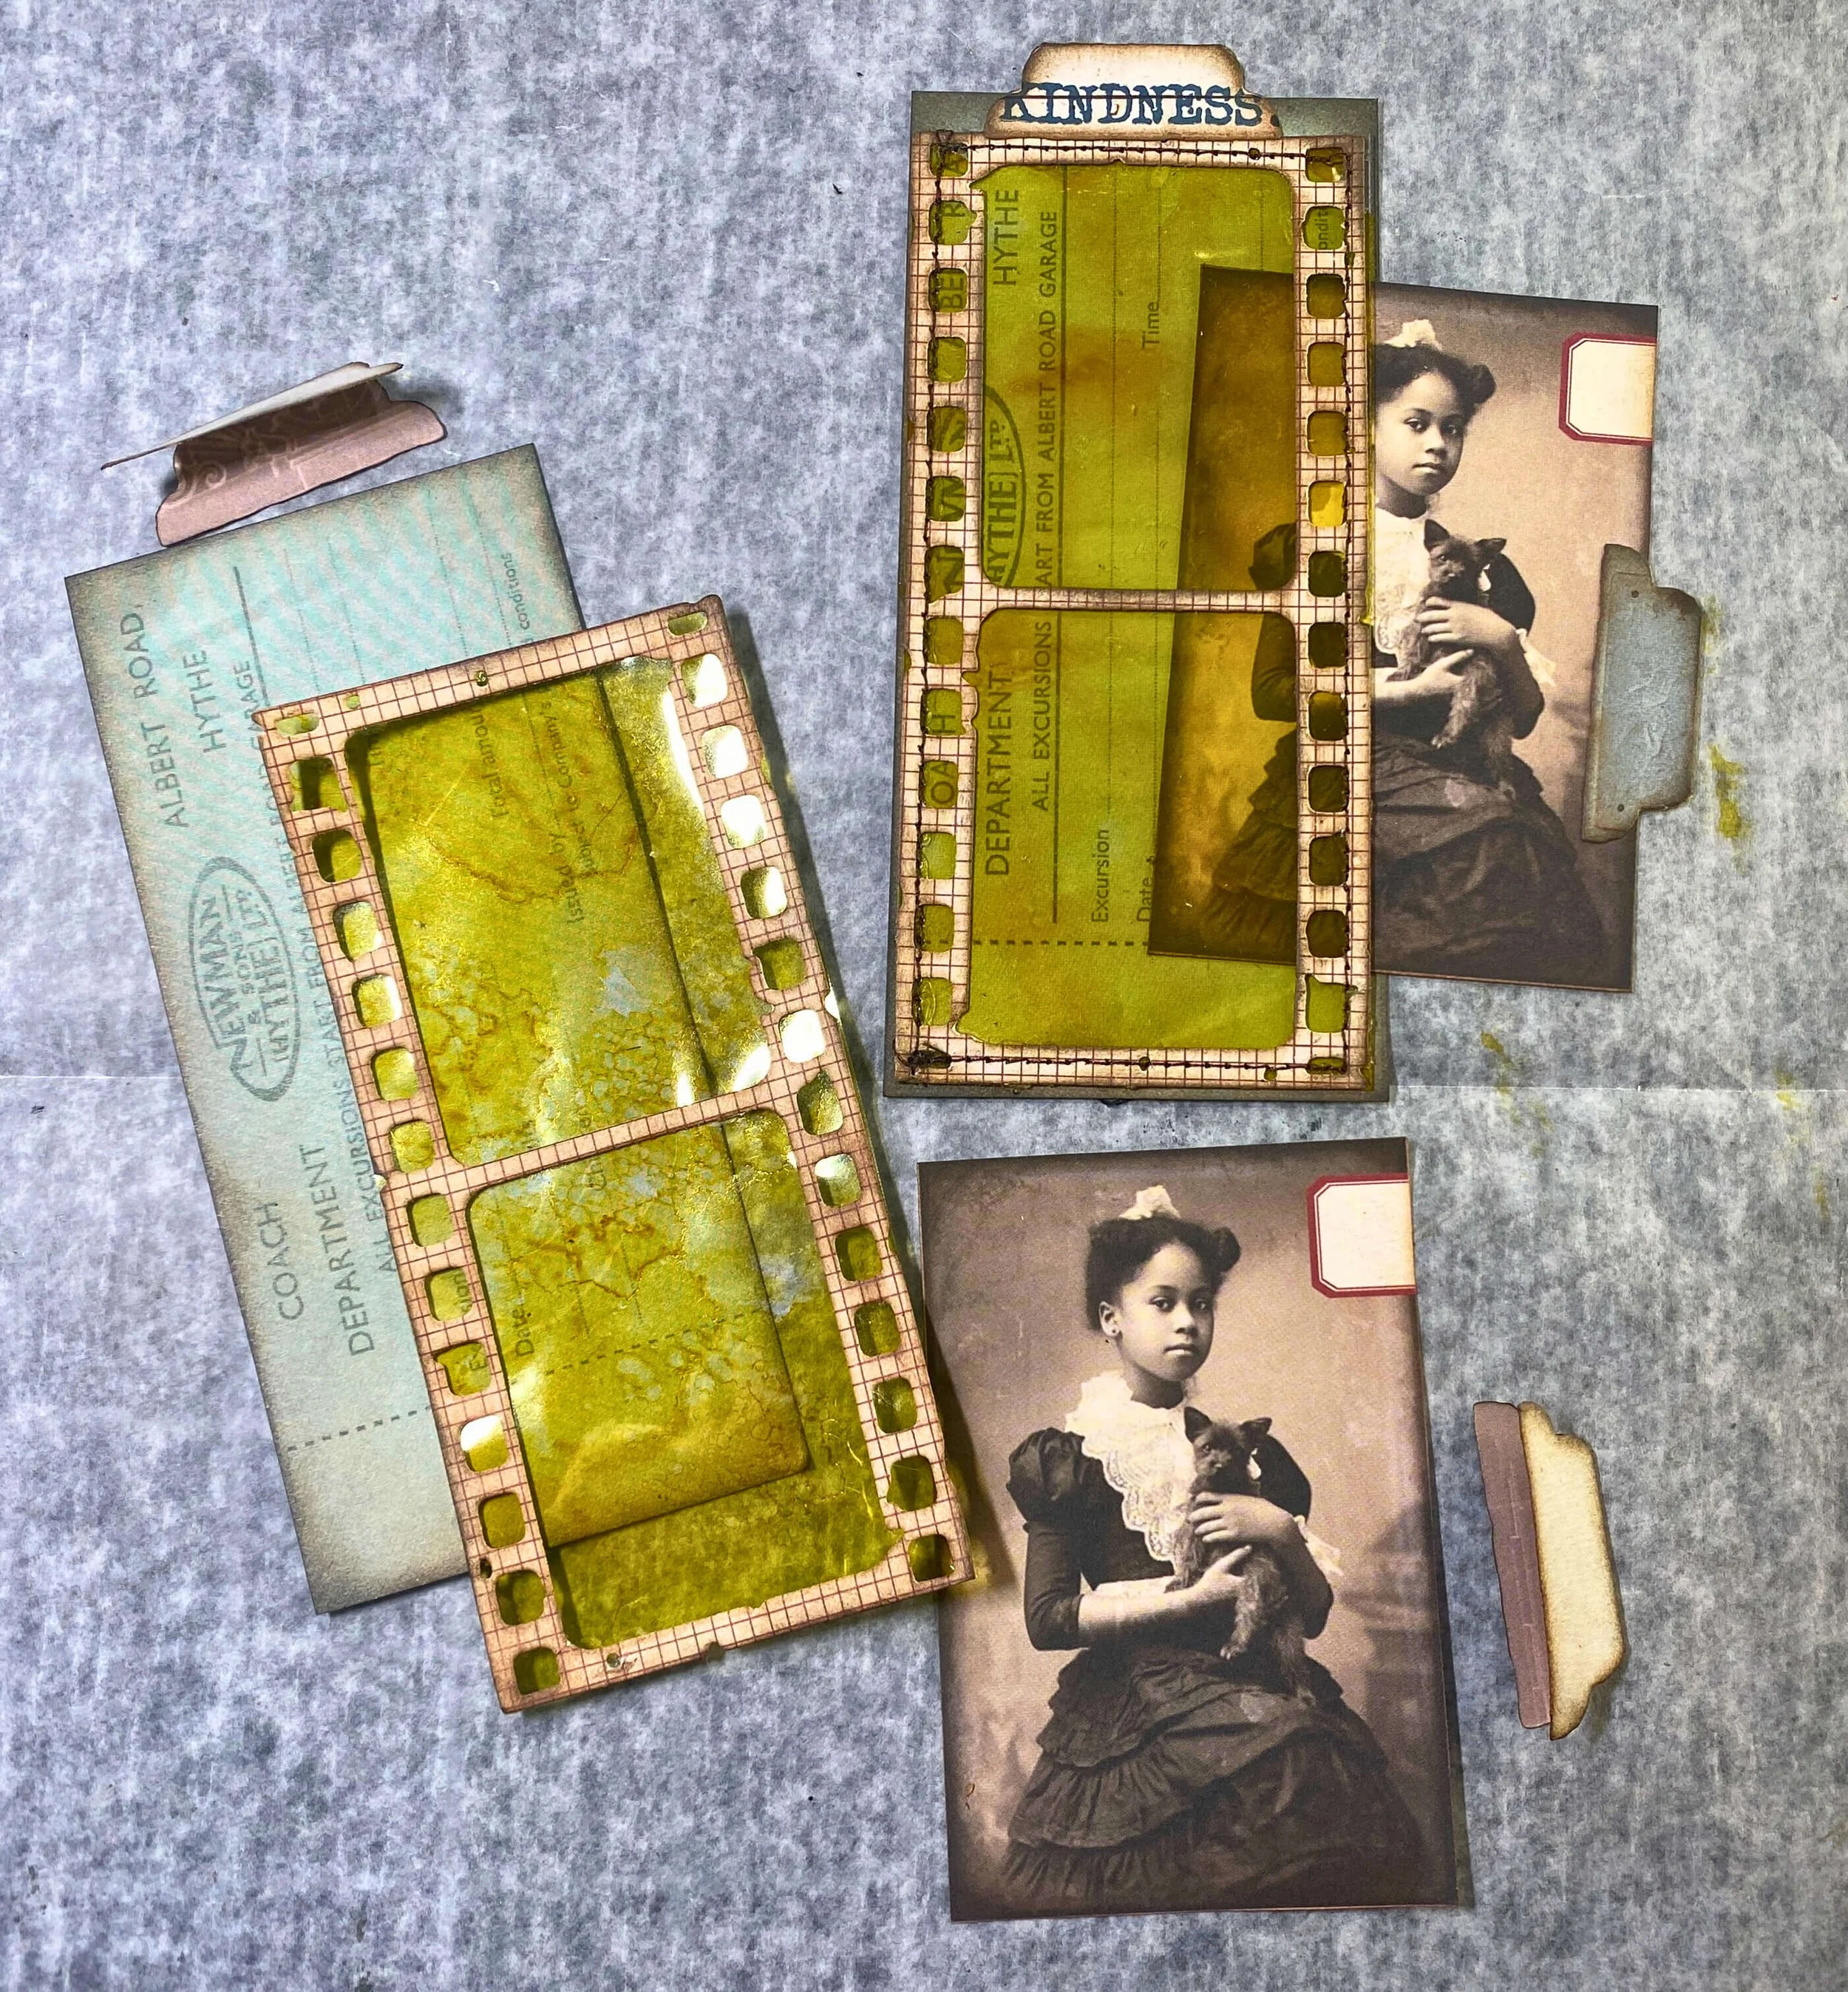
Step 13: The background paper for the small filmstrip, I left it a bit bigger than the filmstrip because I knew it would hold a photo. The tabs make it so easy to pull the photo out. If you do not have a tab die, use a small piece of leftover paper folded over or a piece of fabric, trim, or ribbon. Anything would do.
Step 14: The very last step is to glue a piece of fabric or paper as the hinge between these two lovely pockets. My dimensions for the fabric are approximately 3/4 inch by the length of the pocket envelope, leaving an 1/8 -1/4 inch between the two pockets.
This beautiful tuck envelope pocket ephemera can definitely fit into your journal or planner to hold more of our special pictures. Enjoy making your own ephemera for your fabulous creations. Make sure you share your projects with us in our Elizabeth Craft Designs Family Facebook group. We love to see what you create!
Never miss a tutorial and sign up for our emails today HERE.
Make sure you share your projects with us in our Facebook Group HERE. We love to see what you create!
Elizabeth Craft Designs Products Used:


