Mixed Media Basics: Creating Depth and Texture in Your Art Journal
Building rich, textured art journal pages doesn't have to be overwhelming or confusing. In this tutorial from Jennifer, you’ll learn tips how to create a beautiful art journal page from a blank page upwards, using mixed media techniques. Discover how to build layers of designs, inks, paints and paper crafting elements from Elizabeth Craft Designs to create a stunning mixed-media finished art journal page.
Scroll down to follow the step-by-step tutorial below and grab the full supply list so you can start creating your own art journal masterpiece today!
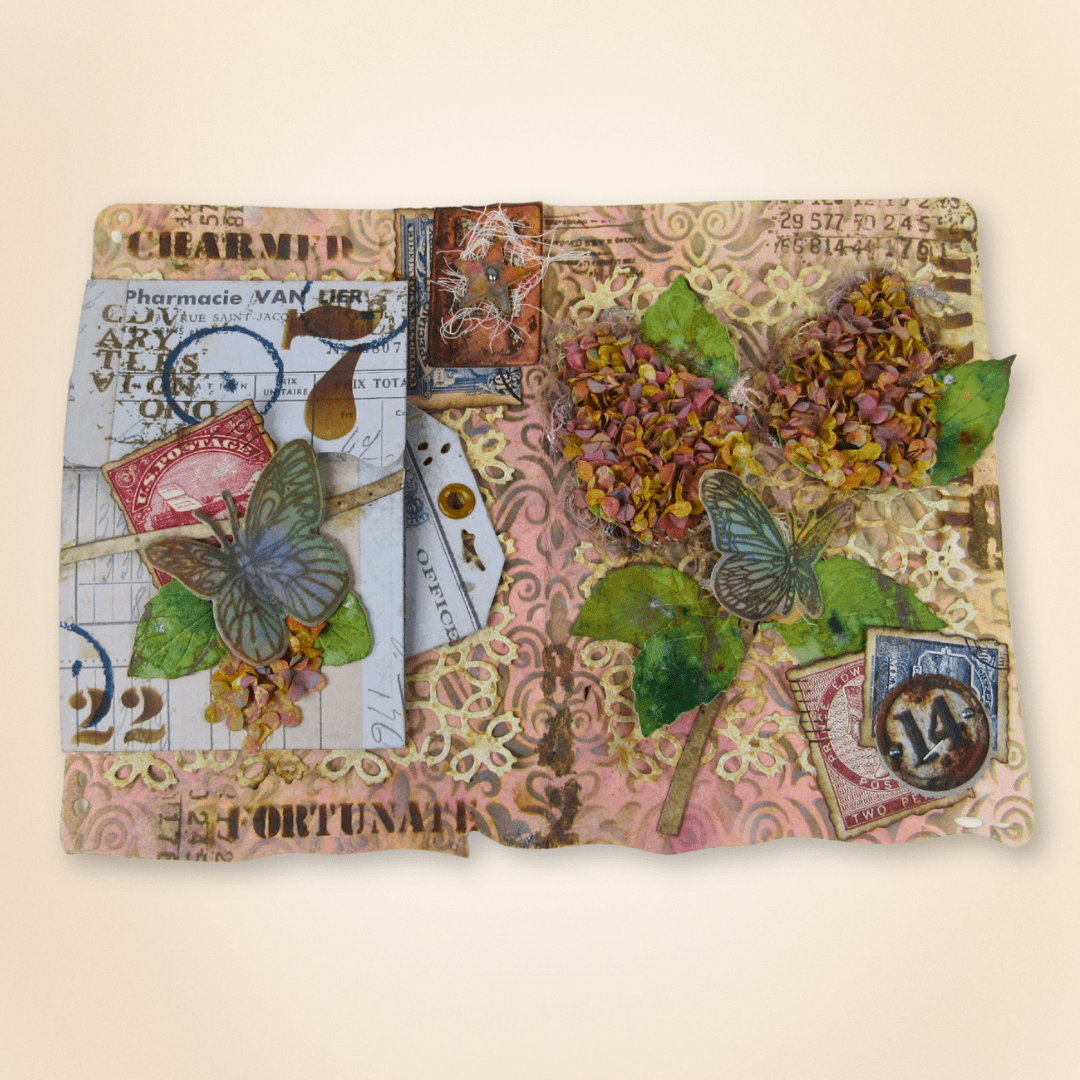
Hi, Jennifer here with today’s tutorial. Adding layers can sometimes be a challenge. Hopefully, this will make adding layers to your mixed media art journal page a little easier.
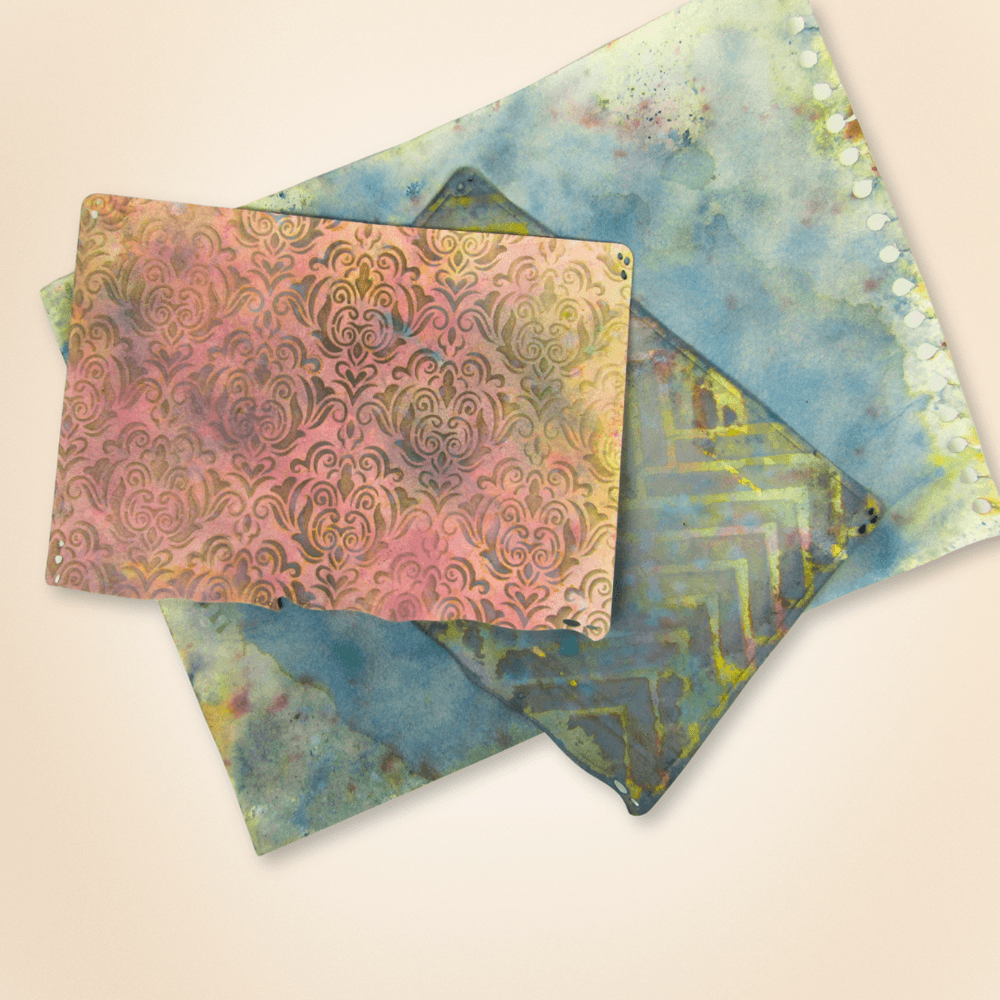
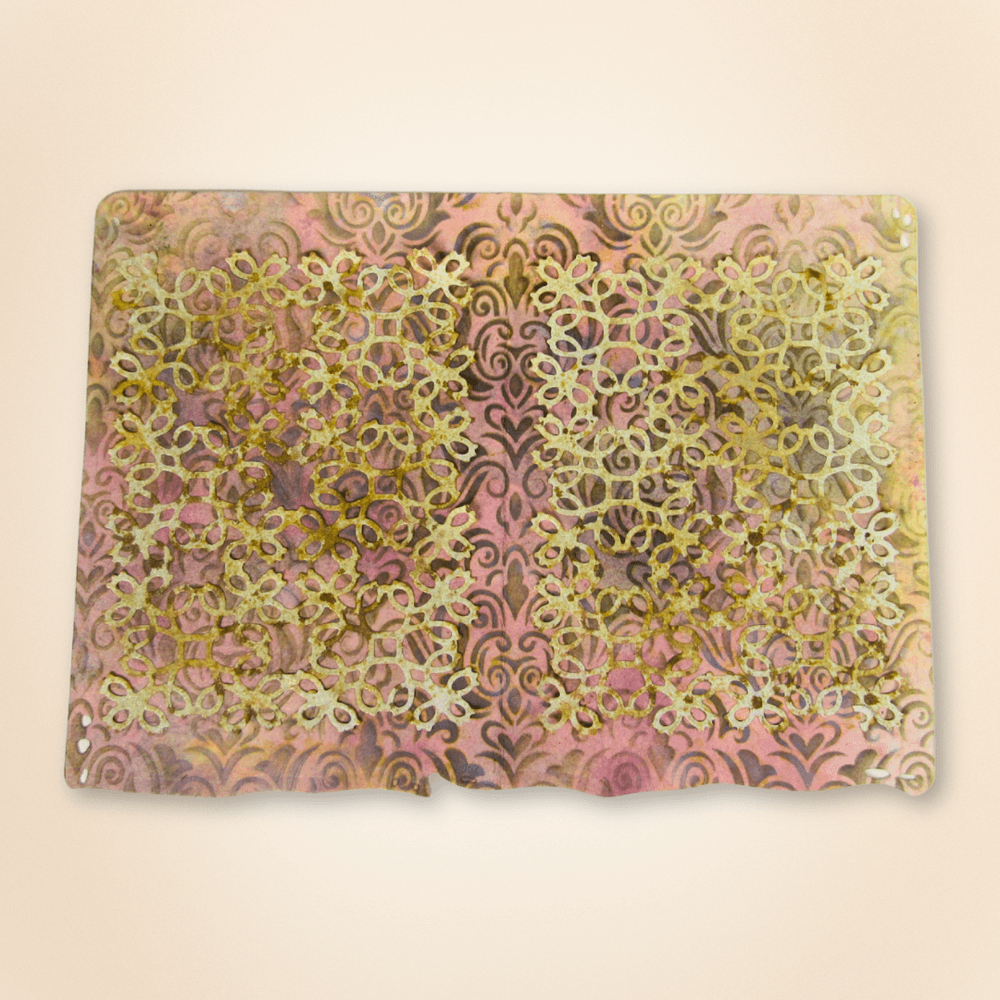
Step 1: Start your first set of layers by creating your background. By using different colors, you can create several layers. You can do this by adding layers of your favorite media like inks, oxides, and acrylics to plain paper. Or you can make it easier by choosing premade background papers, like the ones in Background Volumes 1-5 from the Art Journal Specials Collection. Once you have your color down, select a stencil and stencil over your background. This will add another layer.
Note: Remember, this is just a background, and most of it will be covered by ephemera. Your background does not need to be perfect and will not be the focal point of your page.
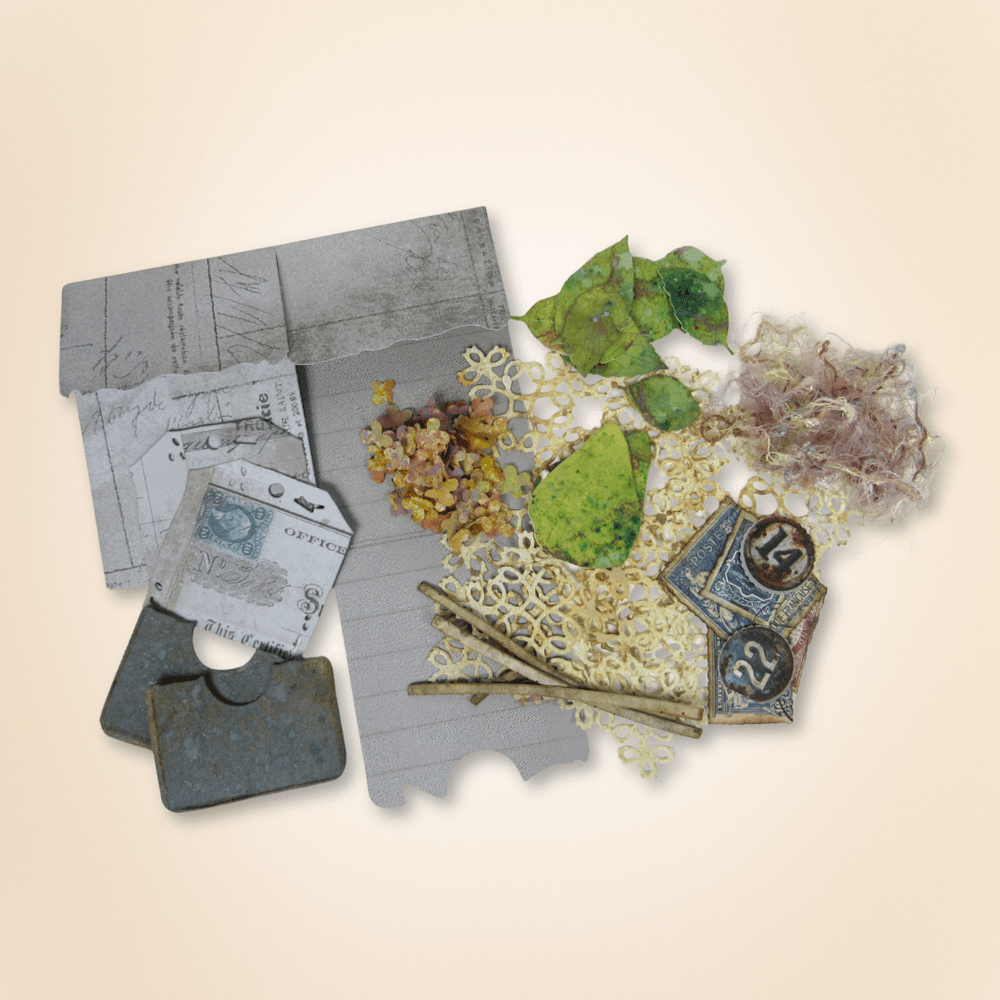
Step 2: Gather your pockets, tags, ephemera, and any other elements you would like to add to the page, such as yarns, fabrics, ribbons, string, etc. I always end up using more than I initially gathered; allow yourself that flexibility. You may not end up using any of the things you first gathered, and then you may use all of them and more.
Note: Now is also a good time to decide how you are going to attach your elements.
Step 3: If you have pieces that need to be assembled, assemble them before you begin assembling your page. I was adding two Panicle Hydrangeas to this page, so I assembled them now, and they're ready to go on the page later. There are some great video tutorials on the YouTube Channel showing how to make a Panicle Hydrangea.
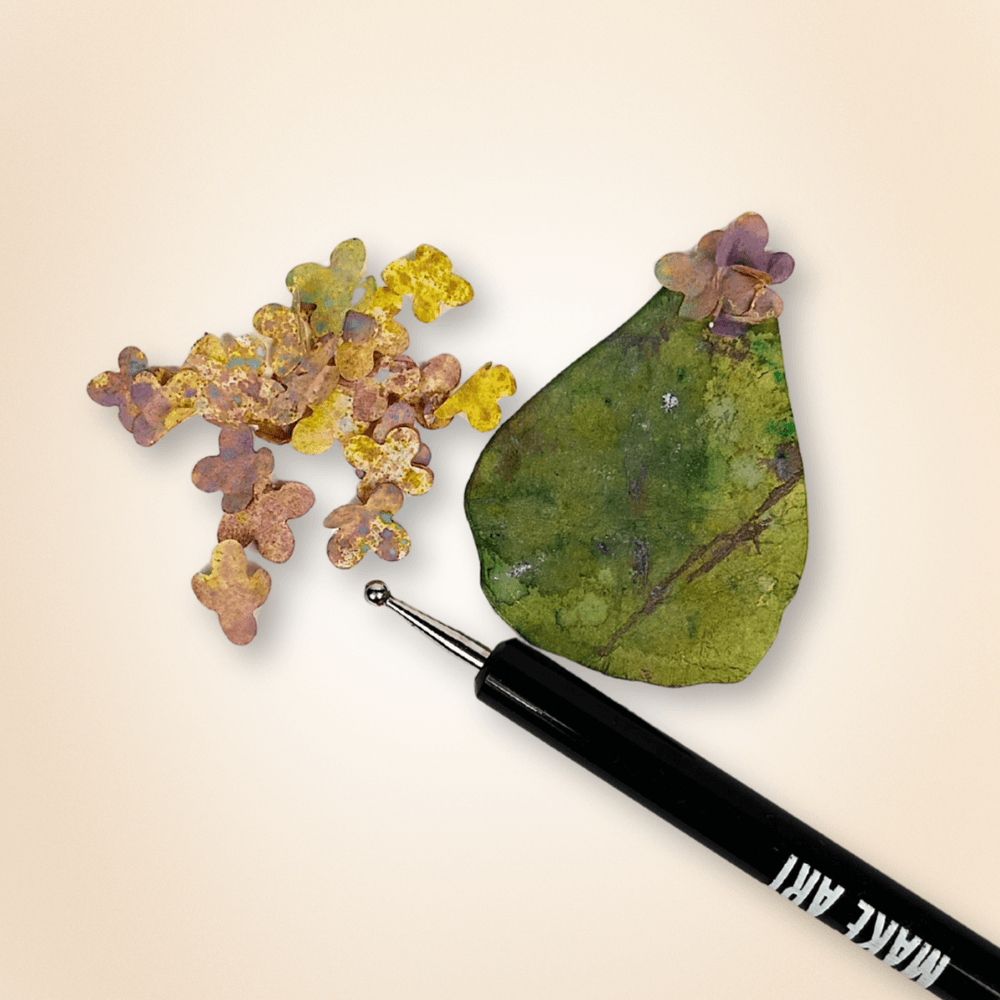
Step 4: Always arrange your ephemera and mixed media pieces on your background page before attaching them with glue, tape, or staples. Get an idea of what you want your page to look like. Play around with different angles and different layers. Once you are happy with how it looks, start gluing, taping, or stapling it to your background. A scrap of fabric or paper with a piece of string on top, plus a piece of ephemera such as a number, a butterfly, a button, or a flower, can add multiple layers and lots of interest to your page.
This is where the fun begins. Here are some tips:
Leaves generally look better behind something.
Butterflies usually look better on top of something or as a focal point.
String, lace, and fabric often look better tucked behind something. It’s okay to add just a hint of something; you don’t always need to use the whole piece.
Lighter colors on top of darker colors can add dimension.
You don’t always have to glue the entire piece down. I usually just place a spot of glue in the center, leaving the edges open for tuck spots.
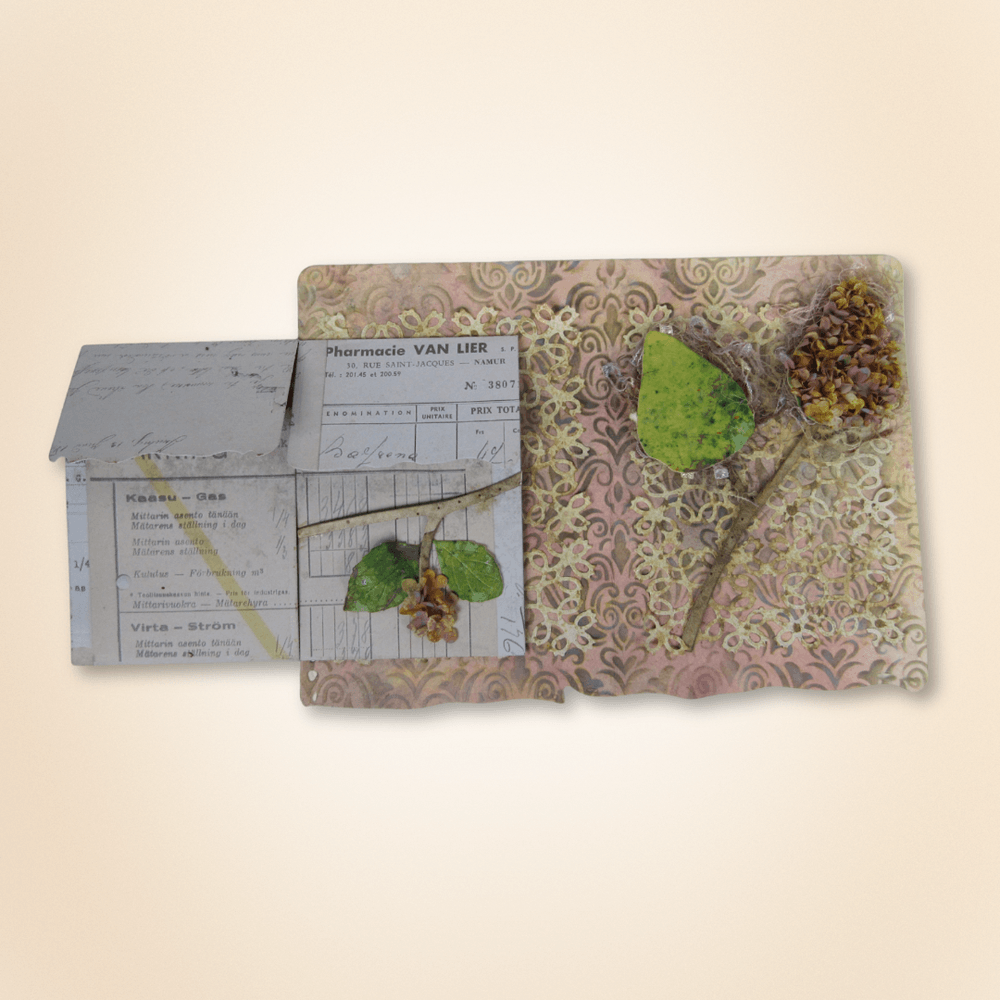
Step 5: Start gluing down your ephemera. In this image, I added a butterfly and a red stamp from my stash. Pieces I hadn’t originally chosen, but later decided my page needed. I also decided I wanted to add a few stamps and stencils. It is okay to add them after you have started assembling your page.
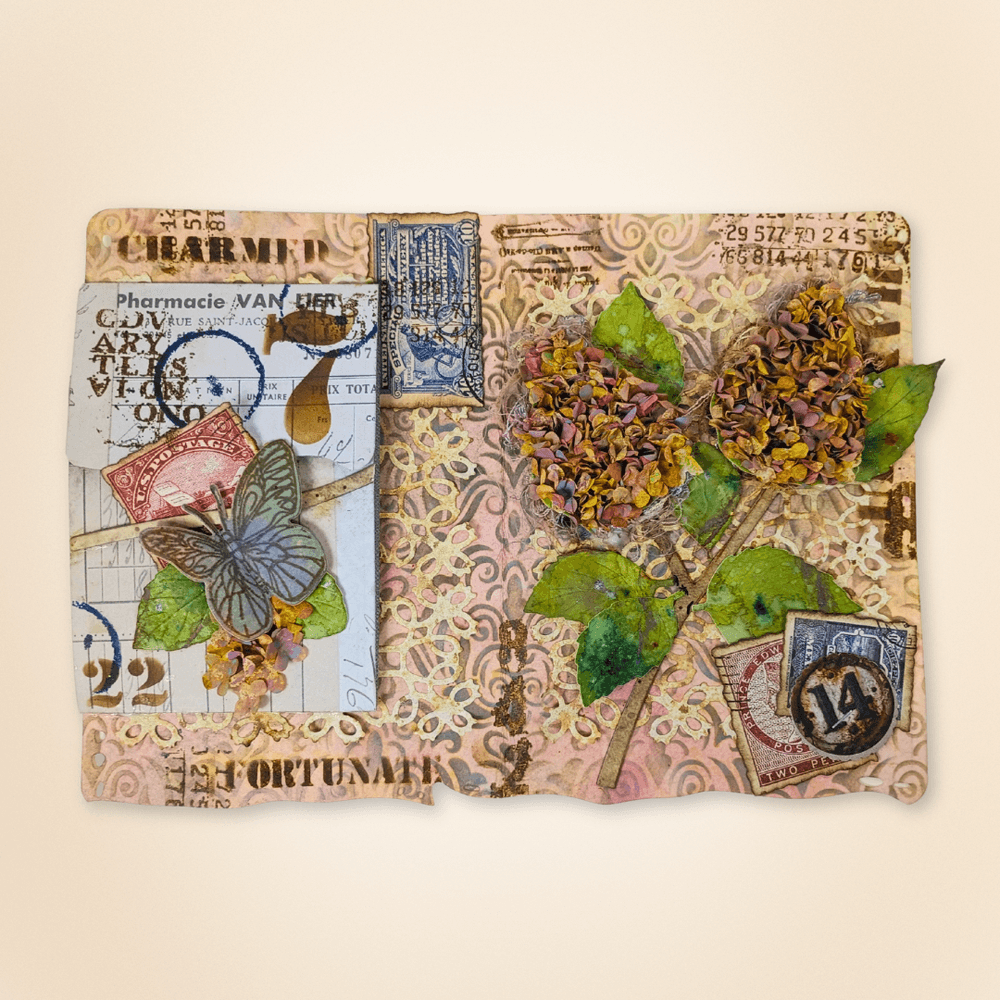
Step 6: I used Devid Roodenburg’s “Off the Edge Pocket” for my mixed media art journal. I think it’s important to always add tuck spots and places to journal secret messages or write about a fun event, etc. There are so many ways you can use the Off the Edge pocket. I chose to glue it to the page and have flaps that unfold, revealing a tuck spot and journal area.
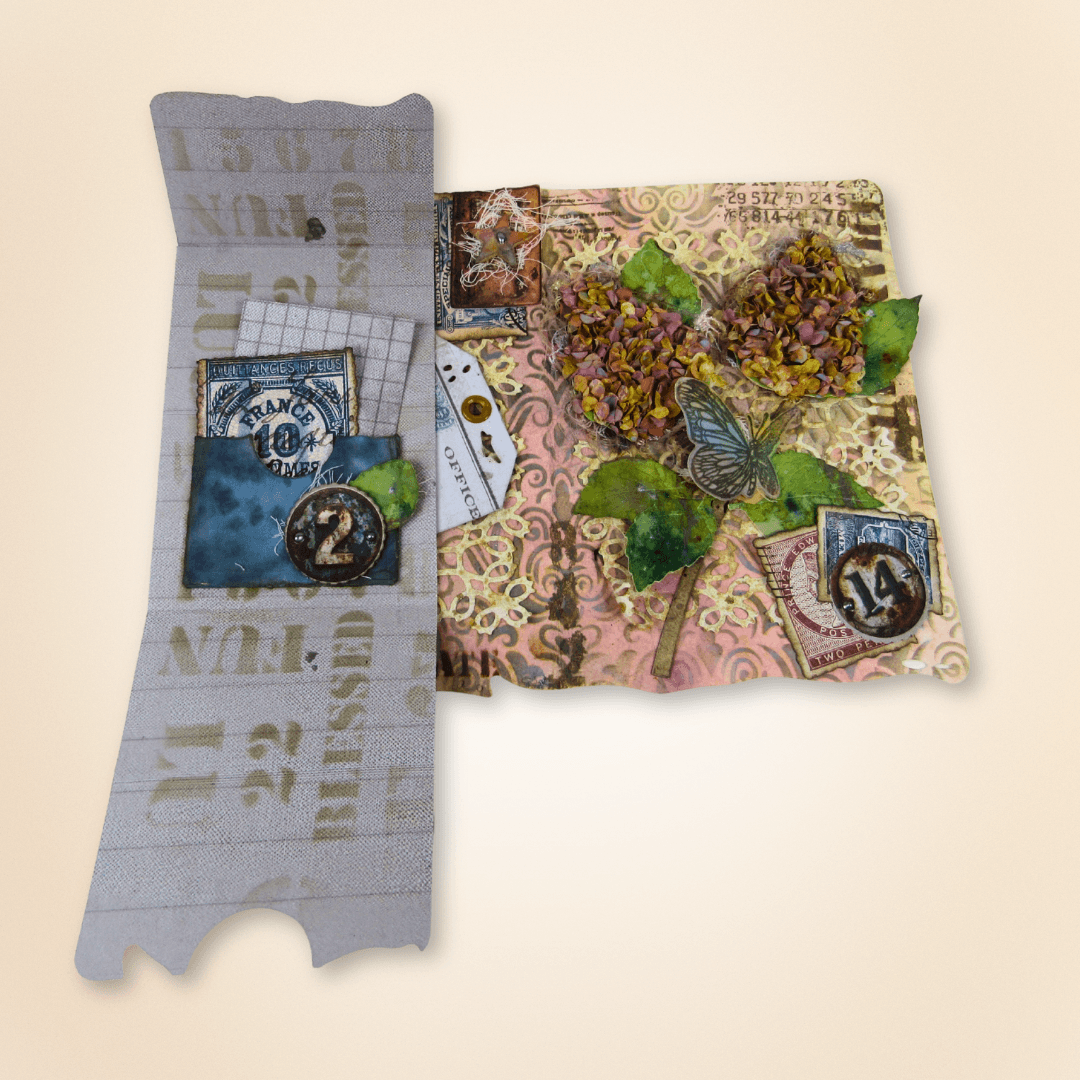
Always remember to have fun with your mixed media art journal page. It’s okay to be inspired by someone else’s work, but you will love your work more if you make it your own. Some people like just a few layers while others love a lot of layers. Don’t forget even the smallest detail like a mark or a liquid pearl is a layer. So, have fun and keep making! Be Well - J
Make sure you share your projects with us in our Facebook Group HERE. We love to see what you create!
Never miss a tutorial and sign up for our emails today HERE.
Elizabeth Craft Designs Products Used:
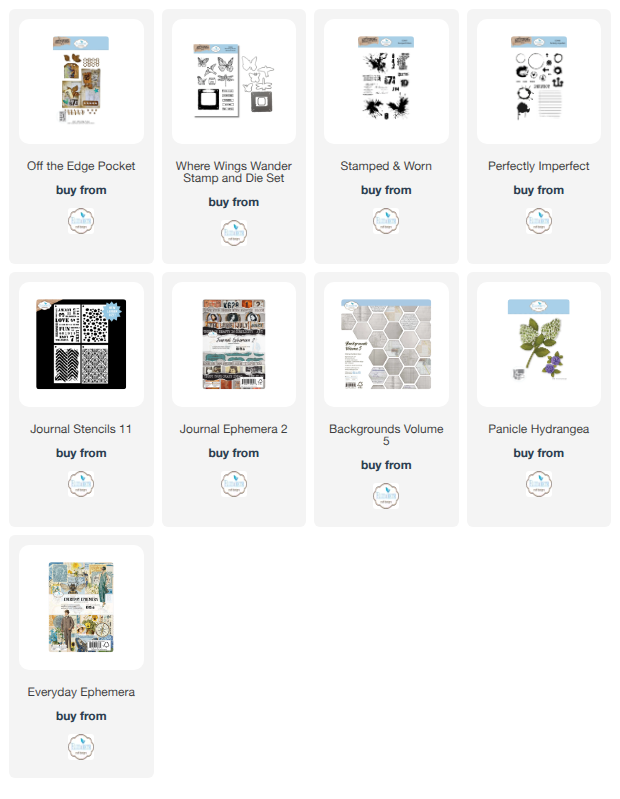
Elizabeth Craft Designs Products Used:
Off the Edge Pocket (2367)
Where Wings Wander Stamp and Die Set (CSD456)
Stamped and Worn (CS457)
Perfectly Imperfect (CS458)
Journal Stencils 11 (S061)
Journal Ephemera 2 (PS04)
Backgrounds Volume 5 (C044)
Panicle Hydrangea (2348)
Everyday Ephemera (PS02)
