
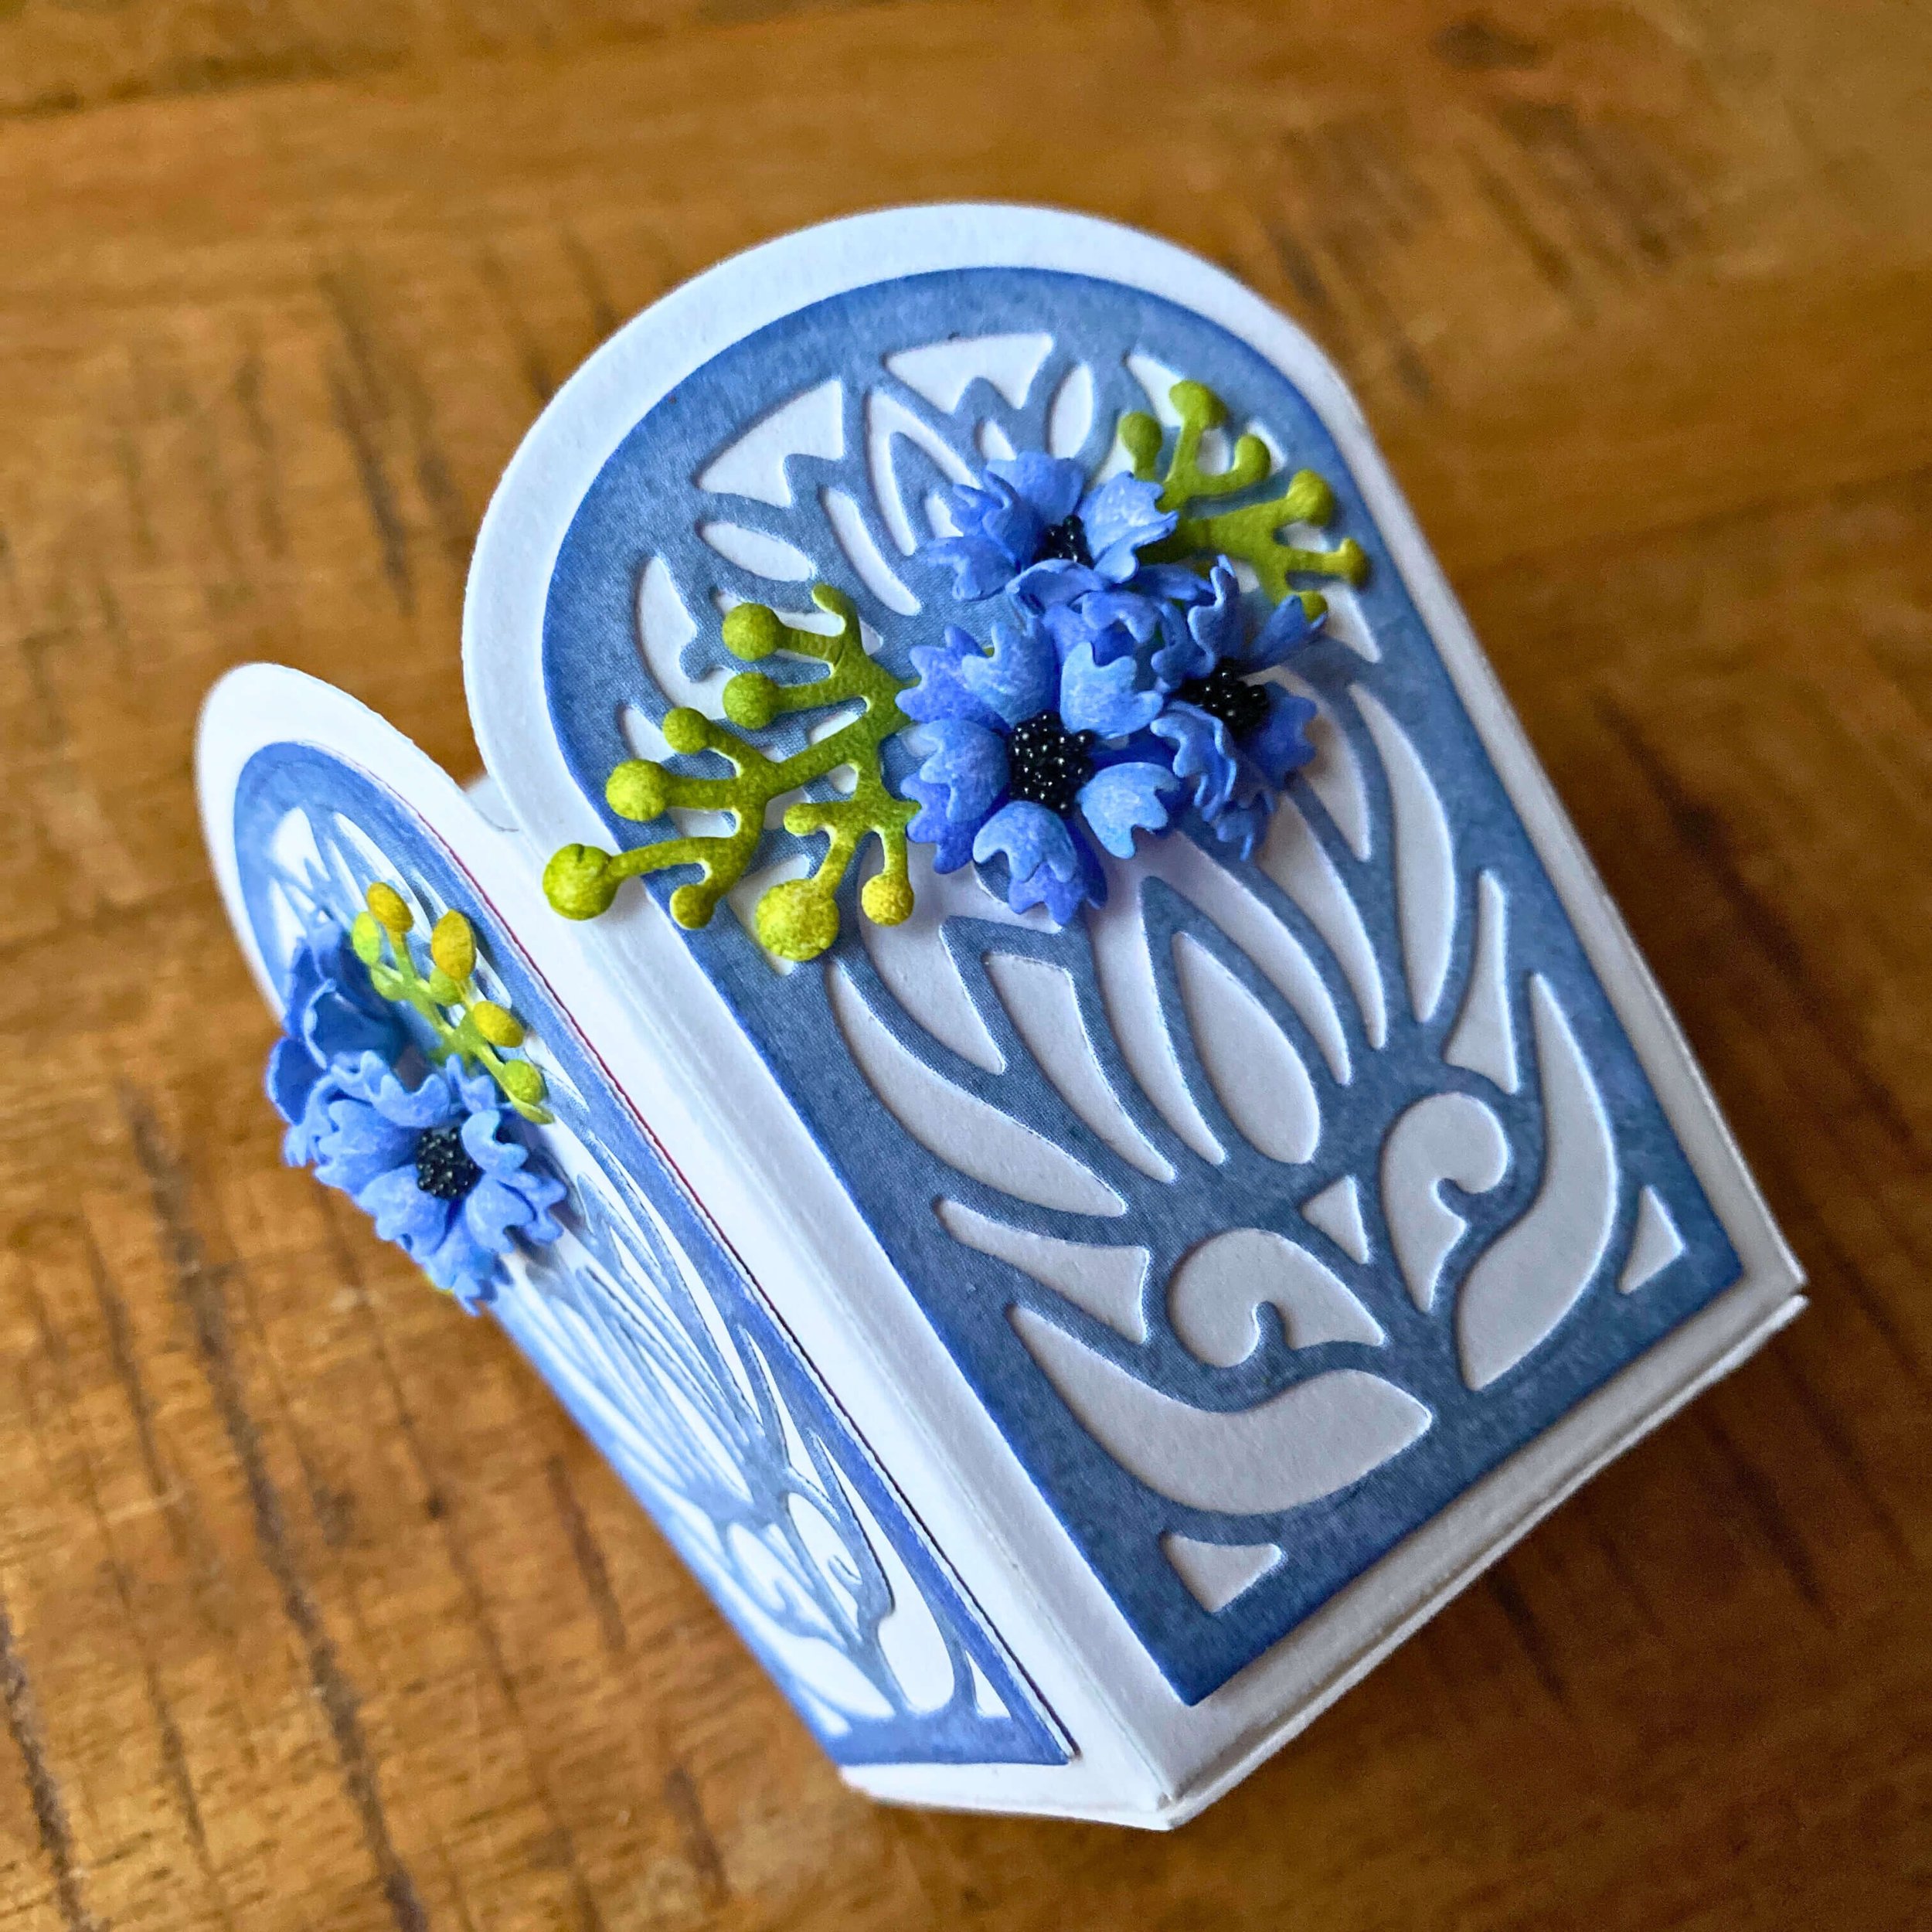
Create a Decorative Pen Pot
Looking for the perfect way to create storage in your craft space that’s both decorative and beautiful? Are you a crafter that loves to make the most our of your dies? Join Susan as she takes you step by step so you can create your own elegant container to hold your pens or tools. A fun versatile way to use the dies from the Decorative Dimensional Basket!

Hello, and welcome to this happy place. Today, we are making a container for tools or pens with the newest Paper Flowers release, “Spring Awakening” created by Angelica Turner.
Cutting list for the container:
Soft Finish 250g cardstock
4x basket sides
4x Basket side under layer
4.5 cm x 4.5cm Square for base
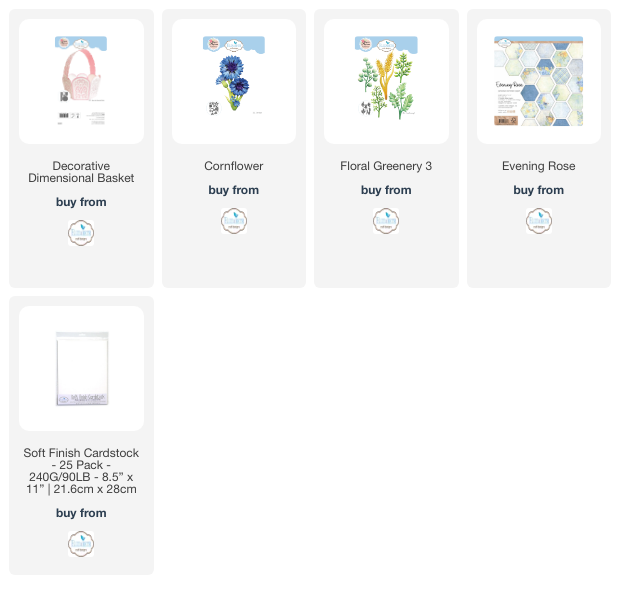
CO23 Evening Rose Patterned Cardstock paper collection
4x Blue lace layer
Cutting list for the flowers and leaves:
Soft Finish 250g cardstock
2 x smallest size flower petals for each flower, a total of 24
2 x floral fillers
Step 1:
Create your leaves and flowers using the Cornflower and Floral Greenery 3 dies. Die cut two layers for each flower and colour in blue ink. Shape each layer and adhere so the petals offset with each other. Create a floral centre using black mini beads.
Die cut the leaves in white card and shade using two green colours of ink. Shape your leaves and trim so you get two leaf clusters for each panel. The four lower leaf clusters are used, the rest put aside for another project. Each panel needs two leaf clusters and three complete flowers.


Step 2:
Next, taking the 4 basket sides, fold along each score line and adhere the sides together.

Step 3:
Now take the lace layers and ink the edges with blue ink. Adhere these layers to the plain layers then adhere these to the basket sides, as seen in the photo below.


Step 4:
Let’s decorate the panels! Take your leaf clusters and flowers, adhere these to the panels as seen in the photo below. to do this, first adhere the leaves and then the three flowers. Now is the time to apply glitter to the leaf tips if this is something you would like to do.

Step 5:
Lastly, to finish the container… Adhere the remaining tab to the side panel, bringing them all together into a square shape. Adhere the square base to the container bottom and your project is complete! Now you just need to decide what to store in it!
BONUS IDEA: To make this into a small basket perfect for wedding favours, just cut a strip of card and add a handle!
I hope you like this project and have fun creating your own!
Other products used Black mini beads ,Flower shaping tools and foam shaping mat, Paper cutting tool, Die cutting machine ,Fussy cutting scissors, Adhesive with a fine point, Ruler, Ink– Blue and greens, Inking tool Stickles or glitter.