
Create a Beautiful Spring Card
Welcome the beauty of spring with a handmade card that’s perfect for the season! In this step-by-step tutorial, Dianne shows you how to create a stunning floral card using the Spring Awakening Collection. Whether you’re crafting for Easter, sending a thoughtful note, or simply celebrating the fresh blooms of spring, this project is a perfect way to add a touch of elegance and creativity to your card-making. Follow along and bring your own charming spring-inspired design to life!

Hello everyone!
I’m so pleased to be on Angelica Turner’s design team for a second year, and I’m excited to share this card with you, which is made using the new fantastic floral collection “Spring Awakening.” Follow these easy steps, and you can achieve a beautiful card. I hope you will join me and create one of your own!
Step 1:
Make the Card base
Out of white cardstock, cut a 10 ½ “ X 7 3/8” piece of card and fold it at 5 ¼” on the longest side.
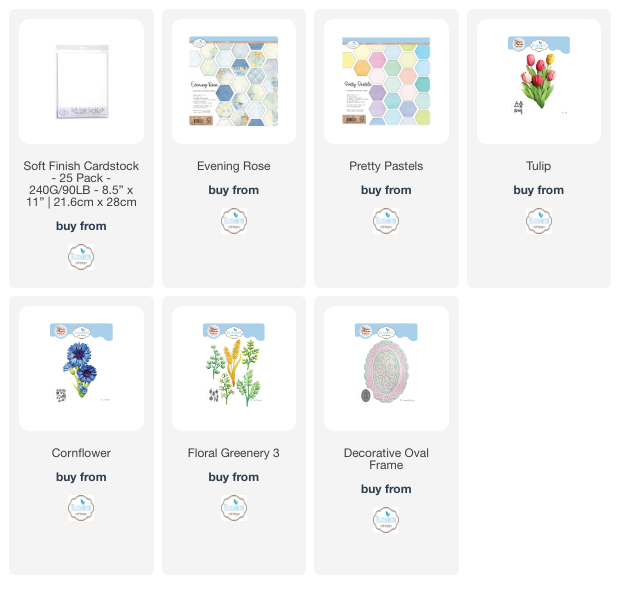
Cut a 5 1/8“ X 7 1/4” piece of blue/grey cardstock from the Evening Rose paper pack.
Ink the edges of the blue piece of cardstock with Distress Oxides.
Adhere the blue/grey card panel on the white card base with double-sided adhesive tape.

Step 2:
Next, create an oval frame
Using the Die set #2219 Decorative Oval Frame, cut the base of the frame into some orange patterned cardstock from the Pretty Pastel paper pack.
Cut the decorative oval using white cardstock.
Cut the small oval using a patterned paper of your choice in the Evening Rose paper pack.
Ink the edges of the orange patterned cardstock and the Evening Rose cardstock.
Using liquid glue, adhere the white frame to the base frame and adhere the small oval on the white frame.
Adhere the whole thing onto the card base also with liquid glue or double-sided adhesive tape.

Step 3:
Now, let’s create the foliage
Die cut your greenery from the #2217 Floral Greenery 3 die set. You will need 4 branches. See the image below for the ones chosen for this card.
Color the branches with ink markers.
Shape the branches with a stylus to give dimension.

Step 4:
Next let’s create the Cornflowers.
Using the die set #2216 Cornflowers 3, die cut the biggest petals once and the 3 smaller sizes 3 times each in White Soft Finish Cardstock.
Color the petals in yellow and orange tones of Distress Oxides with a blending brush.
Using a stylus ball, shape the flowers to give them dimension.
Using a very small amount of liquid glue, adhere the petals on top of each other to make three flowers.
Top Tip- Using a lot of glue will weigh down the cardstock when drying, resulting in less dimensional flowers.
Pierce a hole in the middle of each flower and thread some stamens through the middle of them.

Step 5:
Small flowers
Using the Tulip #2215 die set, die cut 3 sets of the smallest petals.
Using ink markers, color the petals.
With a stylus, shape the petals to give them dimension.
Glue the petals to the card to make small flowers using a small amount of glue.
In the center of each small flower, glue a small bead.

Step 6:
Once all your flowers and foliage are made, arrange and glue them around the left side of the oval frame to complete the card.
Other products used -Double-sided adhesive tape, Different colors of oxides and markers, Stylus ball pen, Stamen, Small beads, Liquid glue