Collage Tuck Spot
Hello everyone! Let's make an easy peasy Collage Tuck Spot using Devid's new Art Journal 'Remember Moments' collection. This also may be altered by using any leftovers that you may have in your creative space. Really anything goes!
Now let's jump in and create!
1. Cut tag out of your choice of page of Devid's Coffee Dyed Paper pack.
2. Die cut filmstrip and coin from white Soft Finish Cardstock from Elizabeth Craft Designs. This cardstock will withstand any liquids, inks or mediums that you may put on it. The best!
3. Using the small two wavy circles, put them inside each other so as to cut a thin circle from the black cardstock.
4. Now using a side from a cardboard box, pull back the paper to reveal the ridges. At first, I chose a random shape then trimmed and shaped it as I went. Ink this with oxides, Ground Espresso, and Scorched Timber.
5. Using your favorite stamp from the Passport collection, stamp a background using the Versafine Clair Nocturne (Black) ink. Then ink the edges, if you choose, with the oxides.
6. For a super fun element stamp and die cut an accent piece(s) from Around the World CS361 set using the black Versafine ink. While at it, also stamp your sentiment from the Travel Phrases CS365.
7. I just love to mix and match different typography for titles. It just gives it a quirky fun look. If you like to stamp with Versafine black on the Soft Finish Cardstock. Have the black embossing powder ready immediately after you stamp with the ink to get a good coverage. Heat dry with your dryer to set it.
8. On that super fun element you chose to accent the page, color it in with any colored pencils, or a wet thin brush or whatever you may have on hand. Then emboss with your favorite glaze or clear embossing powder to give it a shine. Do the same to the wavy circle. I used black embossing powder but you really just need that shine to stand out.
9. Now I have been so eager to try the new Tim Holtz Distress Sprintz sprays in Fossilized Amber, Peacock Feathers, and Uncharted Mariner. If you don't have these you can use the Distress Mica Stain sprays if you have them or really anything that you may have on hand. Just something to color and give it a little sparkle or shimmer. Quick note ....Please shake the bottle extremely well if it has mica in it. You will be able to see at the bottom of the bottle if there is any mica left. Spray, dry, and then spray again and dry. Keep going back and forth until you achieve the look that you want. I, then, only embossed the coin with my Antique Linen Embossing Glaze to give it shine even more.
10. Now that we have all the pieces looking beautiful, let's assemble and put them together. And don't forget a small 2x2" picture or a 2x2" accent element to be your focal point.
11. First layer the stamped tag colored film strip and coin. You may either glue or even staple it all together. I chose to cut a bottom portion of the film strip to accentuate the corrugated cardboard. I then glued it in place. Here is when I also glued the embossed black wavy circle onto the picture (or accent piece).
12. Place corrugated cardboard on top of the tag and staple together. I then placed the picture on top of the cardboard, glued and added the rest of the small titles and numbers.
13. There you have it! A collaged tuck spot. Your final step is to glue only one side to the edge of the page to have room to tuck your favorite memento behind it.
These are so easy to make and I usually make a few to keep on hand, especially with leftovers of a project. Easy Peasy right?! Hope you had fun with me and please tag me to see your beautiful creations!
Take care now!♥️
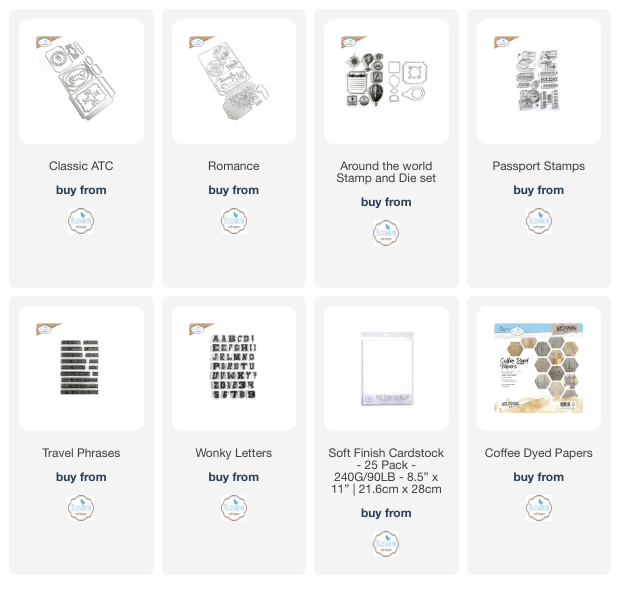
Elizabeth Craft Designs Products Used:
Other Products Used:
Ground Espresso Oxide
Scorched Timber Oxide
VersaFine Clair Nocturne (black)
Versafine Embossing ink
Black Embossing Powder
Tim Holtz Distress Embossing Glaze in Antique Linen
2x2" picture


