Calendar in a Frame
Hello friends!
This is Monika. It’s the 25th day of Craftsmas, so I’m here with the very simple decorated calendar in a frame, that you can also create. I think it will be a pleasure to look at this flowery calendar for all over the year. At the end of the year, you can replace the calendar with a photo. It could also be a great Christmas gift for someone.
Step 1:
Cut out a piece of green paper from the Autumn Harvest collection to 13,5 x 18,5 cm. Take a photo frame, open it, and remove the inside. Replace it with the green piece of paper. Print the small calendar and cut out all the pages to 9 x 11 cm.
Step 2:
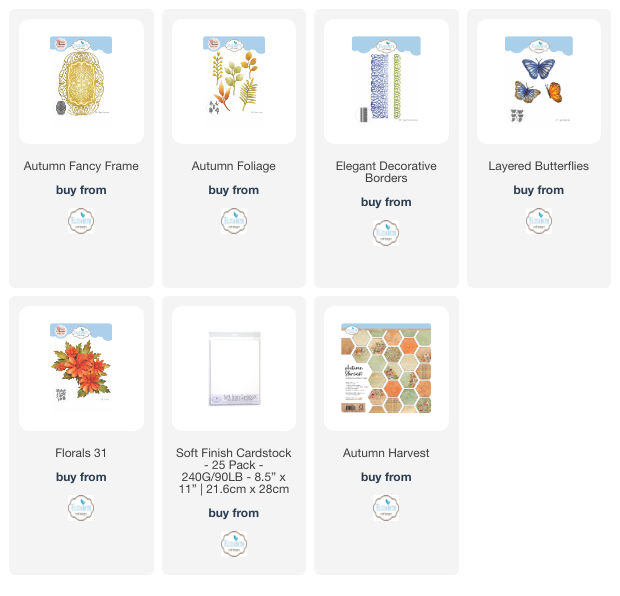
Cut out 2 biggest, 4 smaller, and 7 the smallest flowers from the Florals 31 and the Soft Finish Cardstock. Color all of the flowers with promarkers.
Cut out 8 leaves from the Florals 31 and 3 leaves from the Autumn Foliage, and the green paper from the Autumn Harvest collection. Cut out 3 leaves from the Autumn Foliage and a vellum.
Cut out a big and smaller butterfly from the Layered Butterflies, use the Soft Finish Cardstock for the filigree butterflies and bodies, and the vellum for the solid butterflies. Cut out the solid panel and smallest frame from the Autumn Fancy Frame and the Soft Finish Cardstock. Cut out a smaller border from the Elegant Decorative Borders and the Soft Finish Cardstock.
Step 3:
Place big flowers on the mat, spray them with a little water, and use a Tool to shape every petal. For small flowers, use a shaping tool to bend them in the middle. Let dry.
Step 4:
Using glue, adhere both layers of all big flowers. Add some beads and glitter to the centers of the flowers.
Step 5:
Add some color with the ink to the edges of both filigree butterflies. Adhere all of the layers of butterflies. Adhere both layers of the frame, and add dimensional tape to the bottom to create a panel for flowers.
Use a stapler to staple the pages of the calendar. Cover the staples with the piece of border.
Step 6:
Adhere the calendar to the left side of the frame. Glue the panel to the left side with adhesive foam. Adhere all of the decoration. Start with some sisal, then adhere the leaves, flowers, and butterflies with a hot glue gun.
Step 7:
Apply glue to the centers of all flowers and add there some more beads and glitter. Sponge the butterflies with dries clear adhesive and sprinkle with some glitter. Add some pearls.
This calendar in a frame is quick, easy to make, and can be as decorative as you like. It’s always a pleasure to play with some ECD dies and papers and create a unique piece of art from something ordinary.
We hope you have enjoyed following along with Craftsmas this December, and have a fantastic Crafty Christmas.


