
20th Day Of Craftsmas!
It’s the 20th day of Craftsmas, and today we have design team member Andrea with a tutorial on creating a dashboard for your 2026 planner.
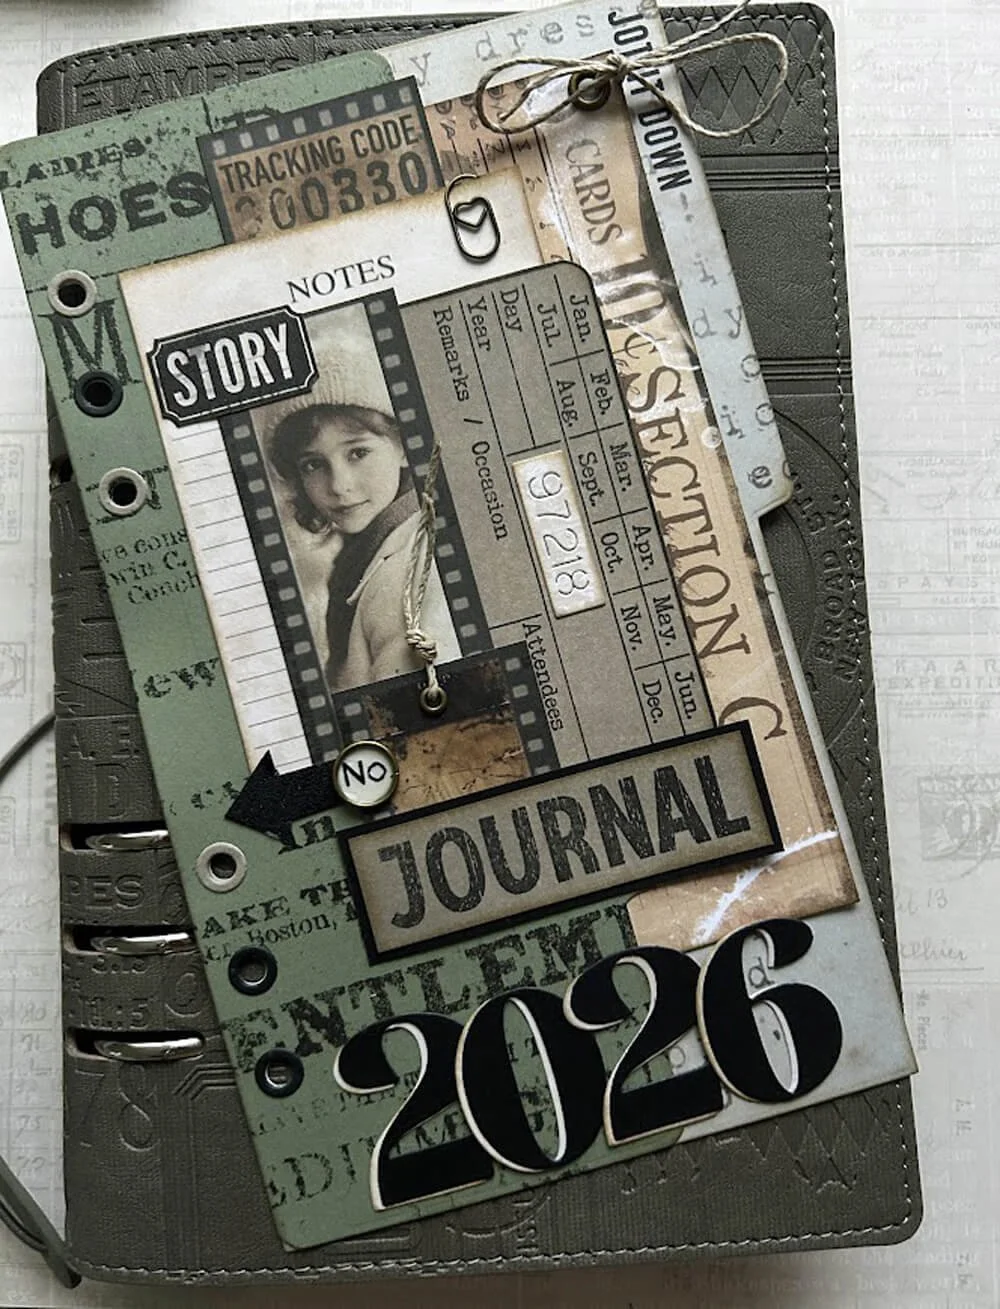
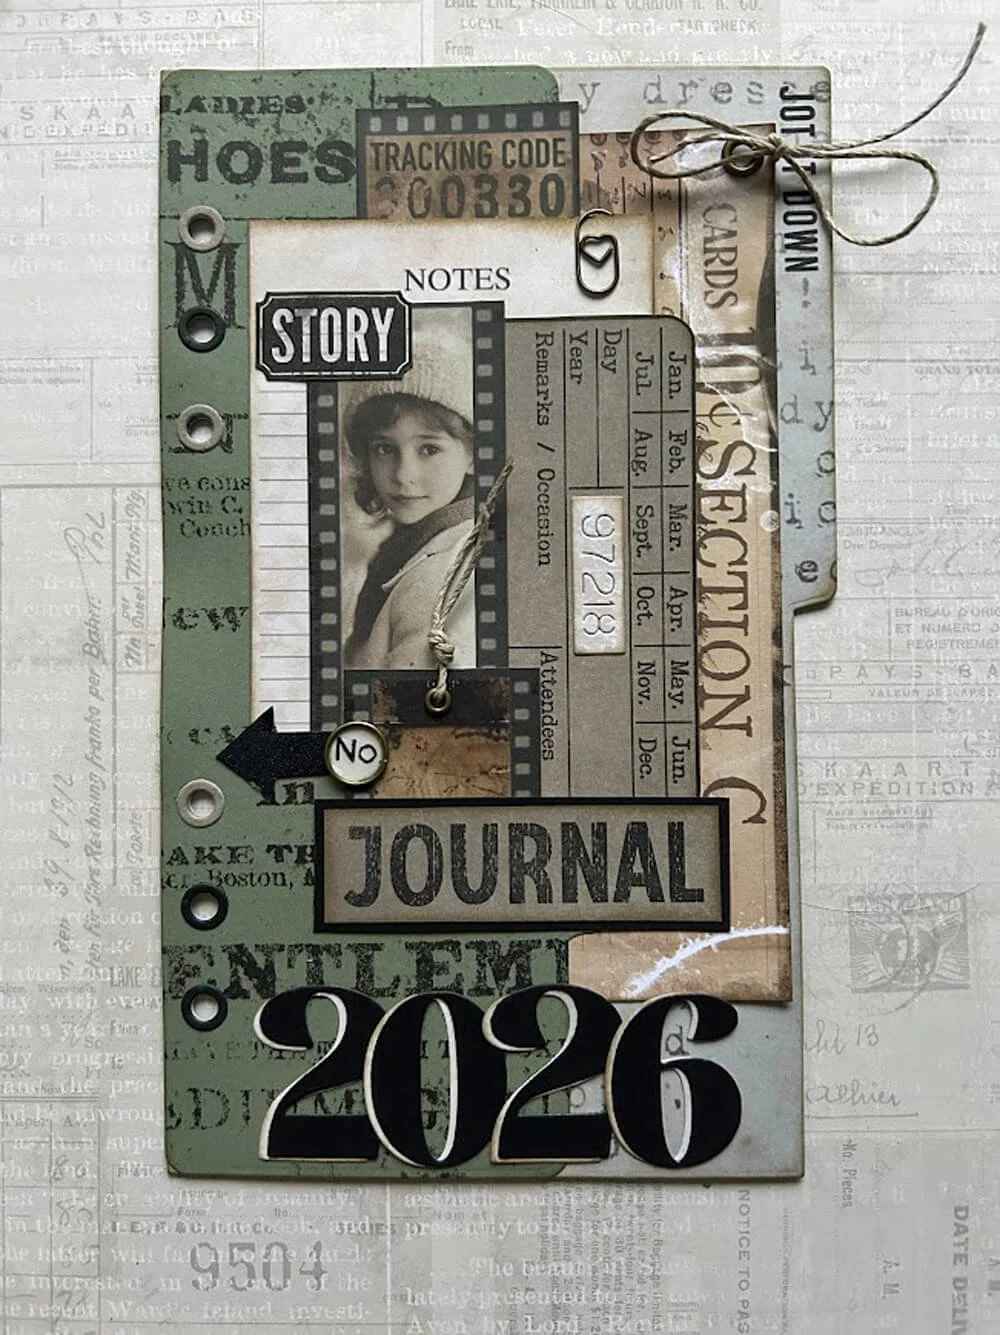
Hi, Andrea here. Today, I’m sharing a simple step-by-step guide to how I made the dashboard page for my 2026 memory planner. This is a quick, crafty project using the Winter Wanderlust paper pack and a few basic tools. I hope it sparks some ideas for your own planner pages.
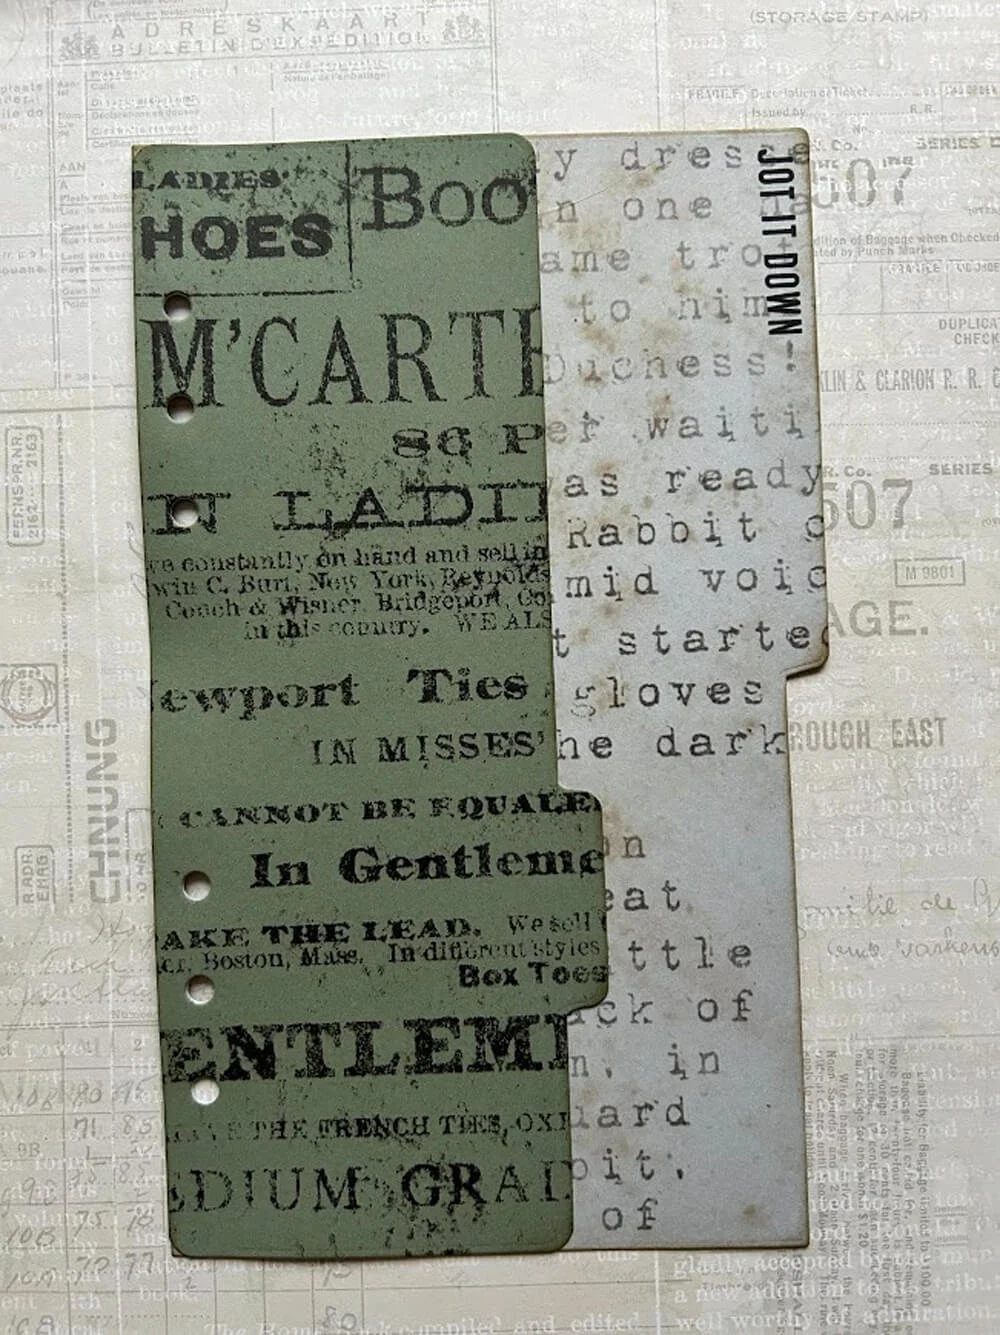
Step 1: Cut your base pages. I used paper from the Winter Wanderlust paper pack, and cut one full-size planner page and one tab page. Adhere the full-size page and the tab page together, but keep the right side of the tab page unglued so it forms a pocket. This gives you a handy spot to tuck notes or tags. Add some interest by stamping on the base page. You can stamp all over the page to break up the pattern on your paper, or stamp a single sentiment. I did a little of both on my dashboard.
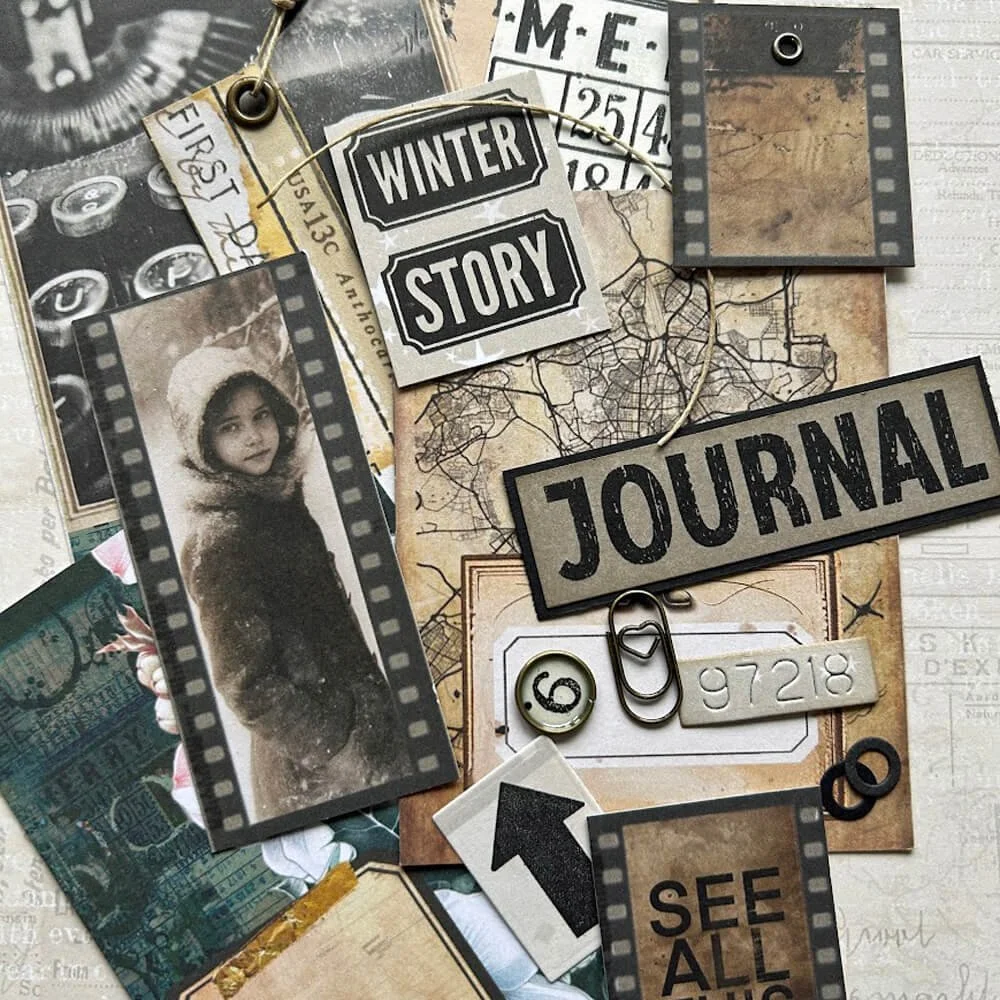
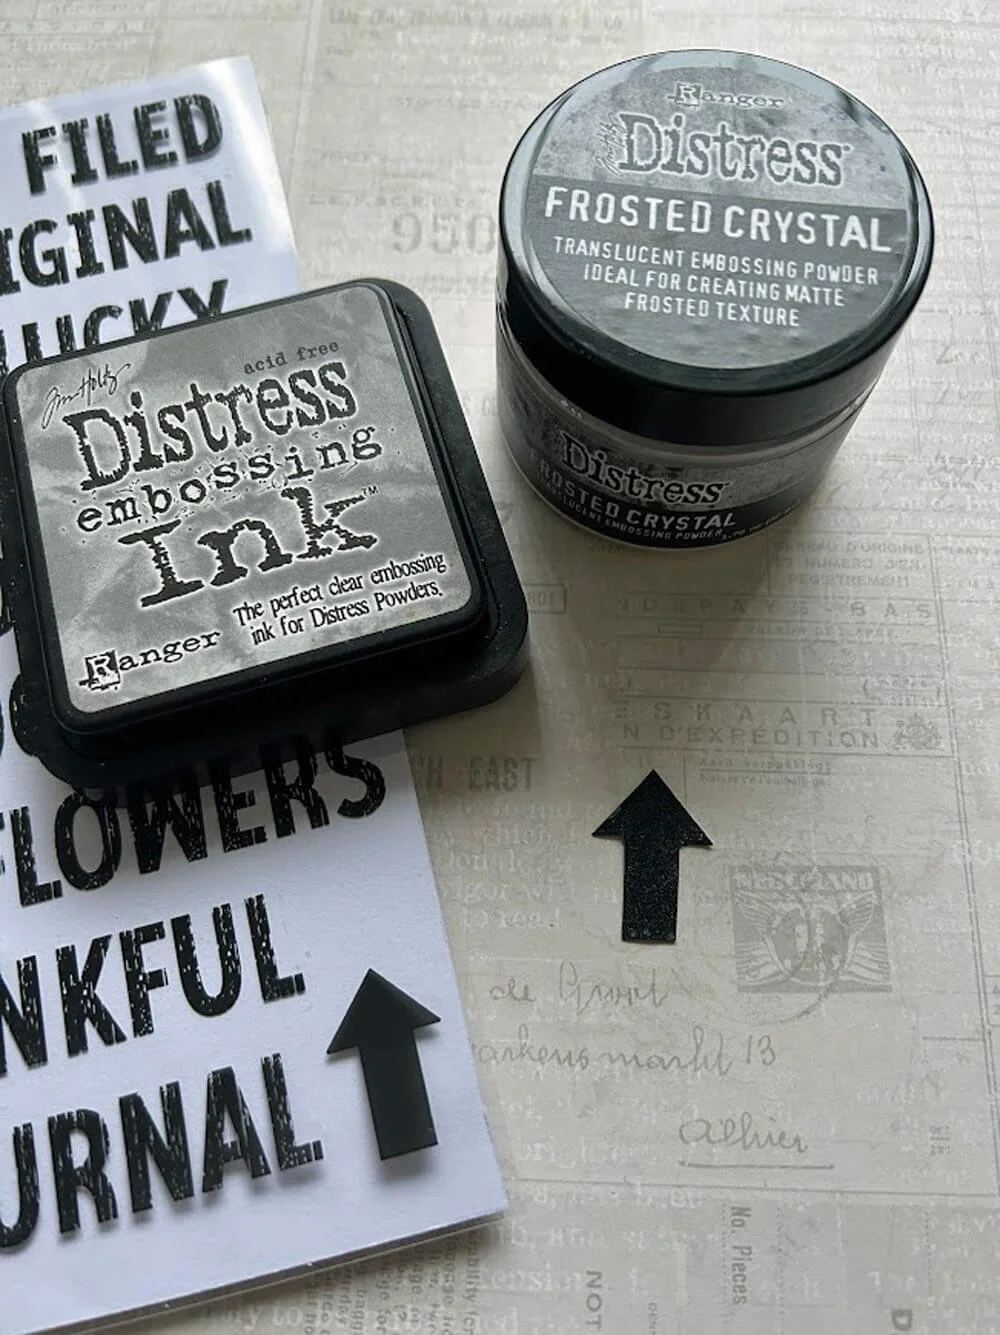
Step Two: Next, cut and stamp elements to decorate your dashboard. I cut a few decorative elements from paper packs and stamped the words “Story”, “Journal”, and an Arrow with black ink before cutting them out.
Step Three: Now's the time to think about adding layers and embossing to your elements. I embossed the arrow with frosted crystal embossing powder and heat-set it for a subtle shimmer and texture. I also mounted the word “Journal” onto black cardstock for contrast and to add weight to the design.
Step Four: Now it’s time to arrange the layout. Arrange all your elements on the page until you’re happy with the composition. (This can take me a while as I can never quite make my mind up!) Play with balance and scale until it feels right. I love using eyelets and string, so I added eyelets for interest, threaded a length of string through them as an accent, and added a tiny paperclip from my stash for another little detail.
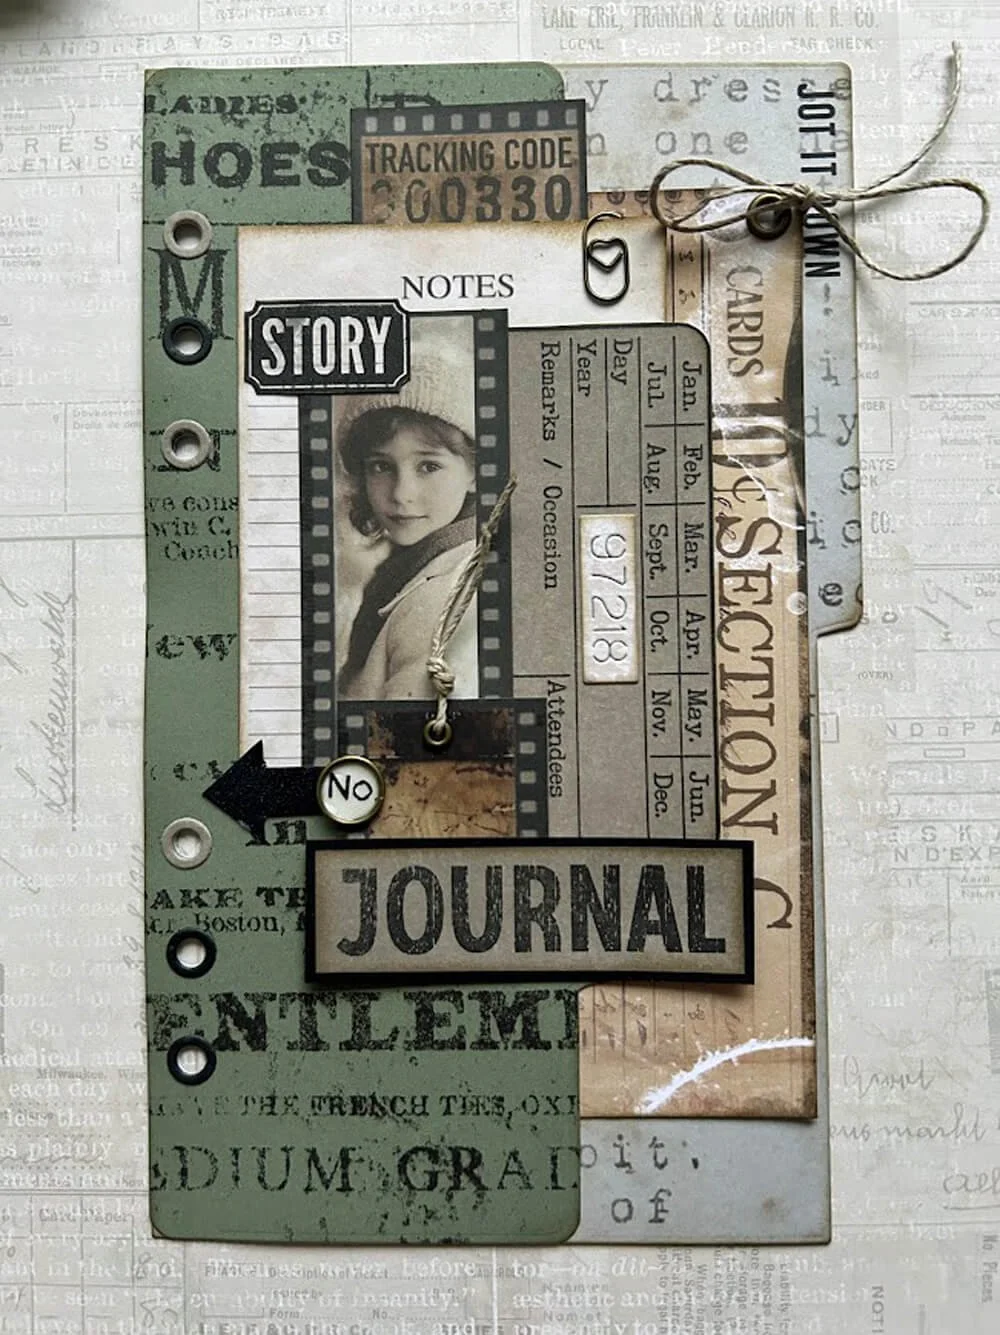
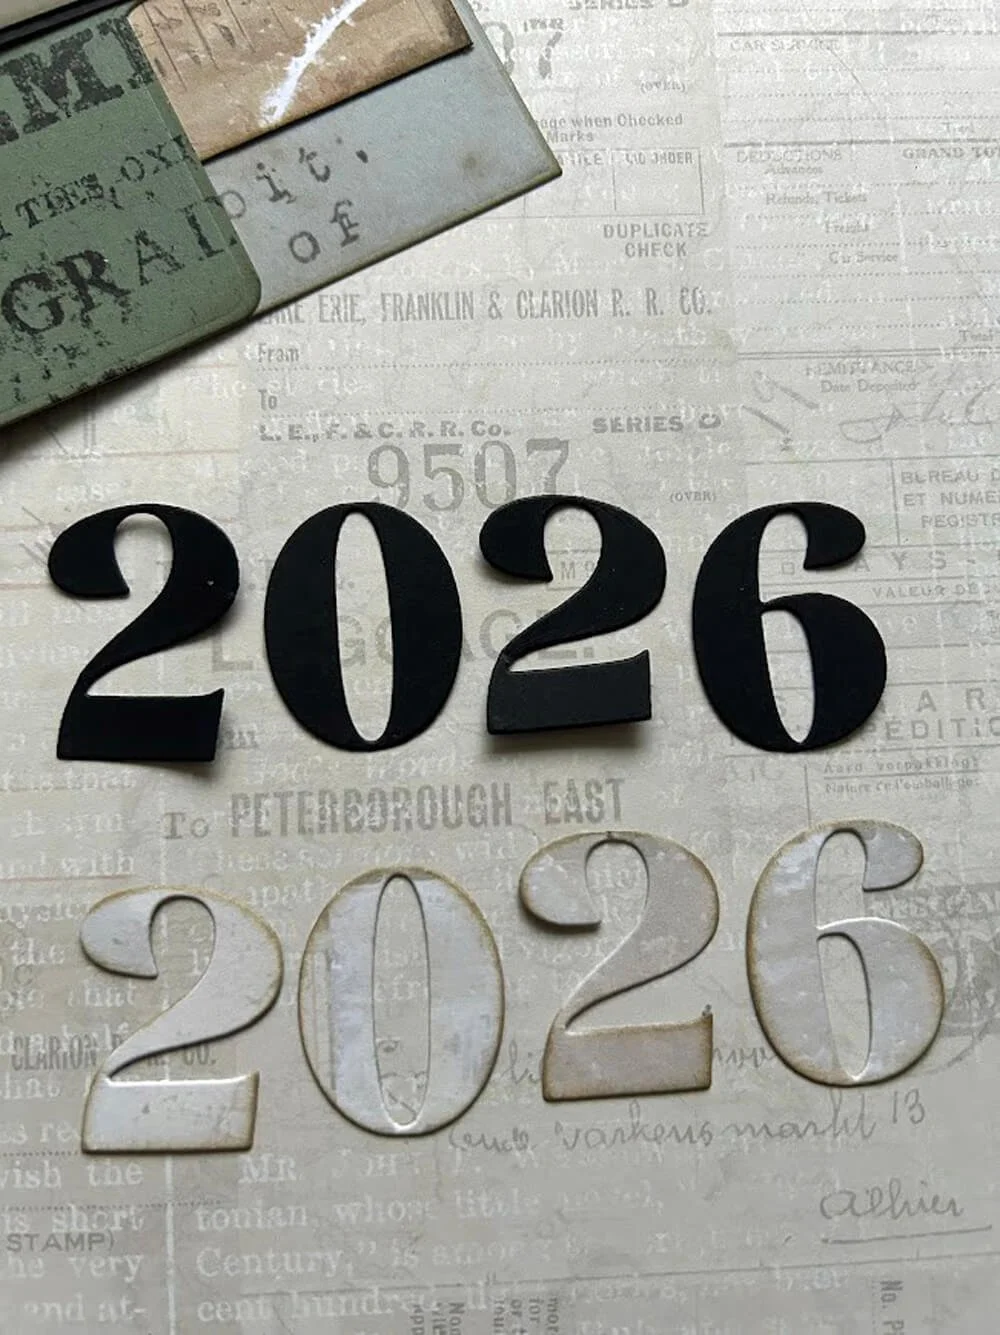
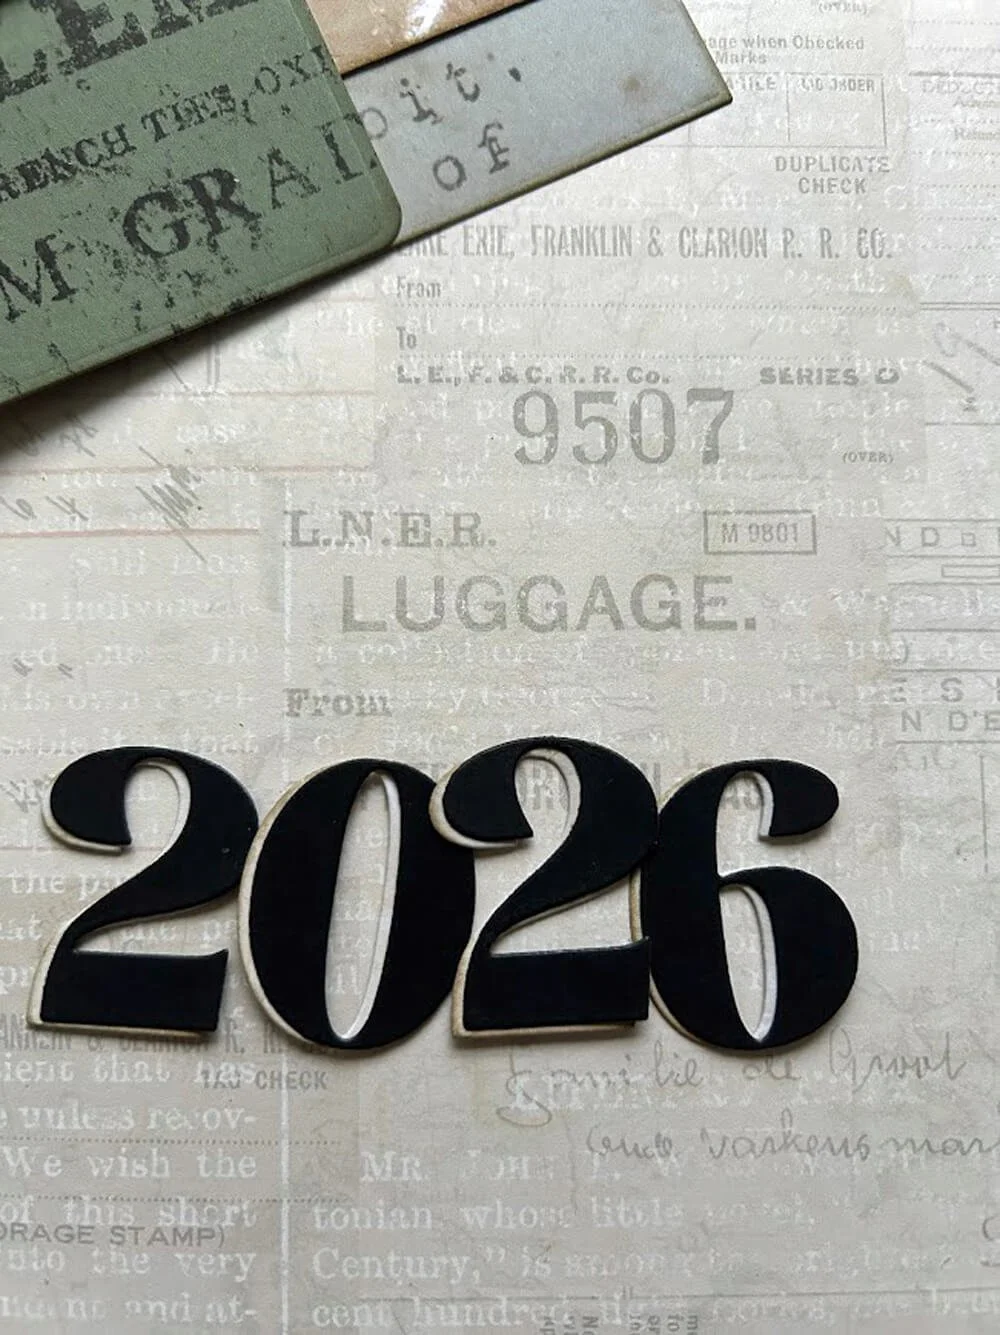
Step Five: Create the numbers for next year. I cut the numbers “2026” from designer paper and also from black cardstock, then glued them together, offset slightly to create a drop shadow. I think this makes the year pop on the page.
Step Six: Finish your page with reinforcers. I always add reinforcers to my dashboard page, since it's flipped back and forth the most. I might not add reinforcers to other pages, depending on the weight of the cardstock used; they can add bulk to your planner, and I always try to get 6 months in one planner.
And that’s it! Your dashboard page is ready and set to document your memories in 2026. Small layers, a few simple techniques, and a couple of stash accents really lift the whole page.
Hope this gives you some inspiration. Happy crafting!
If you are inspired to create your own Festive Flowers, please share them in the group HERE.
Enjoying these festive treats, be sure to check back tomorrow to discover the next surprise in the 25 Days of Craftsmas!
We love to see your projects, make sure to share them in our Facebook Group HERE. We love to see what you create!
Never miss a thing and sign up for our emails today HERE.
Elizabeth Craft Designs Products Used:
