A Bee's Christmas Magic!
Hi everyone, Katie here with todays blog post. I wanted to share the Christmas Card that I created for a fun make-n-take at the 2023 Banff Creative Retreat. It's the start of my Holiday Christmas Cards that I will be showing weekly on my Facebook page. So grab a hot beverage and I hope this brings you some inspiration.
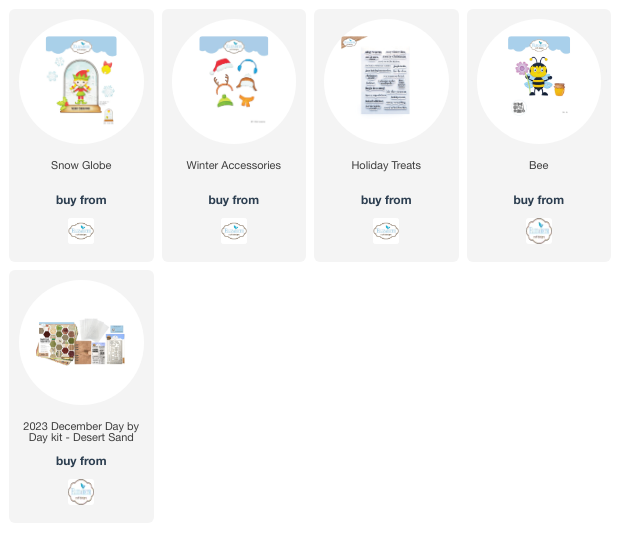
Step 1: Start with cutting out your Bee with black and yellow cardstock, the honey pot is cut from yellow and red, the wings are cut from heavy vellum cardstock. I inked the bee body parts with Vintage Photo Distress Ink and assemble.
Step 2: Cut a Christmas Santa hat from Winter Accessories, ink and assemble. The Candy Cane is from the 2023 December Day by Day.
Step 3 : After your Christmas Bee has been assembled, I added some cheeks and used a white gel pen for the dot.
Step 4: Cut out a card base from white card stock 5 1/2 x 8 1/2 and score at 4 1/4 and fold in half, cut a piece of black card stock for a mat 5 1/4 x 4.". Then add your designer paper of choice.
Step 5: I stamped a sentiment from Holiday Treats CS287 onto a 3x3 white square.
Step 6: Next, assemble your card. Pop-dot your Bee!
Step 7: Last step, I speckled my card with heavy white paint.
I hope you enjoyed my blog post today and you have a wonderful day!
Elizabeth Craft Designs Supplies:


