Sending Luck & Love A2 Card
Hi everyone, it's Tina here. Today's card is using the Planner Stencils 4 and Ladybug. Below are the steps to create your own card.
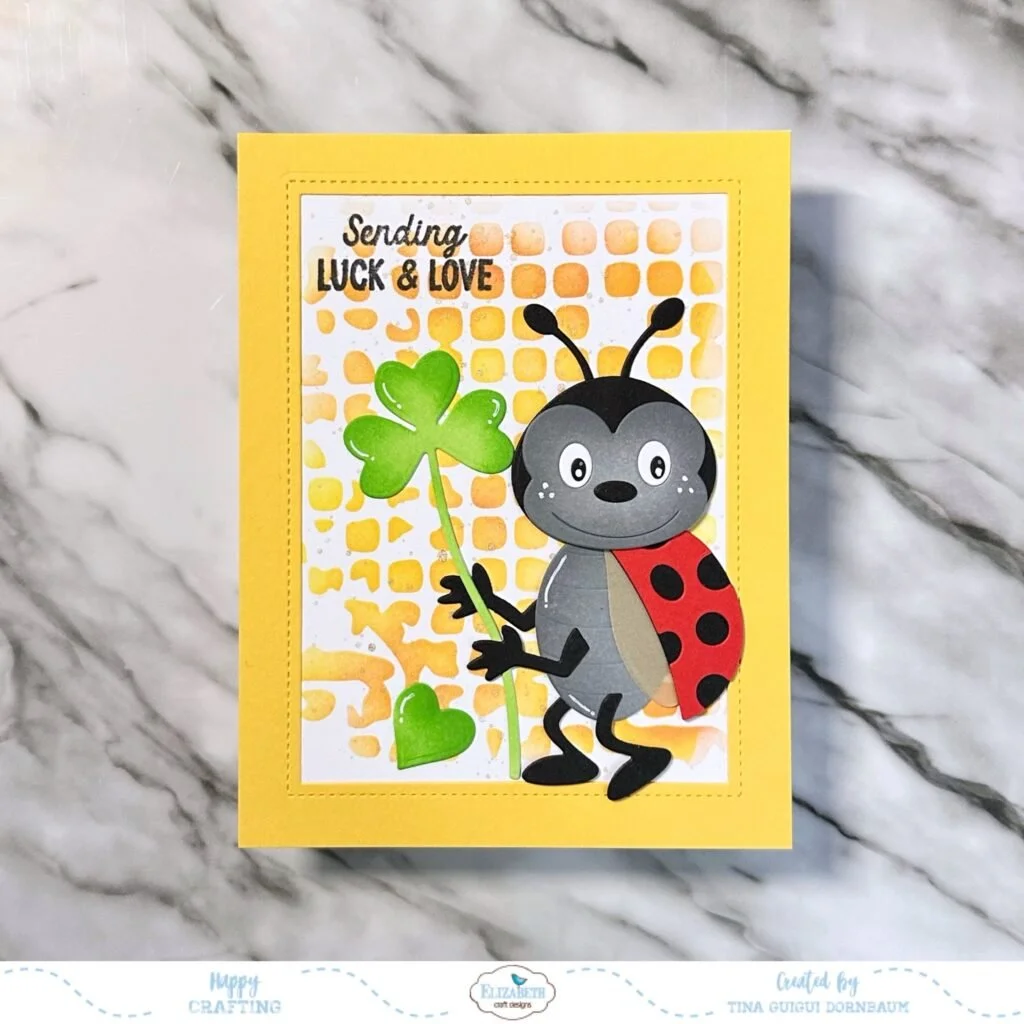
Step 1 - Trim White Soft Finish Cardstock to 4 1/4" x 11", score at 5 1/2" and fold in half for a horizontal top fold card. (A2)
Step 2 - Trim White Soft Finish Cardstock to 4 1/4" x 5 1/2". Apply Planner Stencil 4 on top and using a blender brush apply ink of your choice. Adhere to card front using 3mm Clear Double Sided Adhesive Tape. (Optional - for added interest sprinkle gold metallic paint)
Step 3 - Create a frame using the Fitted Rectangle and Stitched Rectangles. Adhere to card front using 3mm Clear Double Sided Adhesive Tape.
Step 4 - Stamp Bugs And Kisses sentiment using Versafine Onyx Black Ink.
Step 5 - Diecut Ladybug using various colors of Cardstock. Assemble and adhere to card using Kids Choice Glue.

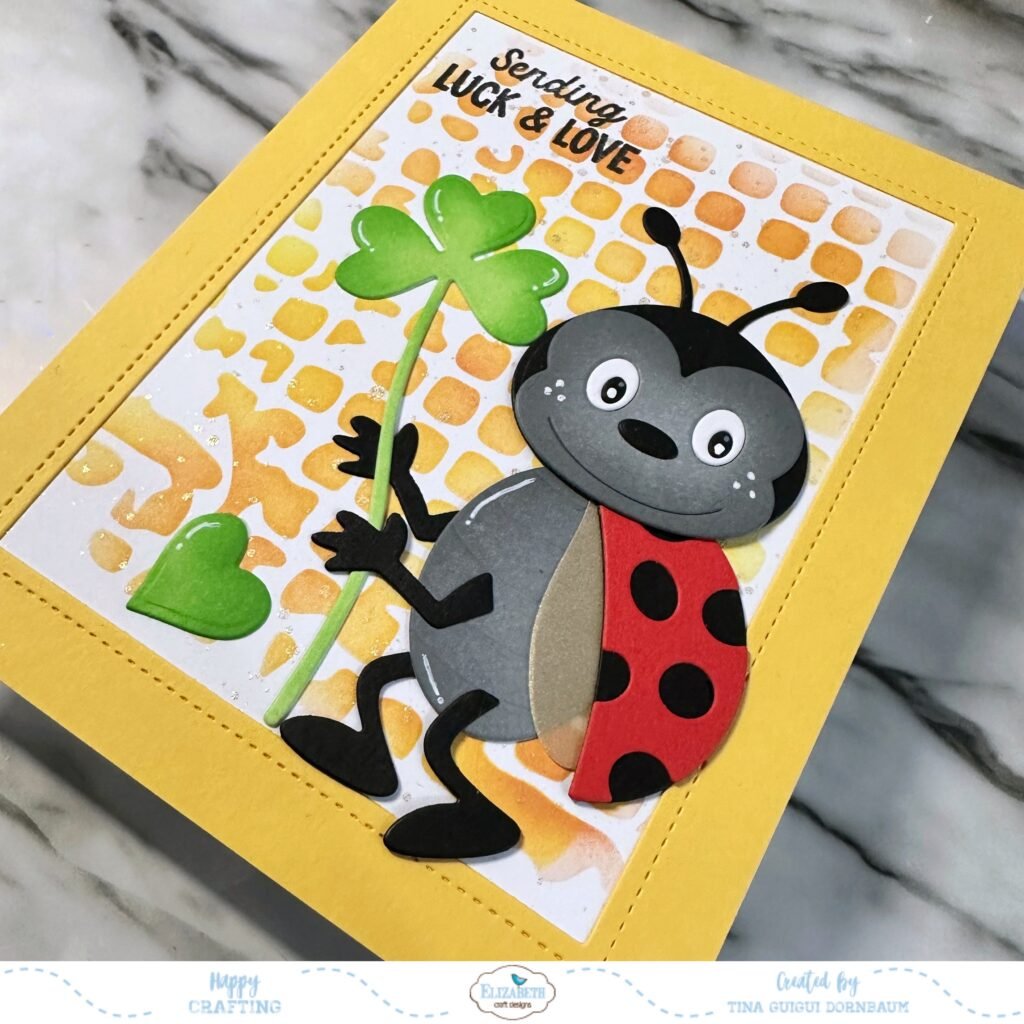
This card can be used for several occasions by changing the sentiment. Below is a link to all the products used. Thank you for stopping by and Happy Crafting!
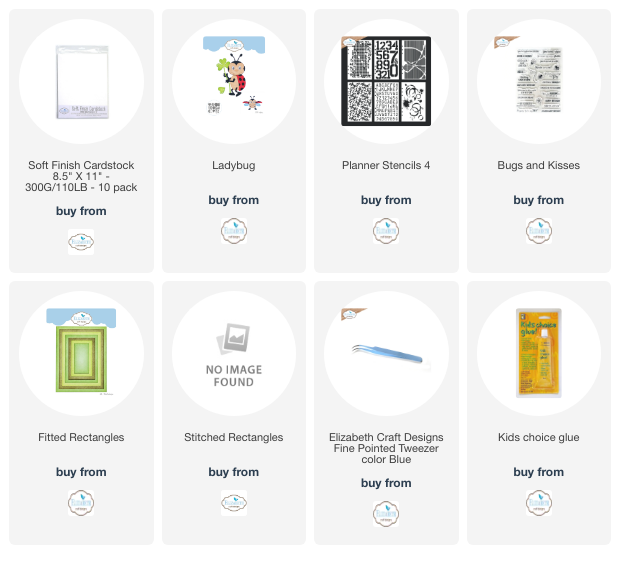
Products Used: