Joy tags for Christmas
Hi all, Sylvia again here for you on the blog. Time flies, don't you think? Before you know it, it's Christmas again and this year I decided to start my Christmas preparations early (also because I have a vacation coming up in November, so less time to prepare). For today I would like to show you how I created some Christmas gift tags, using items from both Joset's and Annette's collections, because they combine great! Let's get started shall we?
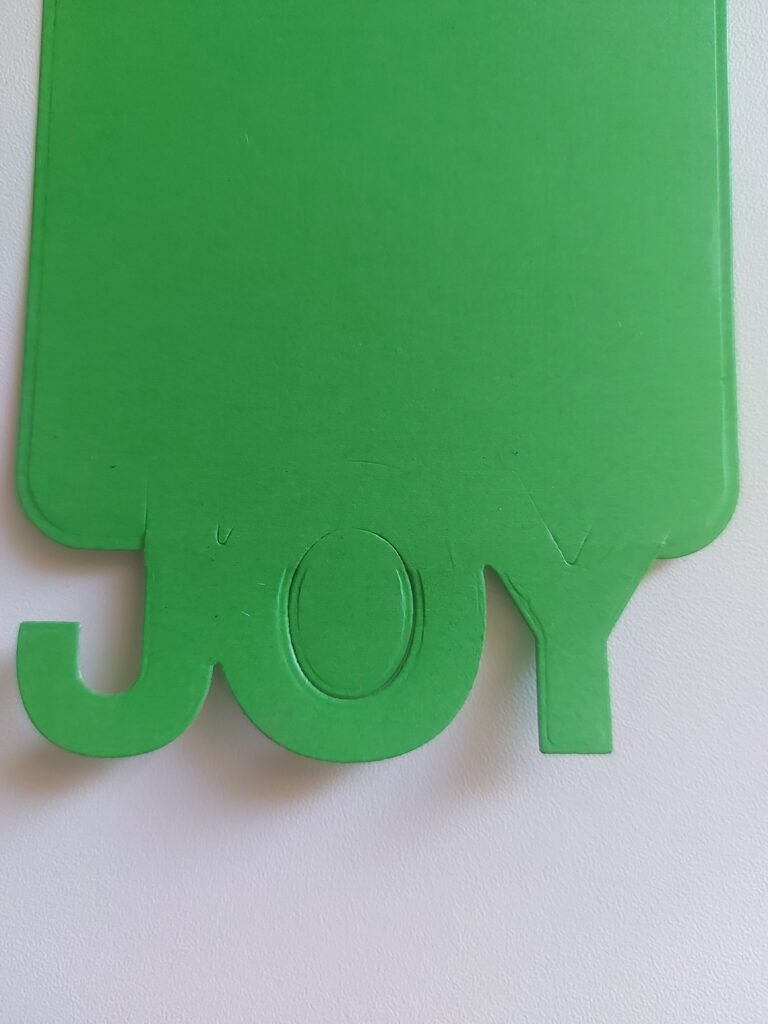
step 1: find a piece of coloured cardstock slightly wider than the word Joy. Tape the word die (including the inner circle on the O ) on the bottom edge of your paper and run it through your machine, but NOT all the way!! Make sure the top of the letters are not totally cut and are still attached to the paper. I like to run it through about 75% so that you can just barely see the "v" shape in the centre of the letter Y.
step 2: pick the 3rd largest tag from the nested tags set, slide the bottom part under the letters (so they won't be cut off) and run it through your machine again. You might wanna handcut a bit in between the letters. Now you have a tag with the word JOY at the bottom edge.
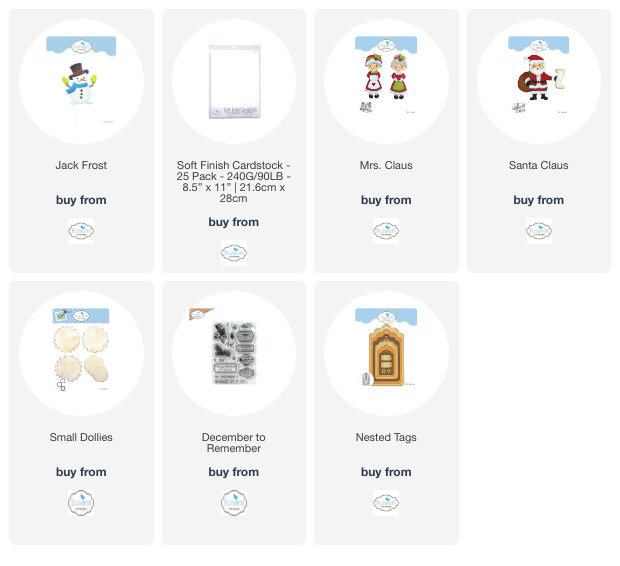
step 3: decorate the tag to your liking with stamps and/or dies. As an example, I made the green tag with Mr. and Mrs. Claus and the blue one with Jack Frost. Finish the tag off with a nice piece of ribbon or twine.
If you have any questions, please don't hesitate to ask, I'd be happy to help you out. Have fun preparing for Christmas!
Happy crafting!
Sylvia
Soon to arrive:
2082 layered labels
2081 joy & merry


