3D christmas ornament
Hi all! Here is Sylvia again for you on the blog. I used to postpone making my Christmas cards as long as possible, which causes me to rush making them until the last moment. This year I decided to start early, as the end of the year is always hectic. So today I want to show you how I made this fun and easy 3D ornament, using only 2 different sets by Joset. And I have a little bonus card as well, made with the leftovers from the ornament. So let's get started!
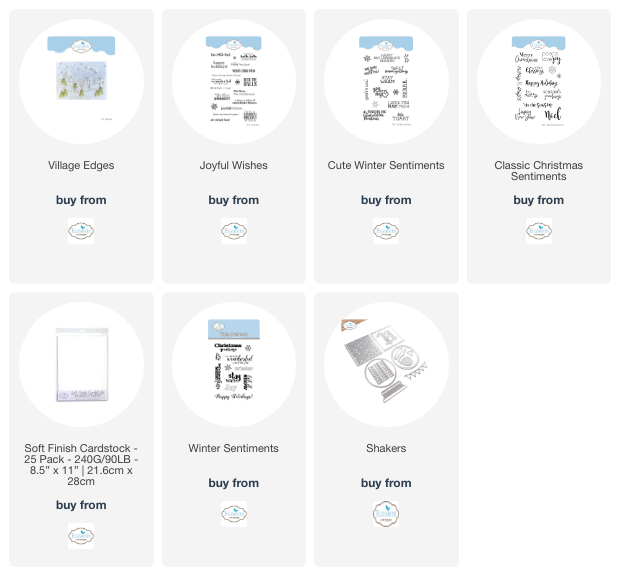
Step 1: using soft finish cardstock, diecut both rows of houses from set 1691 village edges, as well as the trees and the fence. Keep the little dropouts from the windows, you are going to need those! Using set 2065 shakers, diecut the solid circle in black, and (at least) four rings in soft finish cardstock. (if you want more dimension, cut more rings, as we are going to layer them). Cut the top of the ornament twice.
Step 2: Use the solid circle die to diecut the bottom of the house rows, so that they make a perfect fit in the ornament. (as you might notice, my back row has a gap at the side, I have fixed that). Glue the back row of houses on the black circle, layer at least 3 white rings on top of that.
Step 3: stack the dropouts from the windows in the exact same amount as the layer of rings you glued on (e.g. if you used 3 rings in step 2, use 3 dropouts on top of each other as well, so that your houses are at the same depth, 4 rings = 4 stacked dropouts etc) and glue the stacked dropouts at the back of the front row of houses. Glue the front row of houses in place at the bottom of the ornament.
Step 4: arrange trees and fence to your liking, cut off the excess. Glue another ring on top to make a nice finish. Glue the top of the ornament on back and front to make it extra sturdy.
As a bonus I made an extra Christmas card with the leftovers from the village edges. Here's how to do that:
Step 1: fold a piece of blue cardstock in half, put your solid die slightly over the fold so that it won't cut all the way through and run it through your machine. Now you have a double round card with a top fold.
Step 2. Fold your card open, position the ring die on the front of the circle card and run it through but NOT all the way. Cut the imprinted circle by hand (see photo for reference). Now you have a solid circle card with a front open ring.
Step 3: Splatter some white ink or paint on the solid part. I used distress stain picket fence. Arrange the leftover houses from the first ornament (diecut the edges in the same way using the solid circle die) and arrange them on the card with the fence and some trees.
Step 4: diecut the bottom of the snowglobe 2 times, once as it is, once with an extra long piece of cardstock at the top that you can fold to make the card stand. Glue all pieces together, diecut the label in soft finish cardstock. Stamp a sentiment from set CS 148 (or any other winter sentiment that fits) and adhere that to the bottom of the card. Notice my card fold on top isn't exactly horizontal, I got a bit distracted when glueing the houses on, oops! (I guess that's why my nickname is Silly :)
If you have any questions, please do not hesitate to ask, I'd be happy to help you!
Happy crafting!
Love
Sylvia


