Blue dragonfly
Hi everyone, Sylvia here for you on the blog today with a cute "bug"card. As you might know, I really like to mix and match my dies to create new characters. For today I made this blue dragonfly (in Dutch we call them "waterjuffers") and used mainly the grashopper dies for it. So let's get started, shall we?
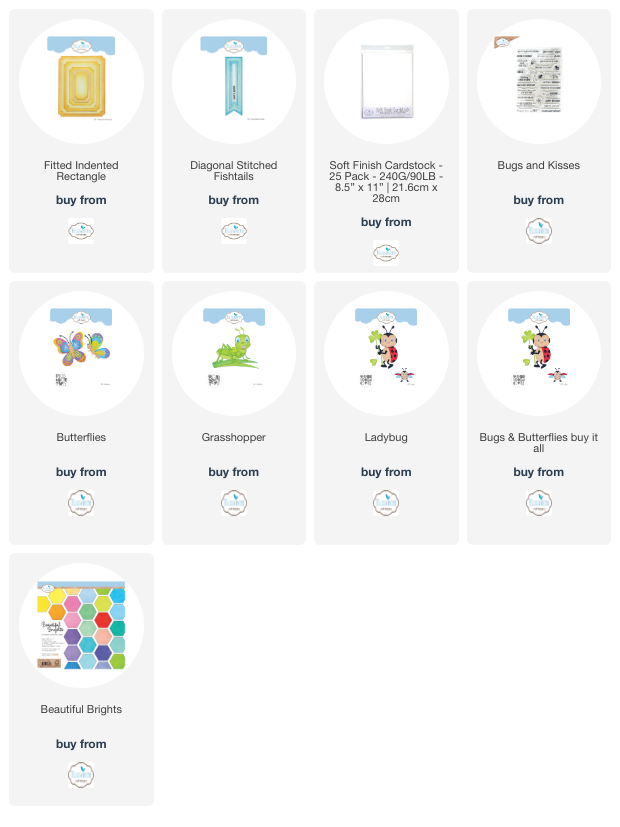
Step 1: cut a base card of approx 21 x 15 cm (8 1/2 x 6 inch) from the new Beautyful brights cardstock in a teal/blueish color. Also cut a panel from white card, using the second largest die from set 1695 fitted indented rectangles (you might wanna stretch it a bit, by diecutting it first from one side [not all the way through], shift your card to the length you need and then diecut it from the other side, aligning your die)
Step 2: diecut the following parts from the grashopper: head, face (save the dropouts), belly, upper largest hind leg, both antennas, 2 small hind legs (all from designpaper), eyes, mouth, nose from white cardstock
Step 3: diecut the body from the grashopper, the wings from the ladybug (all in vellum), the antennas from the small butterfly (in designpaper), 2 x the leaf from the grasshopper in a green colour of card or designpaper. Ink all edges.
Step 4: Colour the inner eyes black, the nose teal and the tongue pink. Assemble the head. Using the dropouts from the face, assemble the tail (as shown in the first photo), Attach the body to the head, then the dropout mouth, next the larger dropout eye, next one the smaller dropout eye and finally the upper hind leg to form the tail (see second photo for reference). Attach the antennas from the butterfly to the head as antennas, the antennas from the grasshopper as front legs, and the smaller legs as hind legs.
Step 5: Glue on the larger vellum wings on the back first (both pointing backwards), the smaller wings are glued on top of them (see photo for reference).
Step 6: Using stampset CS 316 stamp the dotted line in the lower right corner of your white panel, diecut the smallest banner from set 1329 and stamp that with the "buggs & kisses" sentiment from the same set.
Step 7: Arrange alle elements on your card, I popdotted the dragonfly to get a little dimension and glue them down.
If you have any questions, please don't hesitate to ask, I'd be happy to help you out.
Happy crafting!
Love
Sylvia


