2 Easy Techniques for Stenciled Backgrounds
Have you ever wondered how to get those stenciled layered backgrounds that you see on cards or in art journals? Or maybe you’re looking to go back to basics with your stenciling techniques? In this tutorial, you will learn how to create two stenciled backgrounds using limited supplies that you can use in all your journals, cards, and tag-making projects.
Hello everyone! Janet Schmitz here from the Art Journal Specials team. I’m going to show you how easy it is to use stencils to achieve backgrounds for all your projects.
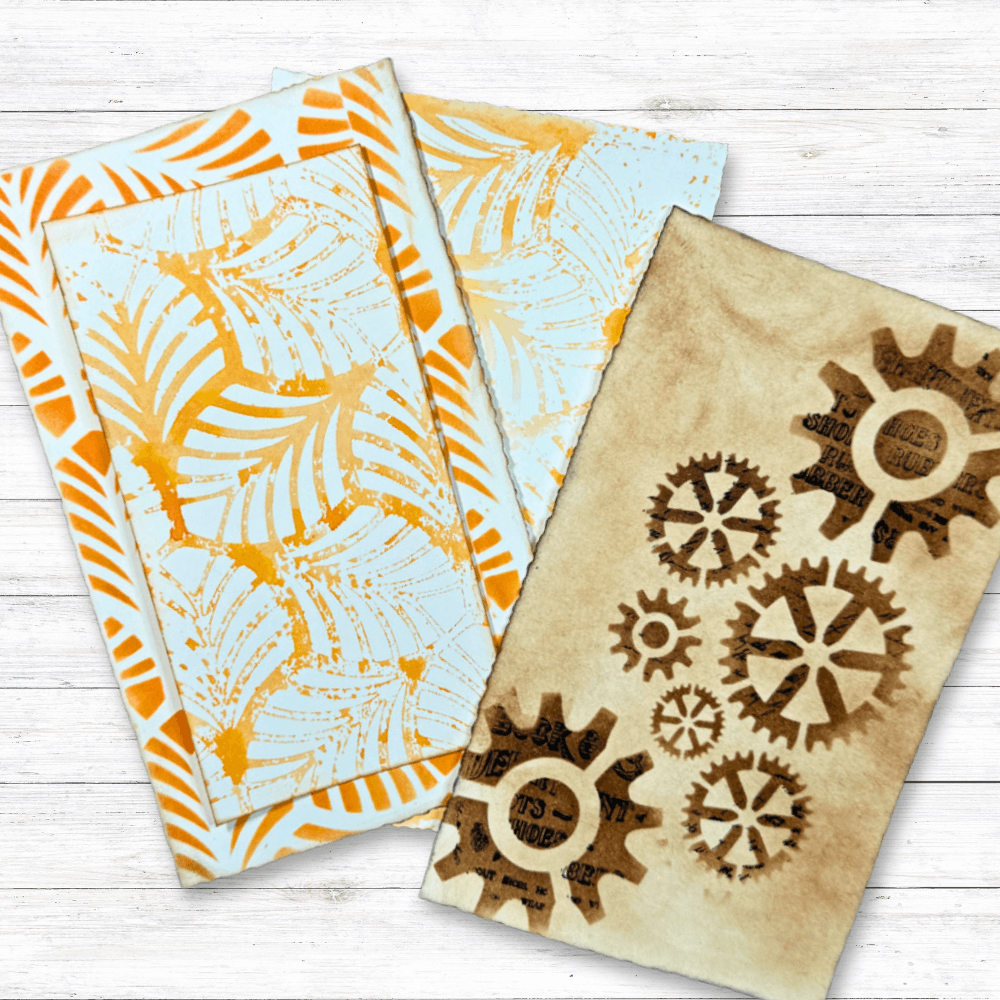
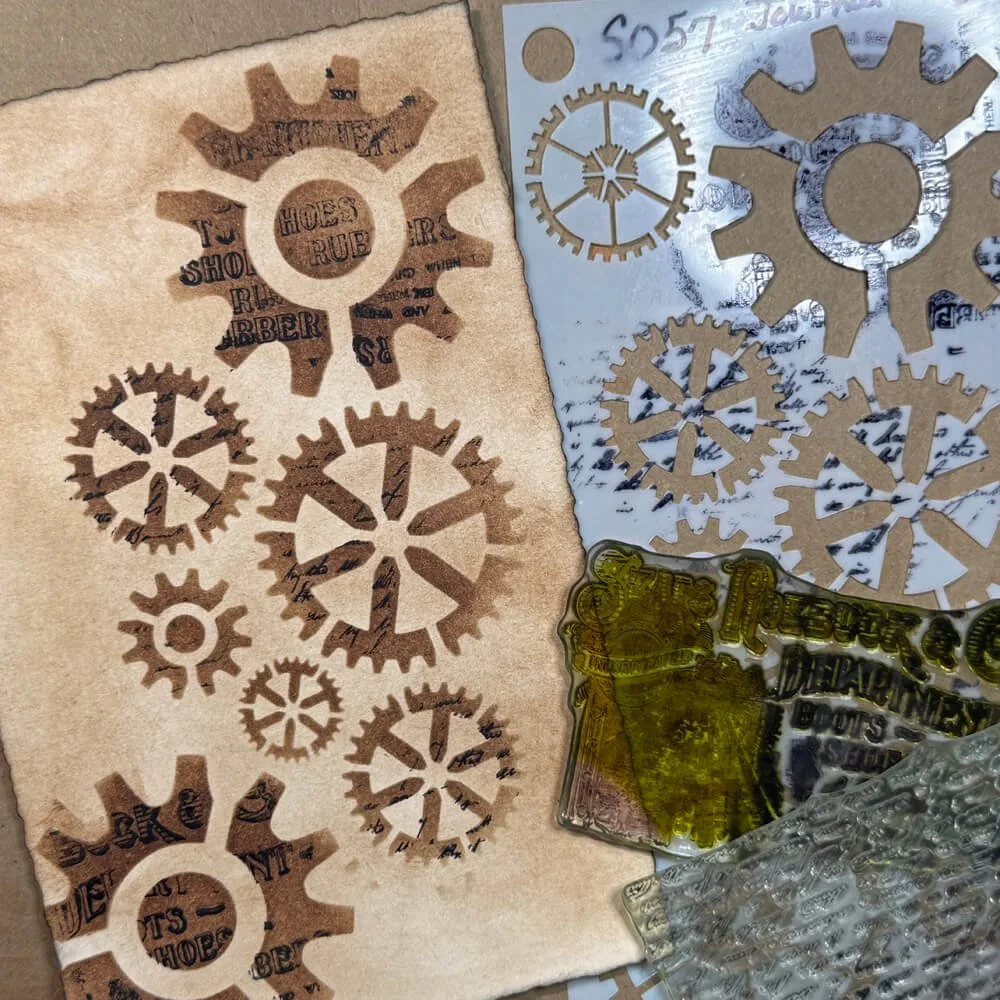
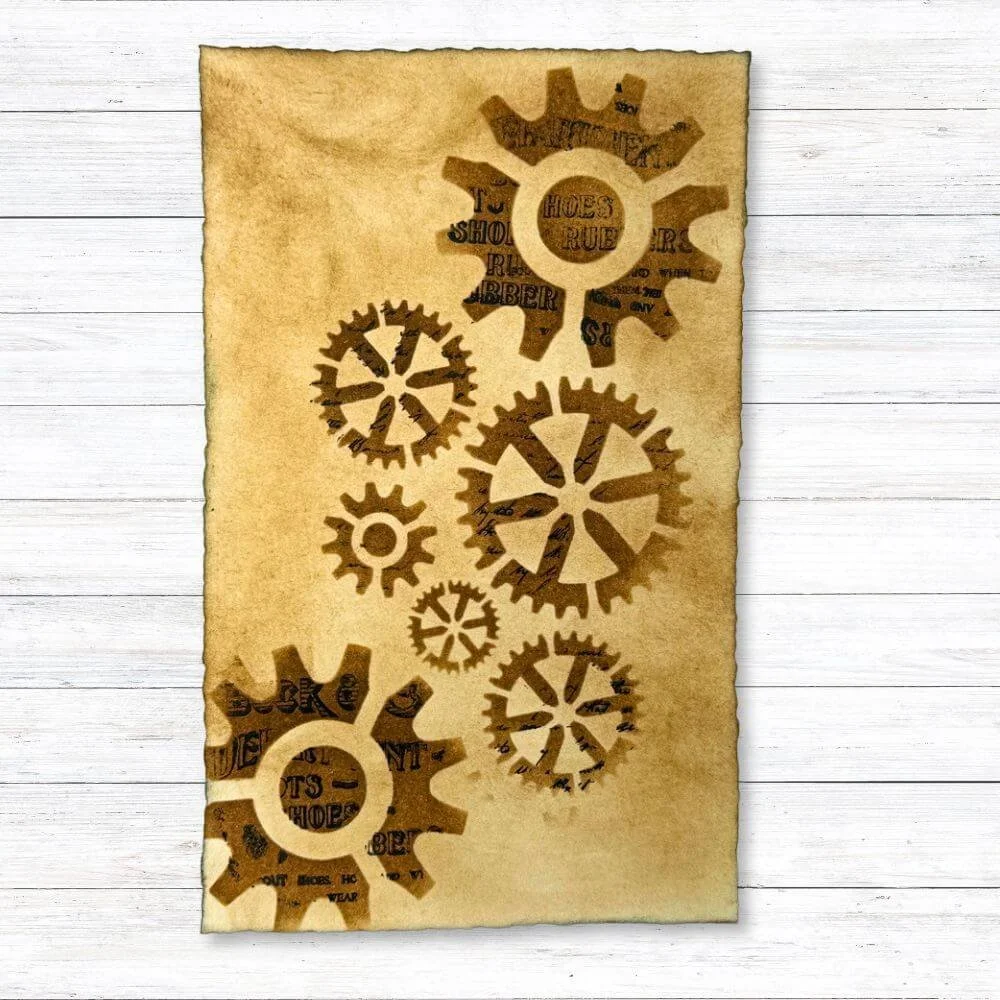
Background 1
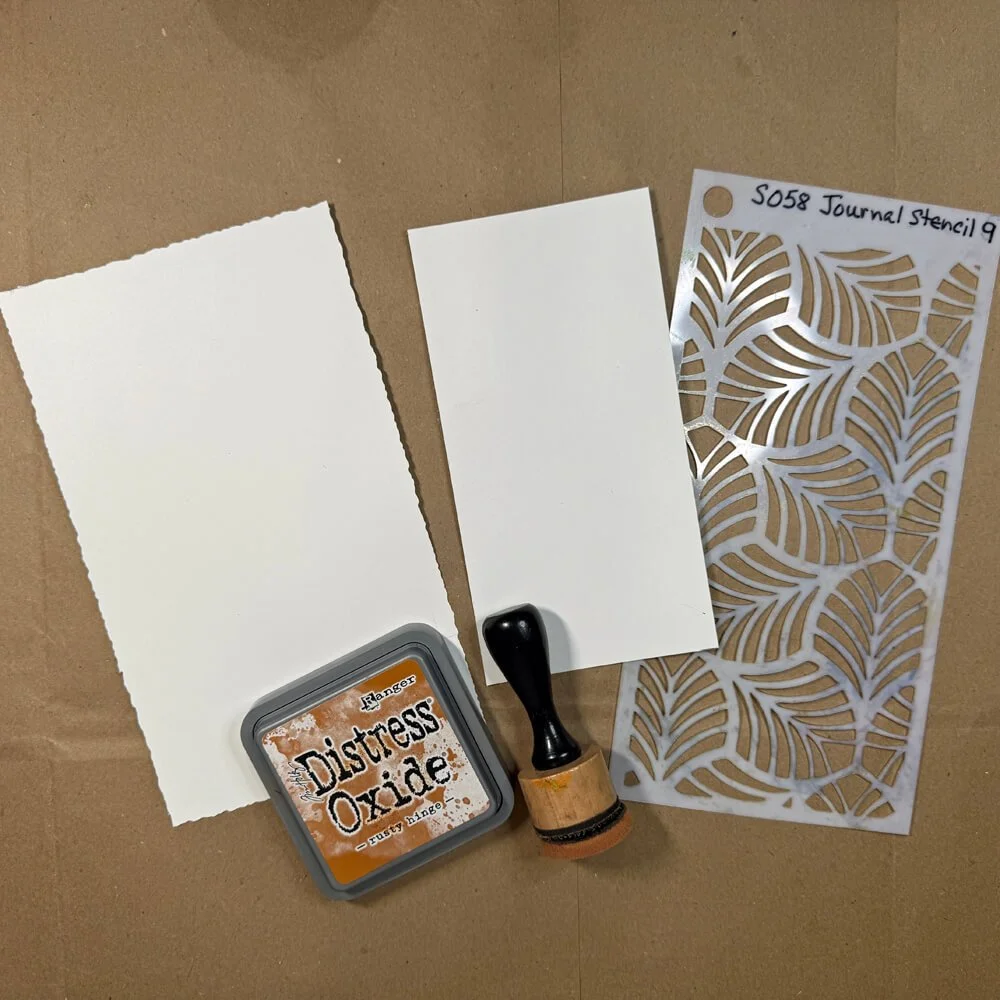
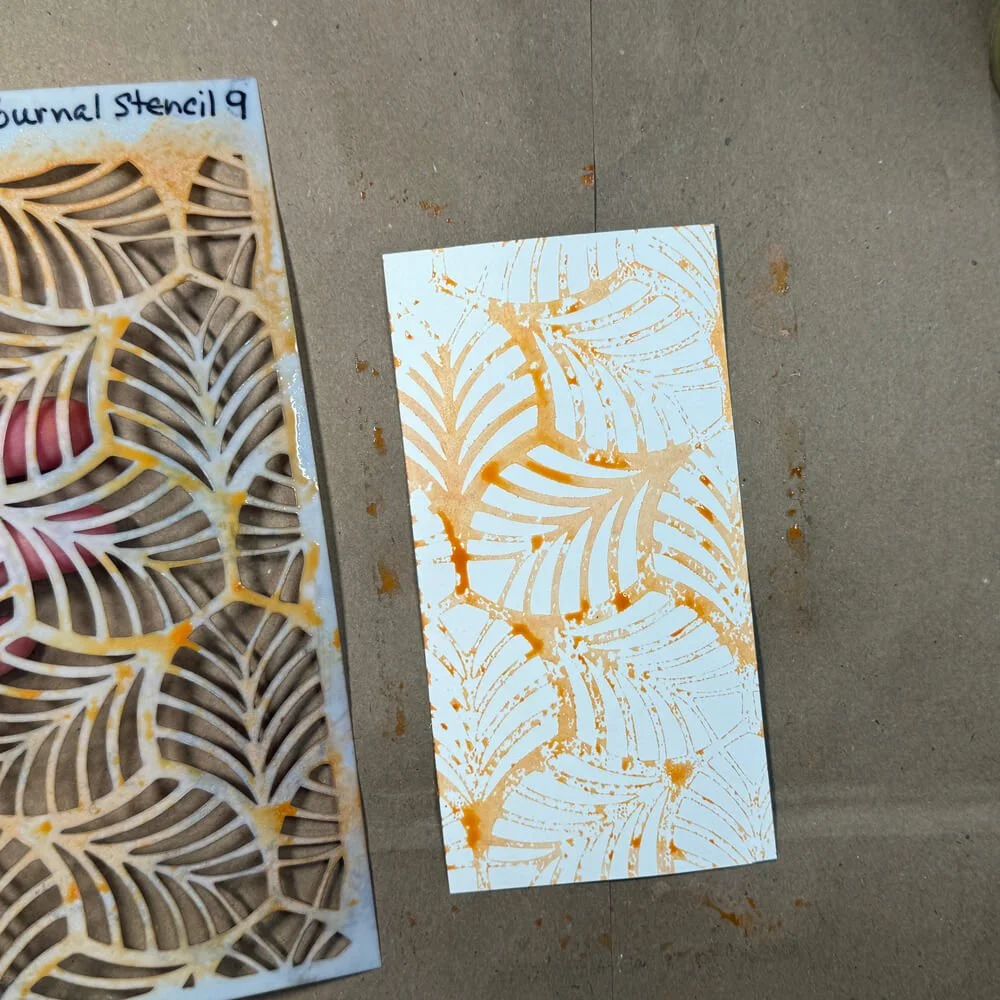
Step 1: I’m using Soft Finished Cardstock for this background. You need two pieces of cardstock. The top piece just needs to be 1/2” smaller than the bottom piece on all sides, and any stencil from David’s collection. I’m using one from Journal Stencil #9. Then grab a Distress ink or Oxide Ink, and an ink applicator.
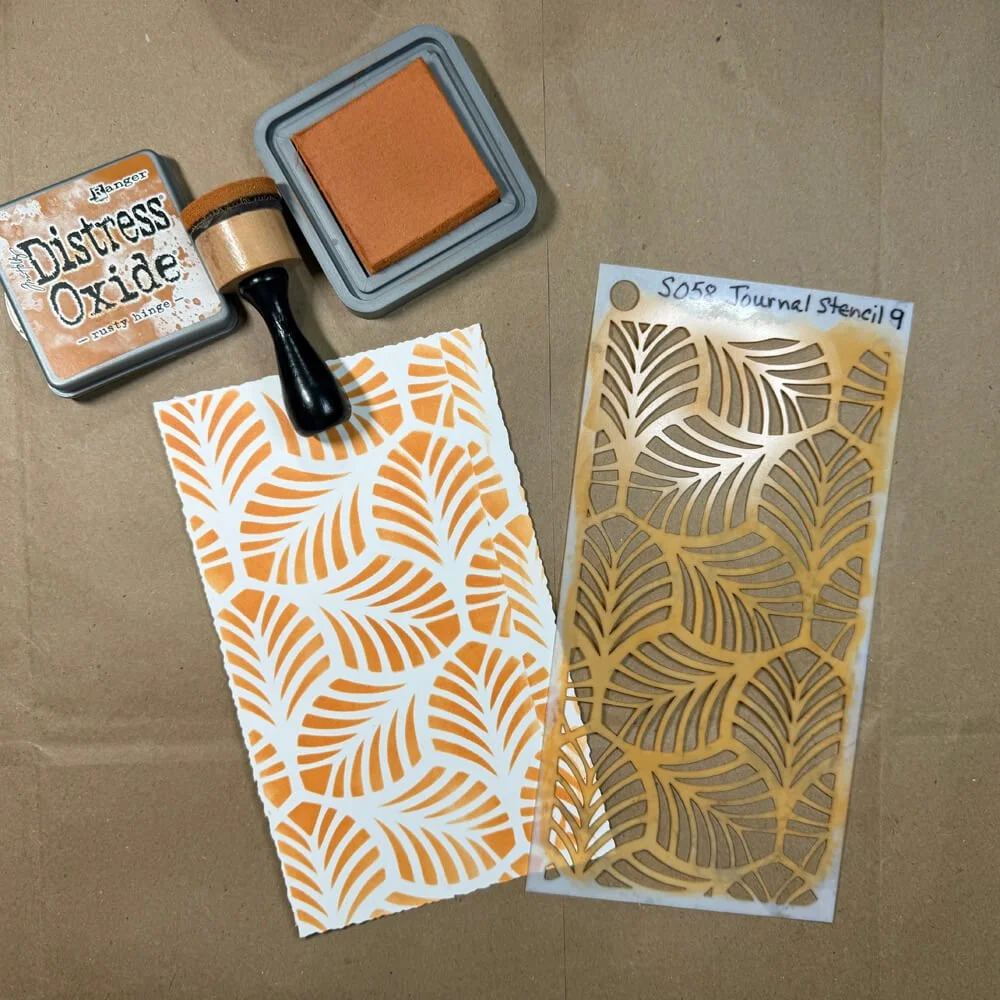
Step 2: Apply ink through the stencil with a ‘heavy touch’ to ensure there is enough color down on the larger piece of cardstock.
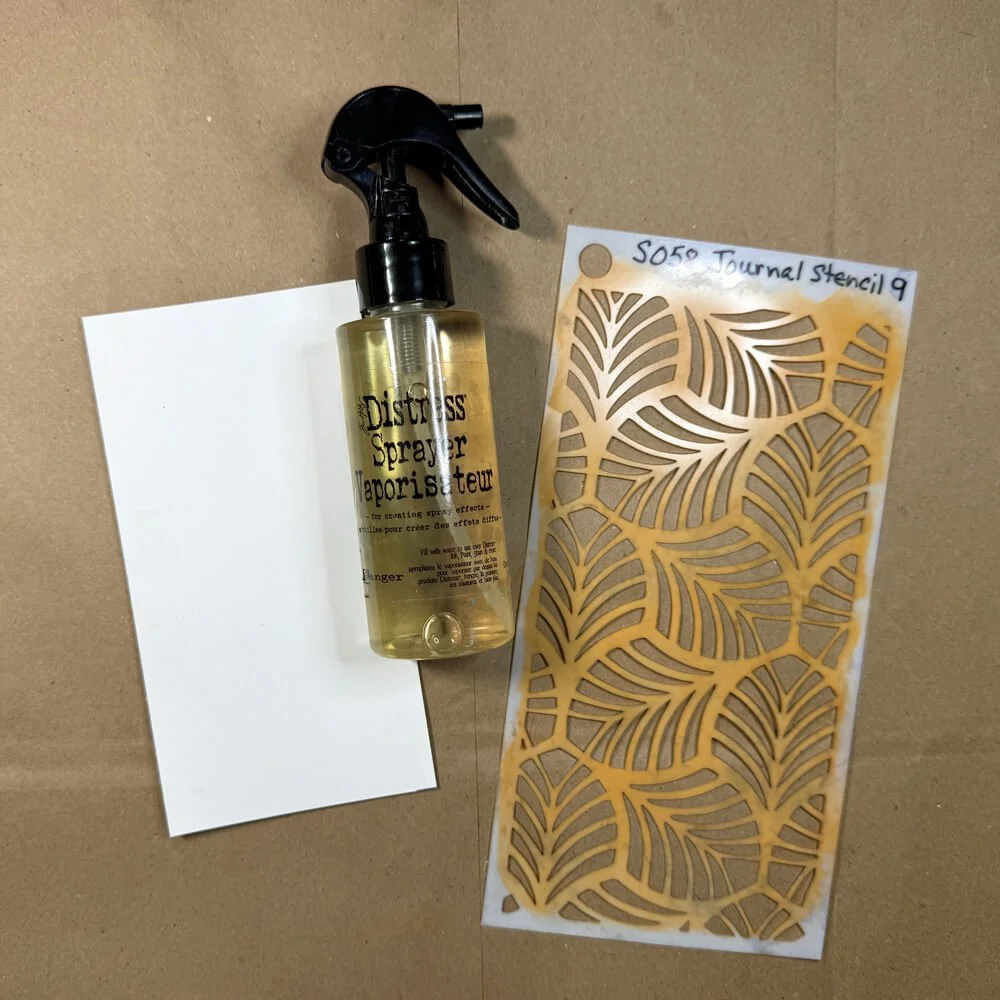
Step 3: Spray the inked side of the stencil with water. Just 2 or 3 spritzes.
Step 4: Flip the wet stencil onto the smaller piece of cardstock, and let the color soak in before you lift the stencil off.
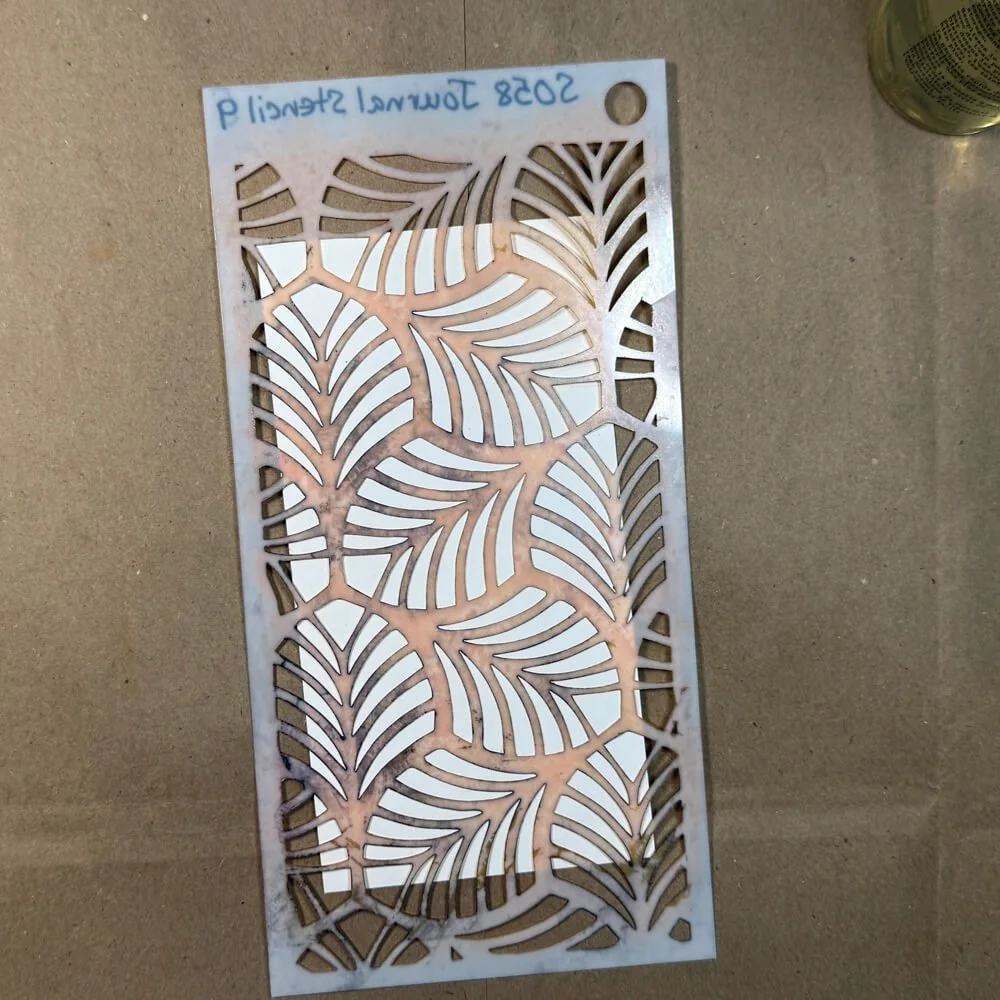
Step 5: You now have made a ‘negative print’. It matches the design of the larger piece, the “positive print’.
Step 6: You can spray the stencil again with water to make a second generation on an additional piece of cardstock. This print may not be as heavy in color; however, the leftover ink will still make a beautiful print.
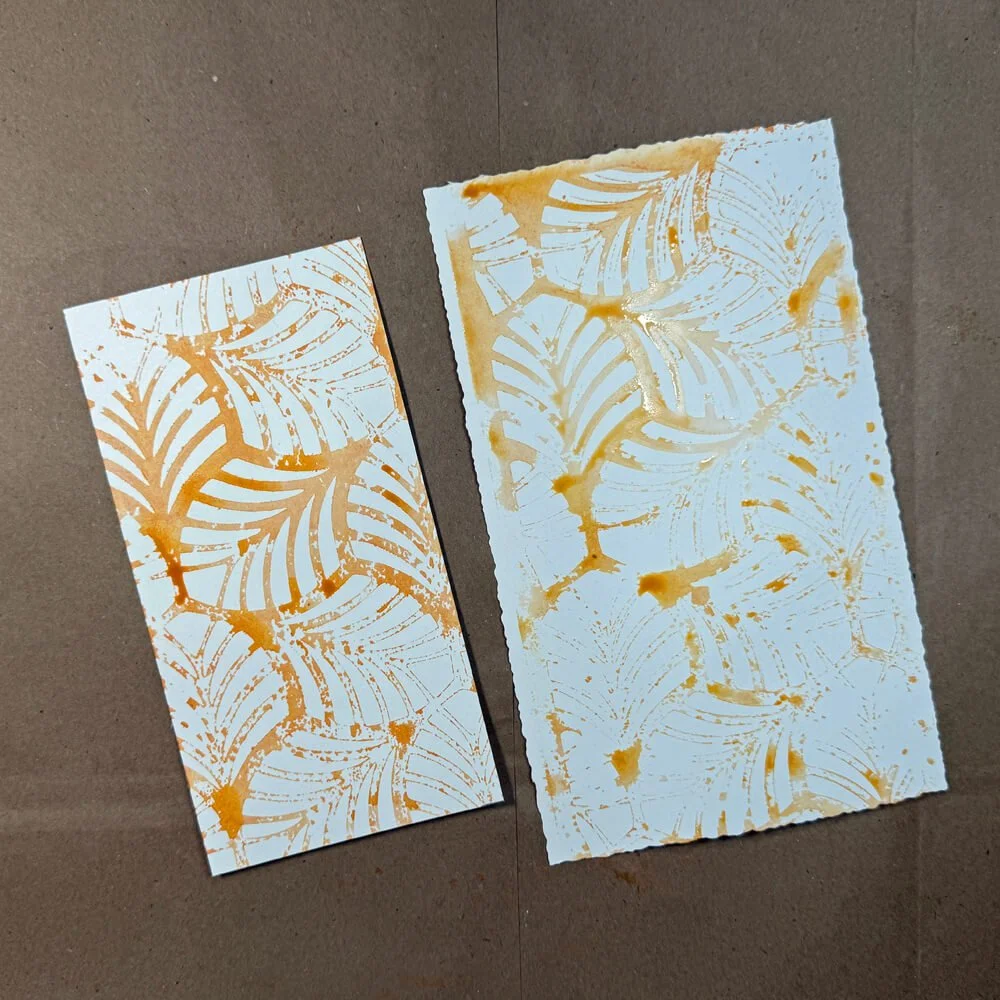
Step 7: Either let all pieces dry naturally or use a heat gun. Notice that the first stenciled print looks so cool underneath the smaller print! And if you created the second-generation print in step 6, you have a bonus background.
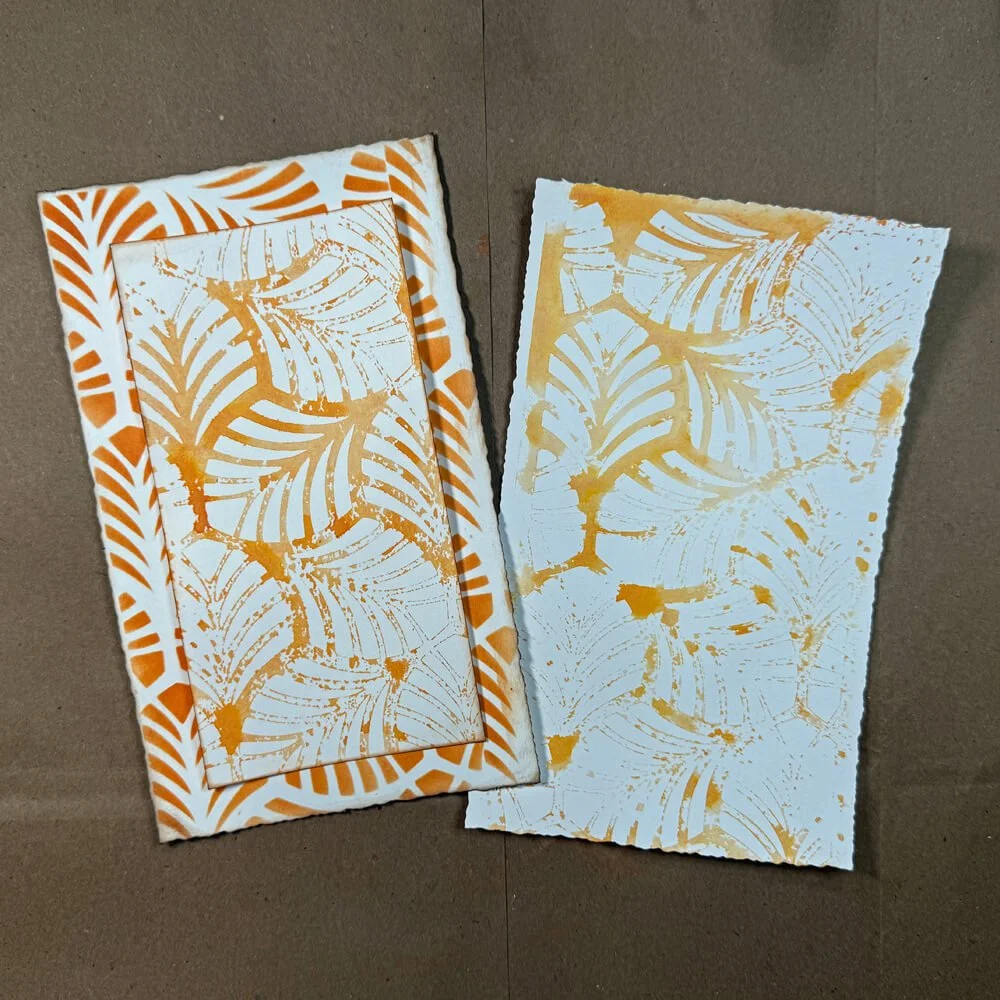
Step 8: Remember, this is the basic method; you can use different color inks or blend two or three colors for some very pretty results.

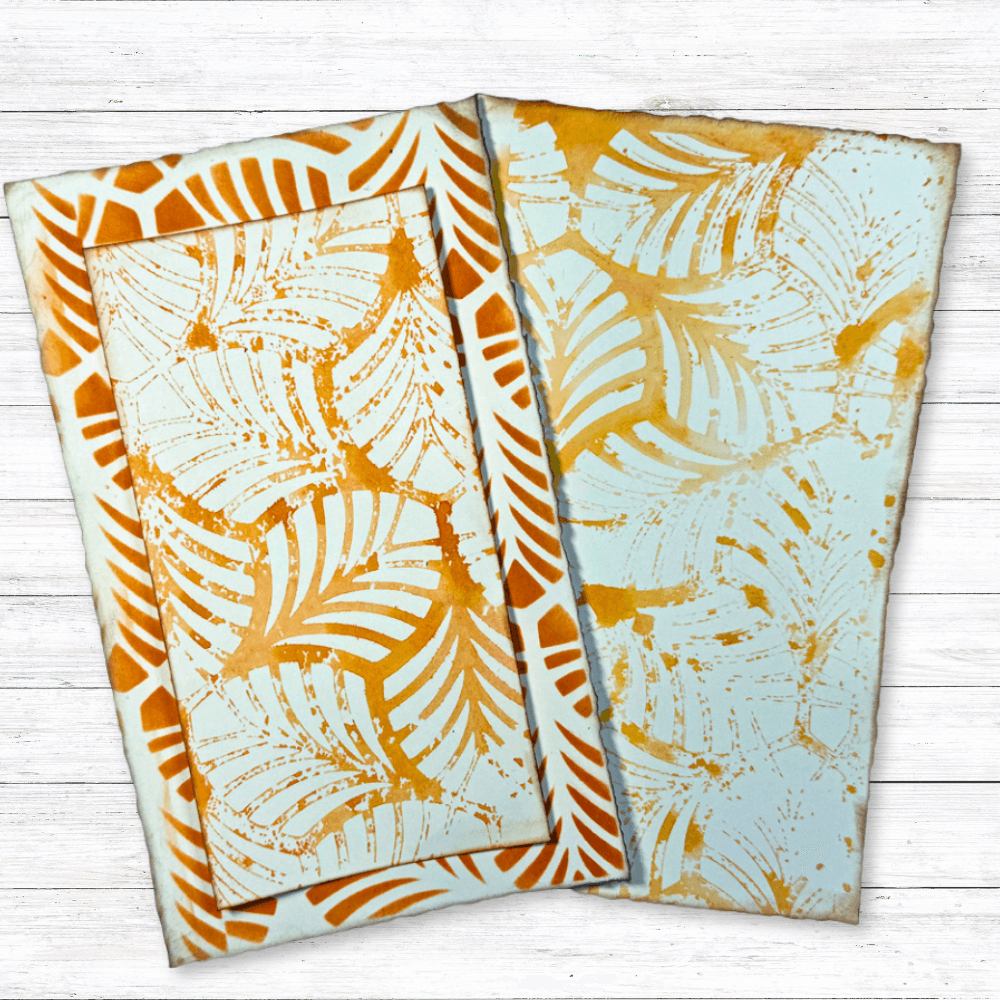
Background 2
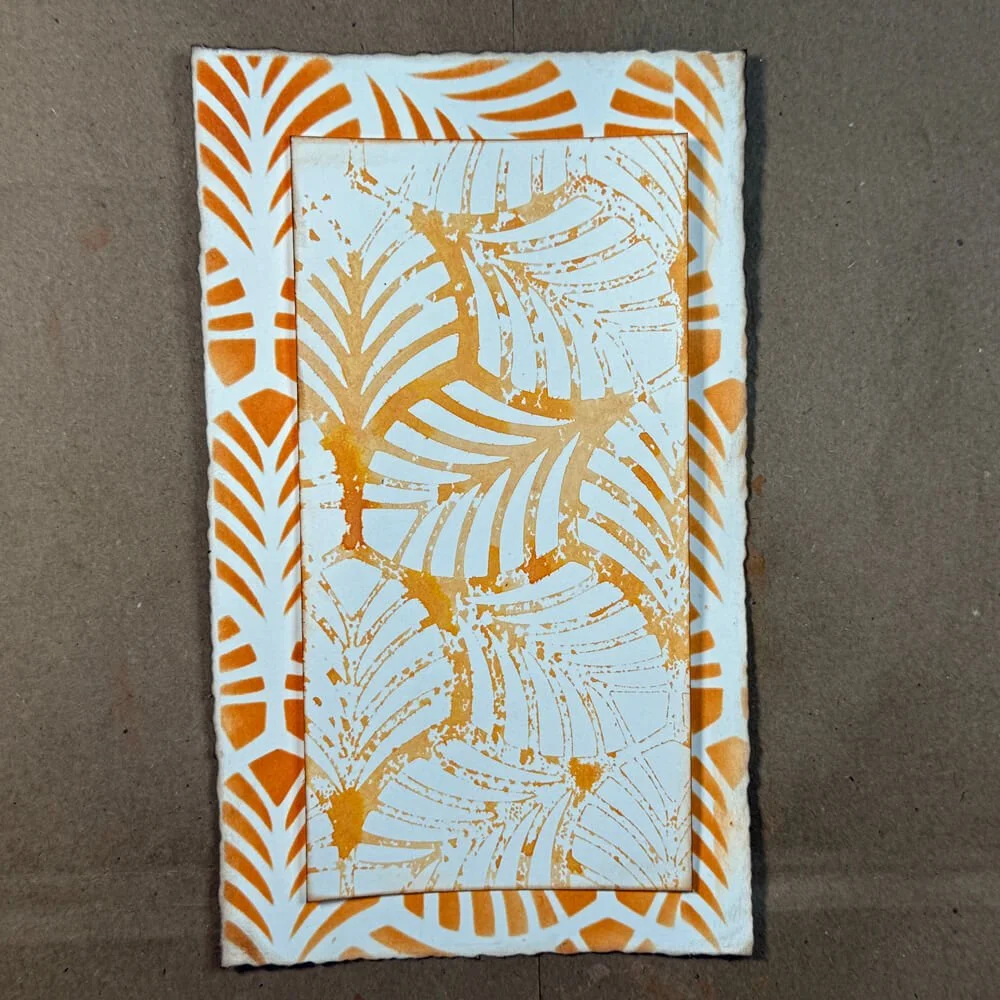
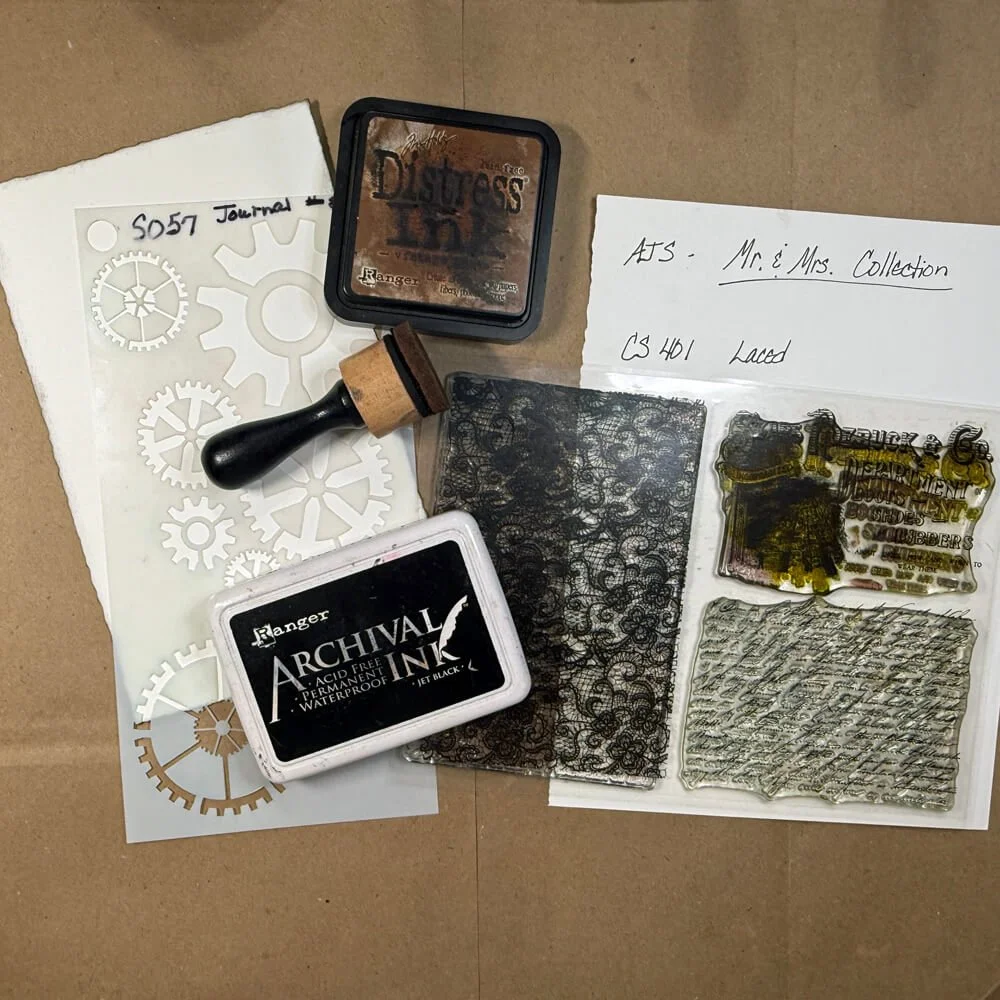
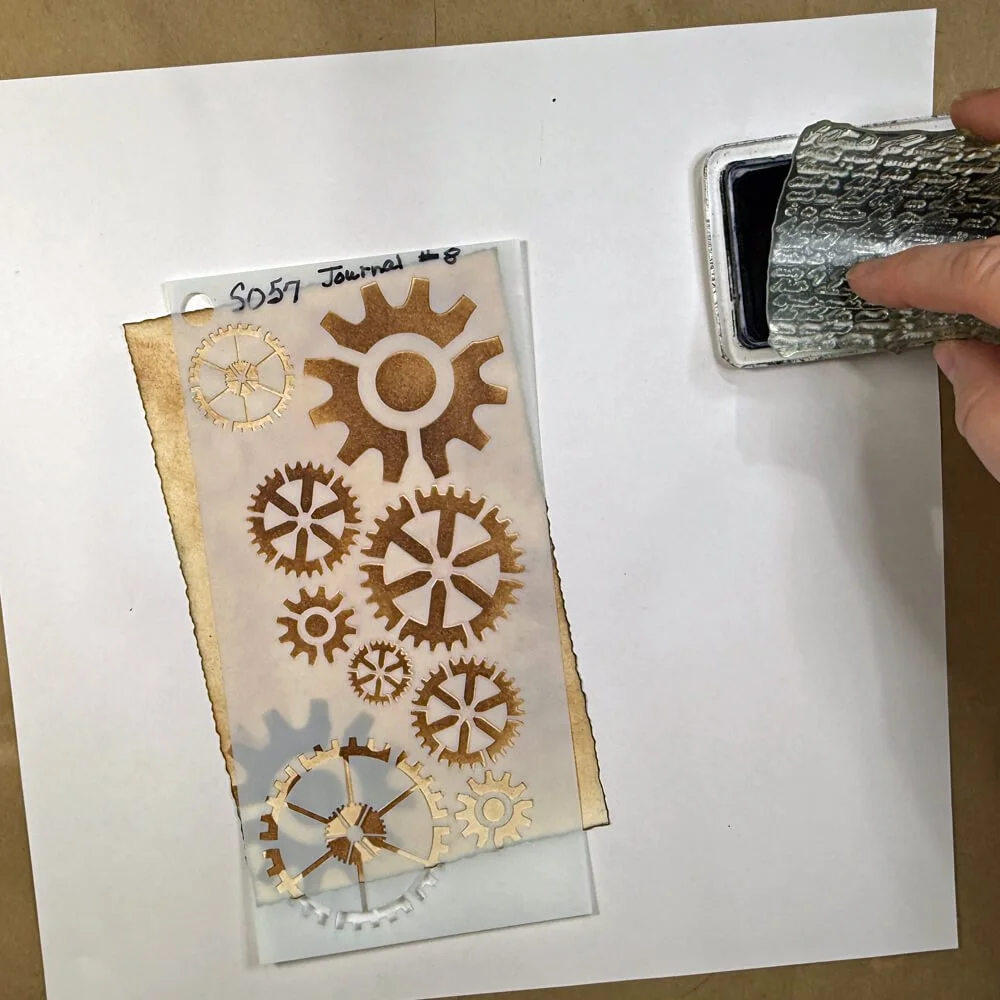
Step 1: For this technique, you need cardstock. I used Soft Finish cardstock from ECD, Distress ink, a permanent ink, A Stencil with large openings (I used one from Journal Stencils 8), and a stamp with small script (I used Laced from the Mr. & Mrs. Collection.
Step 2: Using your Distress Ink, lightly apply ink to the paper just to give it color.
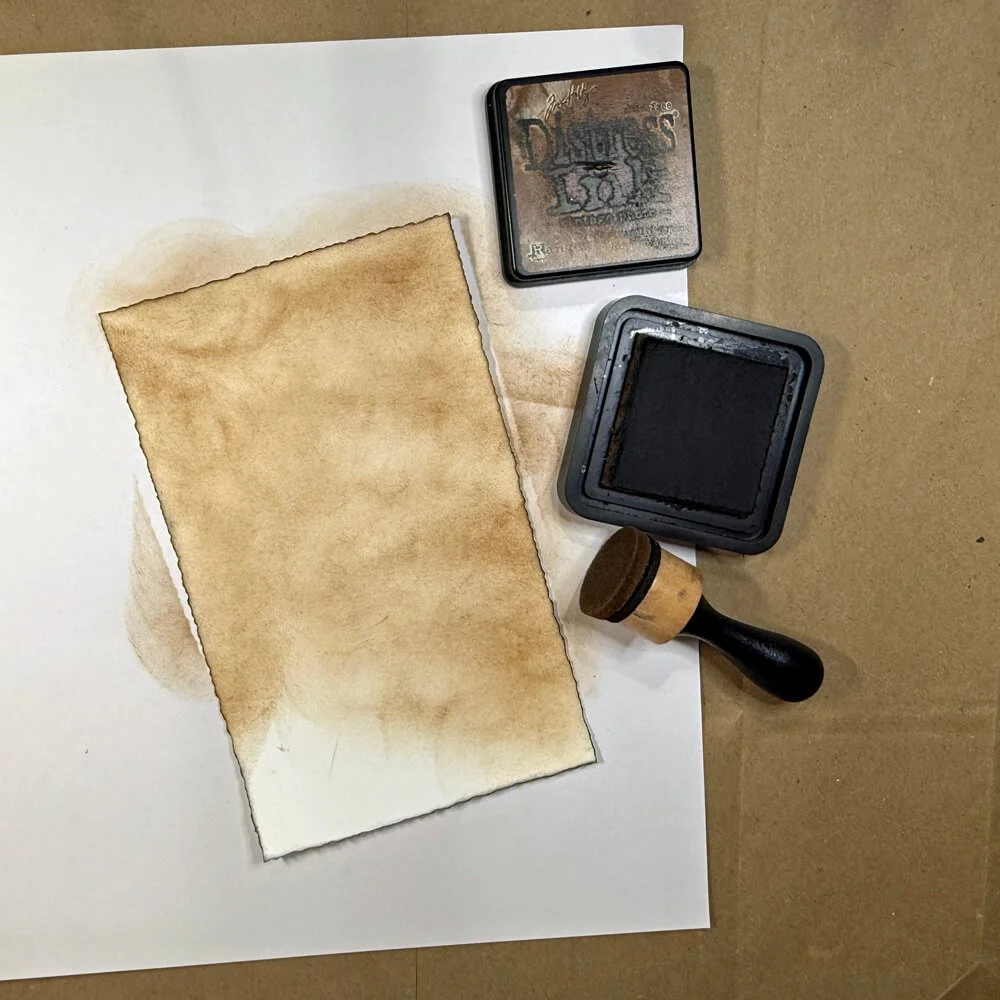
Step 3: Using the same ink, apply it through the stencil, making sure to apply the color a bit heavier to have that contrast.
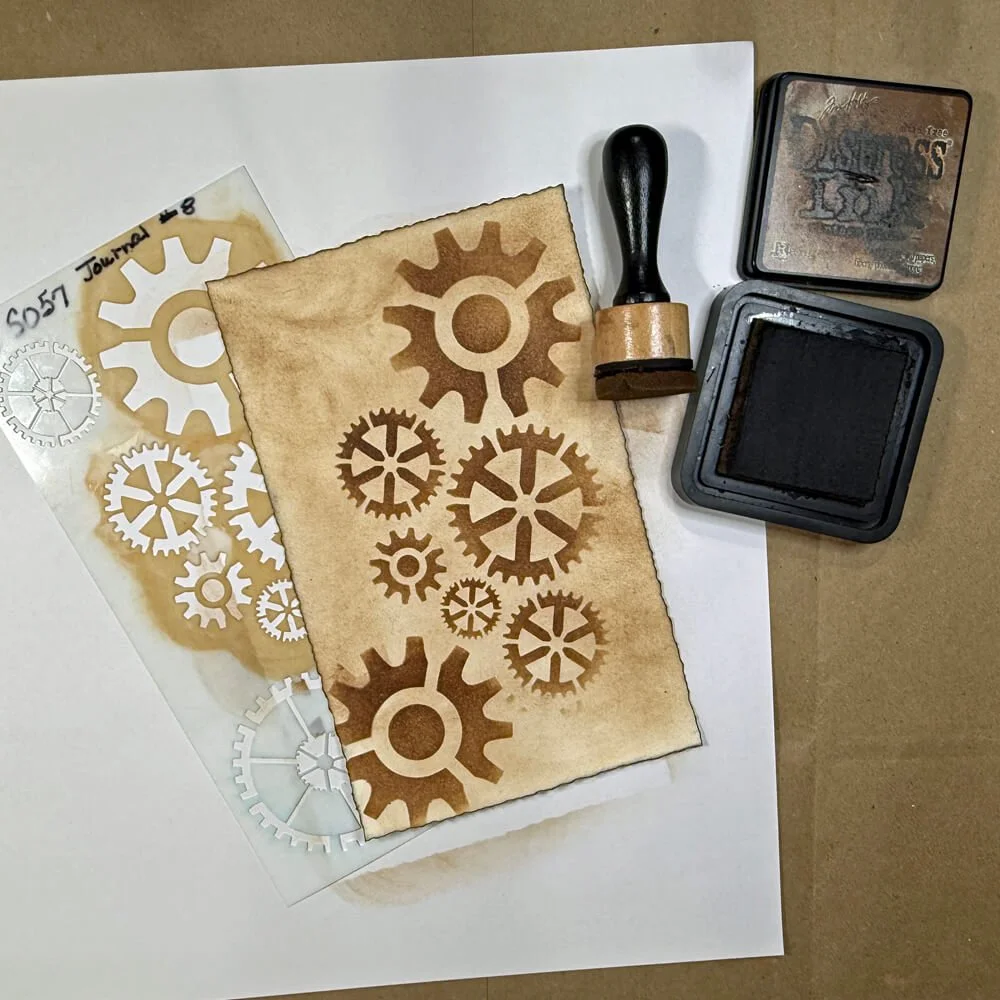
Step 4: Keeping the stencil over the design. Ink your chosen stamps with permanent ink, then stamp through the stencil. Don’t use a stamping block. Just use your fingers to squish the stamp into the different areas of the stencil.
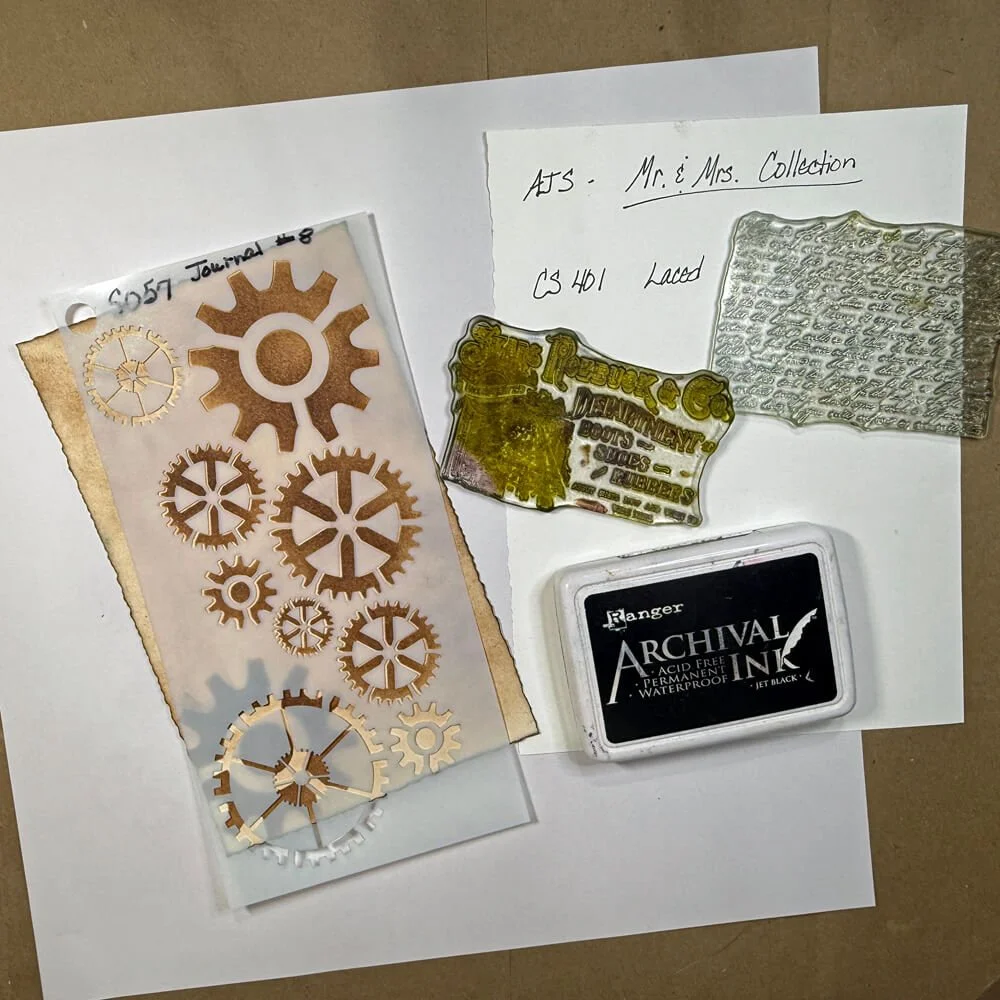
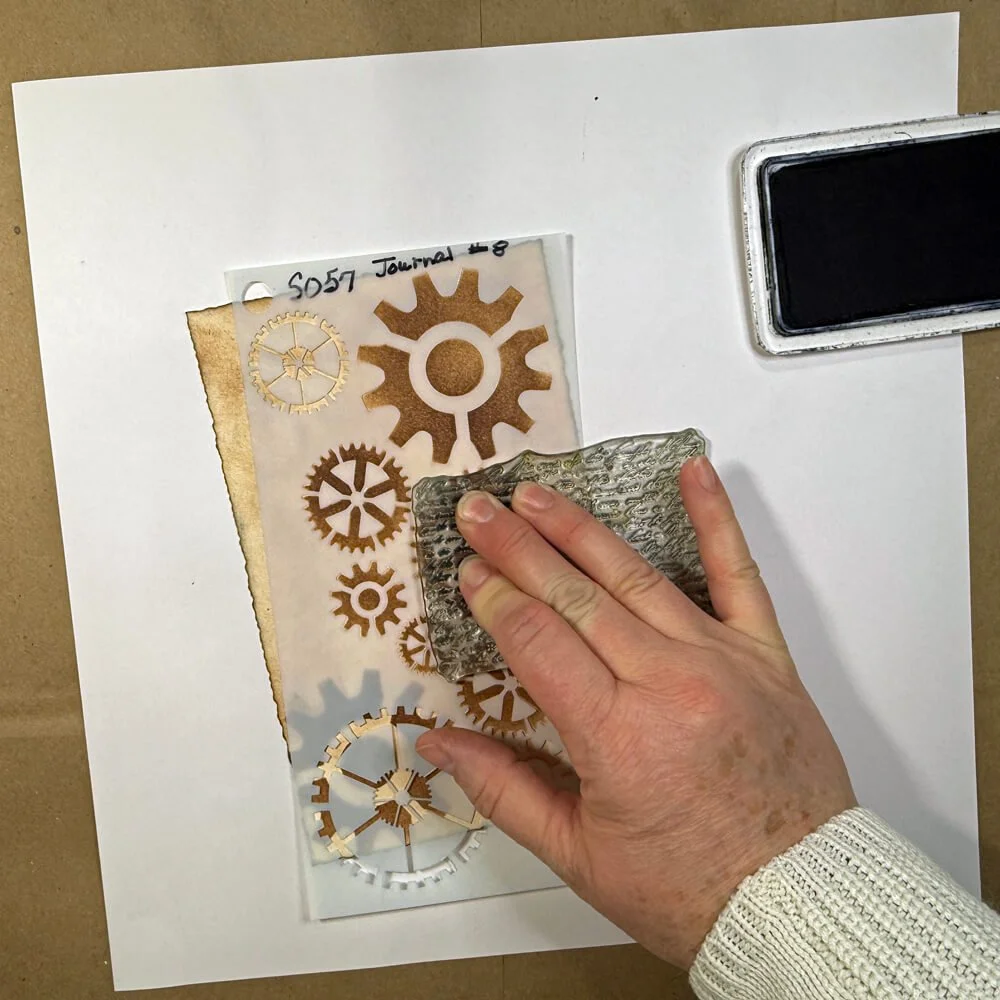
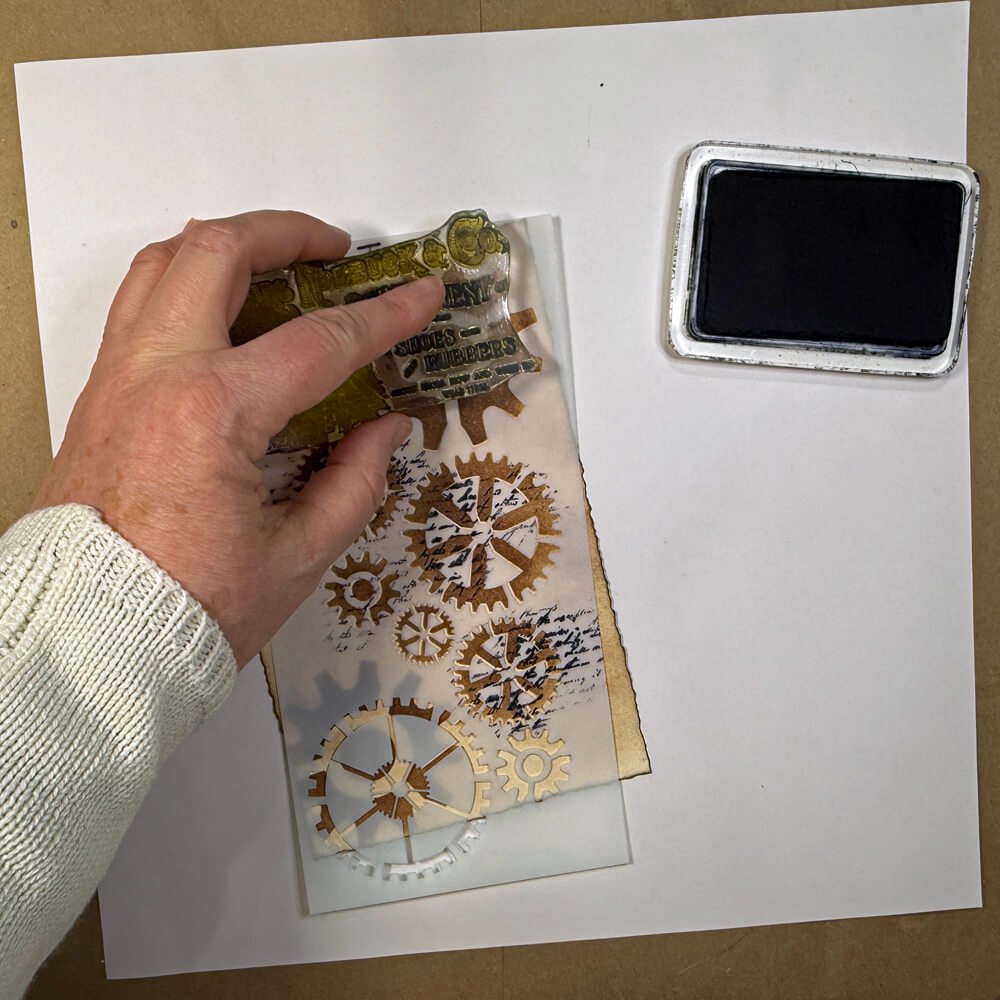
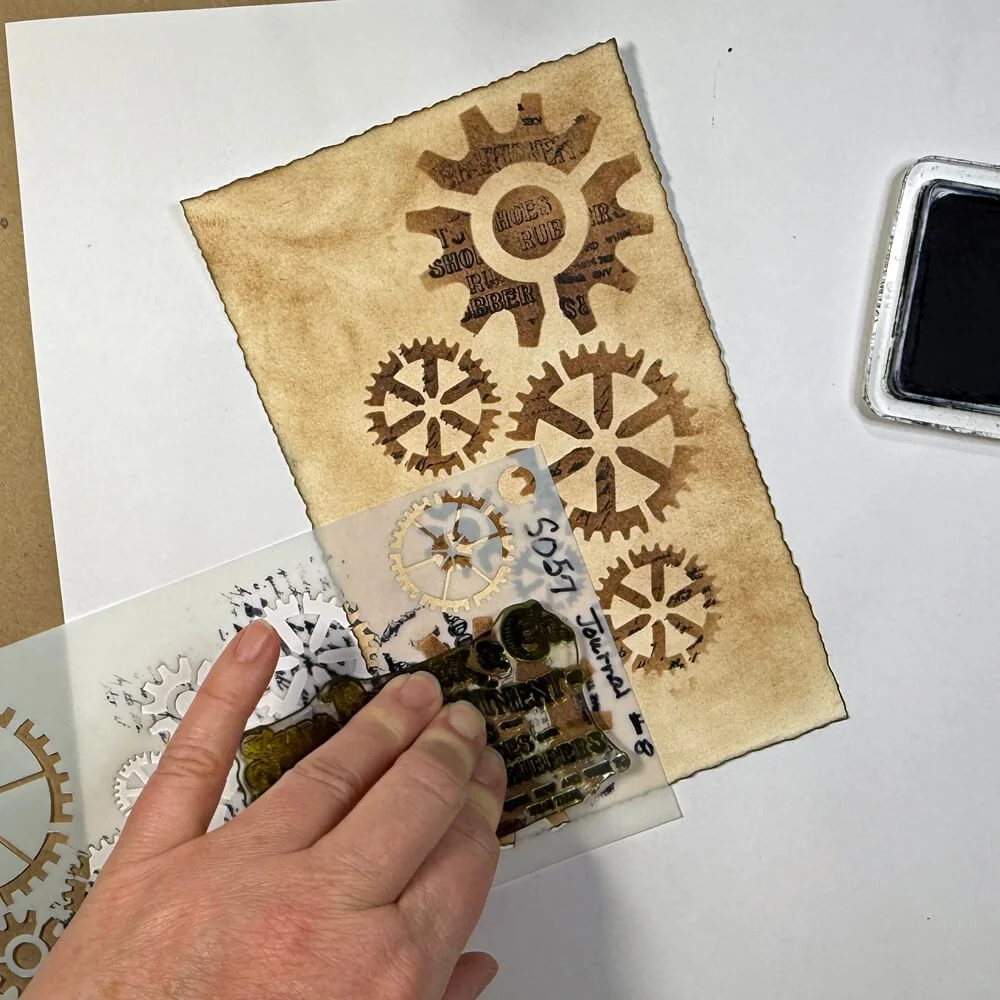
Step 5: Pull the stencil off, and there you have it! A stenciled and stamped print!
Using these two stenciling techniques, you can create a beautiful base or background for your next project, whether it is cards, ephemera, journal backgrounds, or larger projects. The options are endless. Just remember, there is never a mistake, just a creative accident! Now go and grab your supplies and start creating!
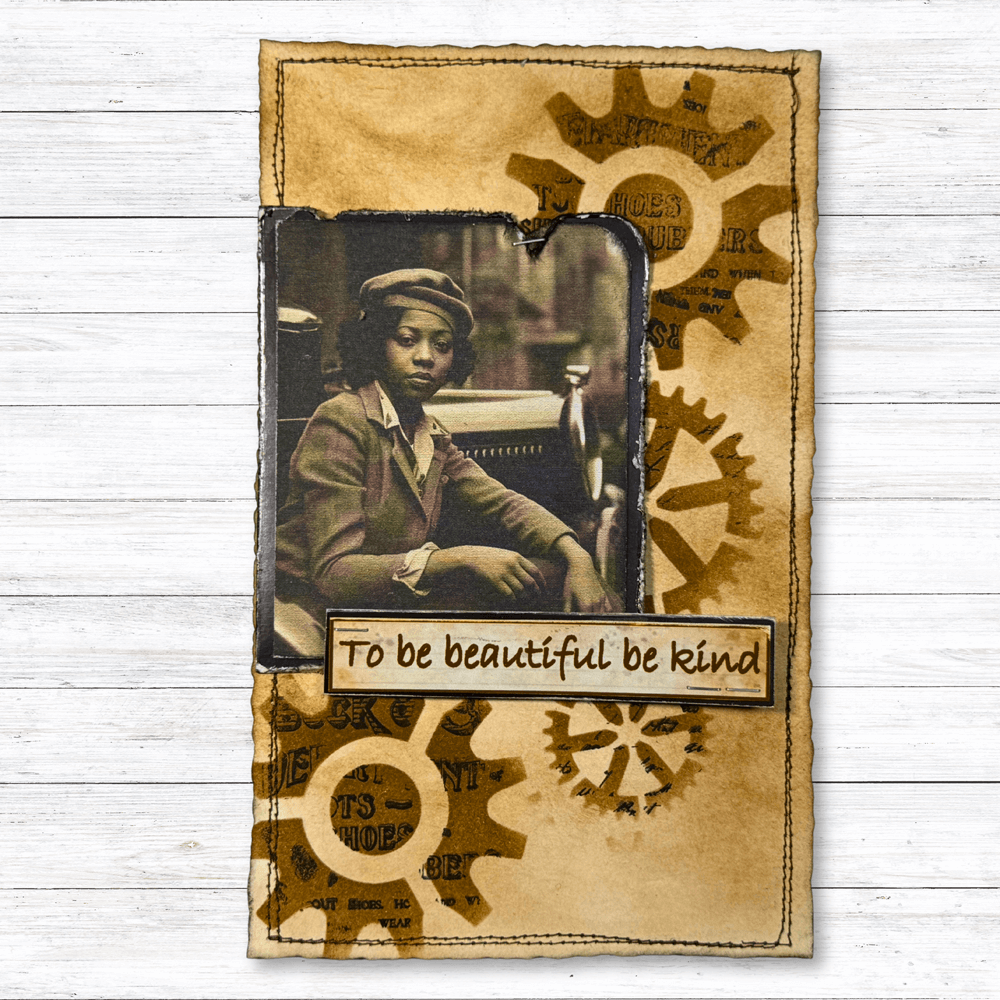
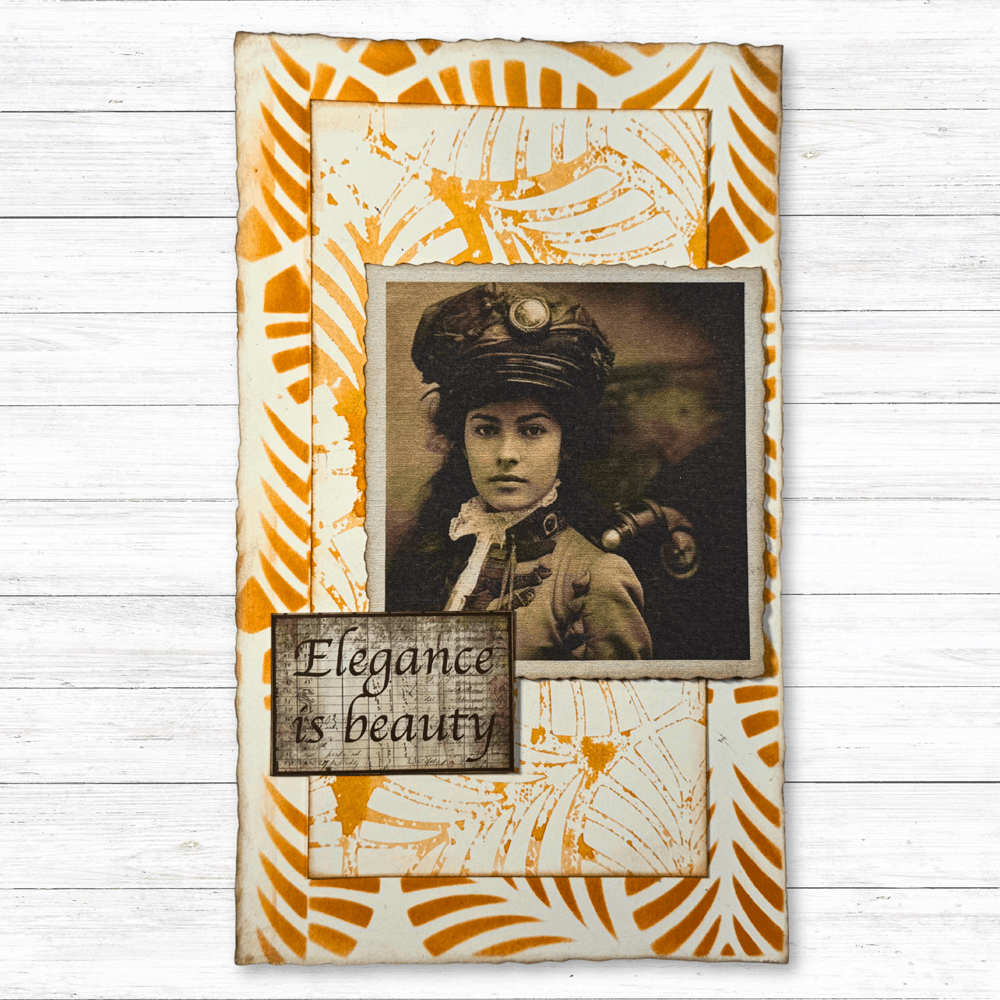
Here’s some bonus inspiration! Janet used the backgrounds in these two projects by layering ephemera on top of them.